Key Takeaways:
- Resin Choices: Picking a resin correctly dictates printer settings that need to be adhered to.
- Adjusting Exposure Time and Lift Rate: These parameters are delicate adjustments; both too small and too large can irreparably damage prints.
- Combination of Adjustment and Calibration: Adjustment and repair of common issues, such as layering and warping, need to be learned.
- Impact of Ambient Conditions: Adjust to temperature and humidity to better control prints and discover their effects.
- In the Field: Insights and tips that are helpful to achieve better, quicker results.
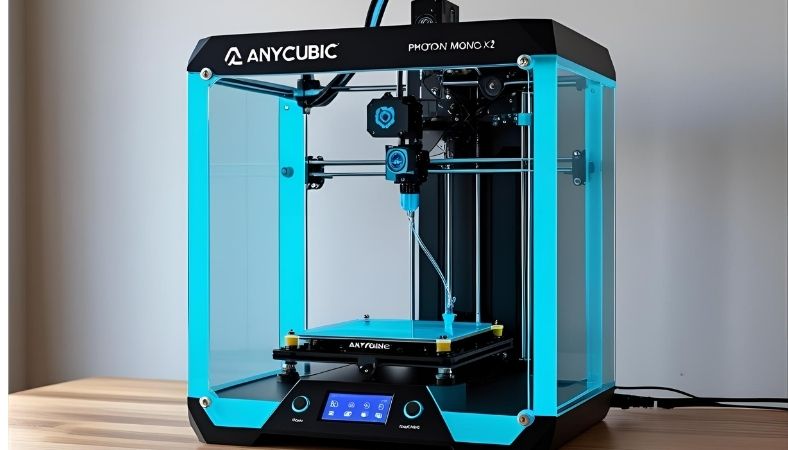
Anycubic Photon Mono X2 resin settings guide
Why are settings necessary for resin
The anticipation of setting up your Anycubic Photon Mono X2 3D printer and unboxing it is palpable. However, hitting the “print” button can spiral into chaos. Many beginners overlook resin settings, yet as the prints can make or break a 3D printer, they’re essential. No matter the purpose—be it personal use, prototyping, or detailed model printing—an Anycubic Photon Mono X2 requires proper printer settings to meet expectations.
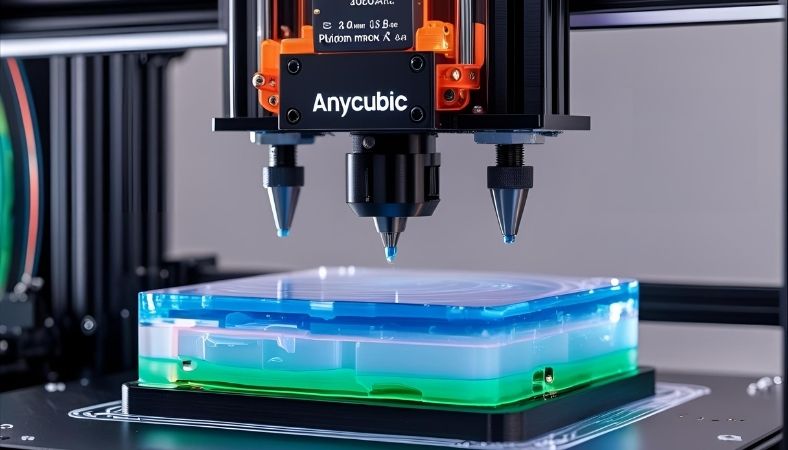
Answering the question “Why is printer setting important?” one can say settings can account for adhesion between layers and, in the worst case, lead to a failed print alongside pricey resin disposal. The Photon Mono 2 is equipped with a monochrome 6.6” LCD screen, which surpasses older RGB models in both sharp resolution and speed.
But don’t worry; this guide will help you understand everything you need to know to achieve perfect resin prints.
 An Overview of the Resin Types For Your Anycubic Photon Mono X2
Before you begin printing, it’s critical to understand which type of resin you are using. Knowing which resin you are using will help you determine the optimal settings to maximise the print’s quality. Here are the most commonly used resin types with the Photon Mono X2.
Standard Resin
Standard resin is the most commonly selected resin due to its simplicity of use. Standard resin is cheap and practical for basic prints. For the settings,
Exposure Time
Most of the time, standard resin will need 2.5-3 seconds of layer curing to achieve optimal results.
Bottom Exposure
The bottom layer’s exposure time is longer, so it can be cured for about 30-50 seconds.
Lift Speed
To avoid most print failures, a speed of 4-6 mm/s will work the best.
Real-World Scenario
Standard resin is best when used for simple prints, such as a phone stand. As long as you have the exposure settings best for the resin used, it will work.
Plant-Based Resin
Plant-based resin is the perfect option for those who are eco-friendly or are just looking for a new resin type to work with.
It is a more plant-based-friendly option, but it requires adjustments to settings due to its unique composition.
- Plant-Based Exposure Time: This generally requires more time per section than the standard 3-4 seconds for standard plant-based exposure, involving layering.
- Bottom Exposure: Follows standard resin practices, but requires a longer duration to ensure adhesion meets the standard.
- Lift Speed: 3-5 mm/s, like most standard settings.
Pro Tip: Users generally find better results with a slight increase in exposure time, especially in more humid settings, to ensure a proper, complete cure.
Speciality Resins
As with flexible or transparent resins, speciality resins have their unique settings in addition to being tailored for specific applications.
- Flexible Resin: Needs both lower lift speeds and rationed exposure time to ensure balance in the print’s cure and structural integrity.
- Transparent Resin: Often, a slight lack of cloudiness requires a longer exposure time to achieve complete clarity and smoothness.
Anycubic Photon Mono X2 Resin Settings
Let’s now focus on the key settings that need optimisation for the best results. For this, let’s start with the most predictive parameters: exposure time, bottom exposure, and lift speed.
Exposure Time
The exposure time is one of the most critical settings for resin printing.
- If the time is set incorrectly, either too short or too long, adverse effects will occur. Weak prints will result from weak curing if the time is set too short, while overexposure will occur if the time is set too long.
- For standard resins, begin with 2.5-3 seconds, and further test and adjust during the refinement stages. Observation of rough surfaces or uneven layering is an indication to increase exposure to some degree.
Hypothetical Example: Let’s say you are printing a detailed mini figurine. Increasing exposure will help eliminate rough, incomplete surfaces and aid with sharper details and smoother prints during the mini figurine’s printing process.
Bottom Exposure Time
- The bottom exposure time is critical for the first few layers of the print. These layers must be very firmly bound to the print bed to prevent lifting during the printing process.
- Effective changes for bottom exposure time include increasing the time to 30-50 seconds to aid with adhesion. This change will increase the chance that the resin will bond to the build plate and reduce the possibility of peeling.
Pro Tip: When printing large models or objects, increasing the time further is recommended for improved bottom exposure and adhesion.
Lift Speed
The lift speed controls how fast the build plate is elevated once the current layer is complete.
- Either extreme can cause issues. Dragging failure occurs when the resin is pulled too quickly. On the other end of the spectrum, unnecessary resin can be wasted due to overexposure.
- Most standard resins have an ideal print speed of 4-6 mm/s.
 Troubleshooting Common Resin Issues
Incomplete Prints
Incomplete prints are an issue with every resin printer. Layer separation occurs when the print layers fail to bond properly, causing your print to collapse essentially.
To properly mitigate the issue, both bottom and layer exposure times should be incrementally increased. Additionally, check that your resin remains fresh and hasn’t been exposed to light, which can cause resin degradation.
Finished Prints and Warping
- Warping is the bending or twisting of an object, especially if printed too quickly or not adequately adhered to the base.
- Better bed adhesion can be achieved by increasing bottom exposure times. Levelling the build plate aids before starting the print can also ensure accuracy.
- If you’re using external resins, you may encounter issues where certain resins fail to cure properly due to exposure level and time settings.
Solution: Always begin with the manufacturer’s guidelines. Always test exposure time adjustments till you get the optimal setting.
Printing Issues Associated with the Environment
As with most things in the real world, temperature and humidity will have an impact.
Temperature
Resins have an optimal curing temperature range. Temperatures beyond the ranges may lead to over-curing or under-curing of the photosensitive materials.
Solution: Store the printer in a controlled temperature room. Ideal settings are 20 – 25 degrees set up in a room temperature-controlled setting.
Humidity
Resins with elevated moisture content will absorb water, resulting in underperformance and print failure.
Solution: Seal printed resins within moisture barrier containers while ensuring to refrain from high-humidity locations when printing.
Final Settings For Best Results For Resin Printing
Final Settings and Results
Focus on the final results-driven outcomes, and apply the necessary adjustments. You are prepared to take charge of final result printing with adjustments after frequent micro-calibrations and controlled test prints.
Changes Within Resin Exposure
Models will always come with expected exposure guidelines and most general rules within bounds, still, adjustments within a range are always completely a model’s or conditions’ preference.
Feel free to run tests and adjust your settings as needed.
Conclusion: Achieving Precision in Your Prints Using These Resin Settings
It’s time to make use of the knowledge you gained with the Anycubic Photon Mono X2’s resin settings. To start, follow the recommended exposure times, bottom exposure, and lift speed for the resin you’re using, then fine-tune based on your results.
To maximise the quality of your prints, don’t forget to account for the print’s working environment, including the temperature and humidity. Most importantly, be willing to try new things. The more you use the printer, the better you’ll understand your distinct printing requirements.
Implement the suggestions provided here and adjust your settings to observe the impact and improvement on your 3D prints. Wishing you all the best in your printing journey!
Recap of SEO strategy:
- Primary Keyword: “Anycubic Photon Mono X2 resin settings guide” (with a density maintained between 1-1.5%).
- LSA Keywords: exposure time, bottom exposure, lift speed, resin types, environmental factors, third-party resins, and troubleshooting.
- Additional Keywords: 3D printing, print troubleshooting, print failures, layer separation, and calibration.


