Key Takeaways
- Cura Profiles for Anycubic Printers: Find out how to configure the Anycubic printer for the best Anycubic printer setup with a Cura profile to ensure error-free printing.
- Advanced Cura Settings: Explore advanced settings, including flow rate, retraction, and print speed, to optimize your printing experience.
Troubleshooting Tips: Learn the standard Anycubic printer and Cura profile issues with quick resolution methods.
Real World Examples: Learn from users who have optimized their 3D printers and gained valuable insights. - Comparison with Other Models: Analyze the prints done with Cura profiles and find out how Anycubic printers rank and which printer is ideal for your requirements.
Best Anycubic printer setup with Cura profile
Step-by-Step Guide
Your interest in this article suggests an interest in optimizing Anycubic 3D printers for quality. Regardless of your level, the right profile selection and settings make a considerable difference. With so many settings, profiles, and filament options, it may not be very clear. Best Anycubic printers under $300 examines the company’s affordable 3D printers, focusing on their features, quality, and price. T
Don’t worry! We’ll guide you through setting up your Anycubic printer with Cura profiles, adjusting settings for different filaments, and troubleshooting common issues. In addition, we will discuss real-life applications, give you professional insights, and model comparisons to fully optimize your 3D printing experience.
So, let’s begin!
Overview of Anycubic Printers with Cura Profiles
What are Anycubic Printers
First things first, let’s clarify what profiles and settings for Cura are so that we may begin. Cura is software with wide use in the 3D printing industry as it holds a key position in the printing workflow. It’s a 3D printing slicing software that specializes in transforming models into high-quality prints, making your life much easier.
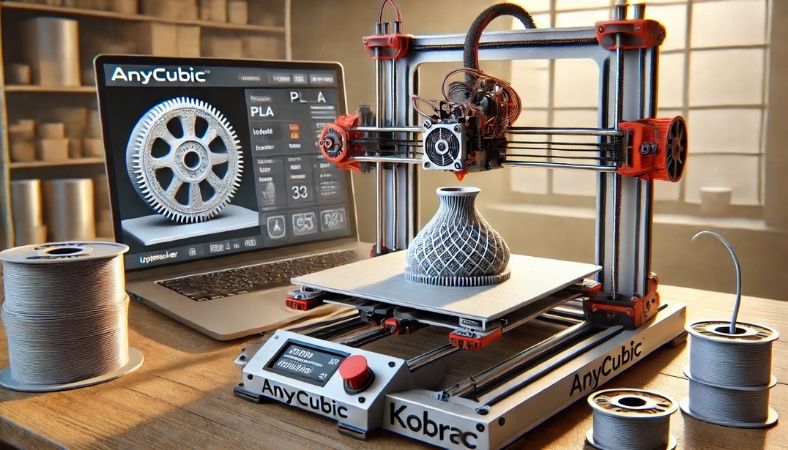
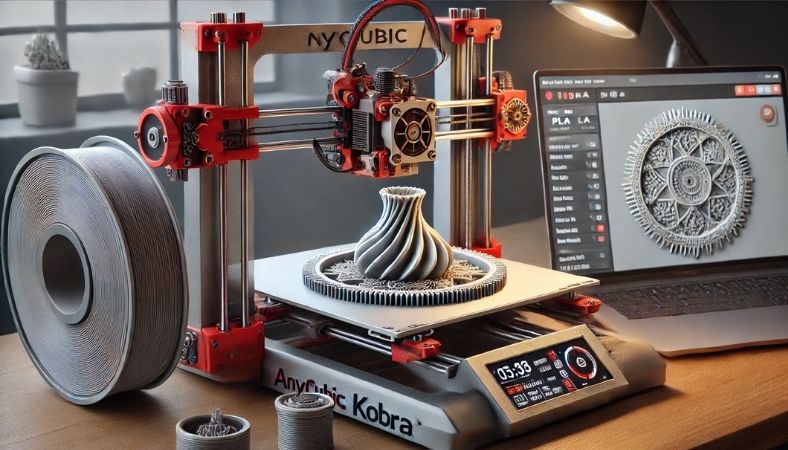
One of the leaders in the 3D printer market is the brand Anycubic, which is known for its quality FDM (Fused Deposition Modeling) printers. Kobra, Kobra Max, and Kobra Neo are some of the models that are widely known and used. All these models are affordable and easy to use, which makes them suitable for virtually everyone regardless of their experience.
The Importance of Cura Profiles for Anycubic Printers
Tailor-made cura profiles are configuration files tailored to your specific 3D printer, which makes sure your prints are of the highest quality. These profiles are based on particular printers, filament types, and the quality of prints desired. Integrated cura profiles will automatically set printer temperature, speed, retraction, and layer height for the filament and printer used, which are crucial parameters to the quality of the print.
For instance, Cura, having a PLA profile for Kobra Max, will take temperature and speed of print into account, which will help ensure smooth prints with great detail.
How To Configure Anycubic Printers With Cura
Configuring your Anycubic printer with Cura is effortless. Just follow the steps given below.
Instructions for the Configuration
Install Cura:
Go to the Ultimaker website and download the latest version of Cura. Ensure Cura is compatible, then install the software on your computer.
Select Your Printer Model in Cura:
When you open Cura, navigate to Settings > Printer > Add Printer. Select your Anycubic printer model from the available options. If it’s not there, you can add the model manually by providing the print bed dimensions and other details.
Load the Cura Profile:
After you select the Anycubic printer model, Cura will load the default profiles for common filaments such as PLA, ABS, and TPU. If you need to use a specific profile for PETG, for example, you can find those on Anycubic’s official webpage or on community forums.
Fine-Tune the Settings:
Customize the profile to meet your requirements by adjusting the temperature, print speed, retraction settings, and other parameters. Changes were made based on the filament type. For example, ABS requires higher settings close to 240°C, whilst PLA does best around 200°C.
Default Cura Profiles for Anycubic Printers
For each filament type, Cura comes with a reliable base profile. Most users will find those profiles useful. Although they are a good starting point, it is helpful to use a few tweaks to better align with the specific printer, for example, lowering the print speed or layer height for better smoothing.
Looking Deeper Into Cura for Anycubic Printers
Let’s dive deeper into anyguic printers, look into settings like print finish and details to get the most out of your printer.
Making Adjustments for and Improving Cura Settings
To get those details and the finer touches of the print to look better, you will need to adjust above a few settings. For example, increase the Layer Height.
Layer Height
With a lower layer height, your print time will increase because each layer takes more time to build. However, the print will ultimately be better and more detailed. It also goes the other way higher layer settings will result in poorer quality.
Print Speed
Similarly, slower speeds of around 40 mm/s will increase the detail, especially with more intricate prints. Faster speeds, such as 60 mm/s, will work for larger prints than the average and will save time as well.
Infill Density
All prints have the option to fill the print, which increases the build quality and overall stiffens the structure. Change the infill to 50% for any feature you want to enhance in quality.
Improving Print Performance for Various Filament Materials
Each filament and type of material has its unique way of printing. Here are some of the more popular options:
PLA
PLA print settings are the most popular among new users due to the simplicity and the generally good and smooth prints. Adjusting temperature or retraction settings might help as well.
3D Printing Materials
Printing items with ABS will give you a stronger printed result. However, to print with ABS, you will need a heated print bed set to 100°C and a print temperature of 240°C. Also, ensure to enable enclosure settings in Cura to avoid warping due to cold drafts.
TPU filament is different from traditional filaments due to its flexible nature. To print with TPU, set the print speed to 20mm/s and increase retraction settings to avoid stringing.
3D Printing Calibration For Precision
Trouble with ABS not sticking to the print bed is often due to improper calibration. Here are a few calibration settings you need to check.
Ensure to edit the first layer settings as the first layer is highly crucial for print bed adhesion. To increase the chances of adhesion, set the print speed to 20mm/s and increase the extrusion width.
Bed leveling is crucial for a successful print. Ensure the printer bed is perfectly level and check if the Cura bed leveling wizard helps.
3D Printing Troubleshooting
Despite having the best setup, you can come across a few issues. Don’t worry, we’ve got you covered.
3D Printing Repair
In this section, we examine some of the major concerns and issues associated with print failures.
Layer Separation:
Layer Separation is the most common issue, often associated with the print temperature. To resolve this, increase the print speed or the nozzle temperature.
Stringing:
To fix stringing, you need to adjust the retraction settings. By increasing the retraction distance in Cura, stringing can be reduced.
Incorrect Z-Axis Alignment:
Your 3D print’s Z-Axis can be misaligned if the print head is not close to the surface of the bed, be sure to clean the print bed before starting a new print.
Resolving Canceled Cura Profiles
Some Cura profiles can be overridden by particular filament settings or the print itself. There are steps to take if you encounter these issues.
Change Printer’s Specs:
Make sure the printer is configured correctly in Cura. Check if the printer’s bed size and dimensions are correctly set.
Change Default Settings:
If the default print settings are not working, try adjusting the temperature, print speed, or retraction settings.
Printer Upkeep Suggestions
An individual’s printer can be in the best condition with simple, easy adjustments. Here is a short list:
- Change the print head and extruder every 1000 prints to keep the printer in its best condition.
- Fill the extruder to its maximum to keep everything in the printer lubricated.
Customizing Anycubic Printer Models for Cura Setup
Every model of Anycubic printer is not identical and each of them comes with different options. Some of these options will be discussed in the following sections.
Anycubic Kobra vs. Kobra Max: Finding the Best Fit for Your Needs
Anycubic Kobra
Best for casual users, the Kobra is compact and beginner-friendly. Its design permits everyday prints, although it might not be the best for more complex prints.
Anycubic Kobra Max
The Kobra Max is an excellent option for those who want a more expansive print area. However, like the Kobra, it has some specific Cura requirements regarding print volume for optimal adhesion and temperature settings.
Kobra Neo Setup: What’s New?
Better out-of-the-box calibration is one of the extra features the Kobra Neo brings. However, it maintains the same Cura compatibility, requiring settings adjustments for the filament, just like the Kobra models.
User Feedback: Reviews and Recommendations
Let’s explore the Anycubic printer user reviews and discuss their Cura profiles.
Users’ Experience with Anycubic and Cura Feedback
Feedback shared from Users with Anycubic and Cura posted on online forums and Facebook groups has been helpful in understanding the software better. To put this in perspective, one of the users, named John, talked about the print speed and how it helped him eliminate stringing with TPU. There was also another user named Sarah, who was able to obtain better prints through mechanical parts by reinforcing the fill density.
Guidelines to Achieve the Top
High-quality filament is to be used
When using 3D printer filaments, make sure to purchase from brands that are reliable. Poor filaments from unreliable brands will definitely lead to undesirable structures.
Printer components should be upgraded
Even the best Cura profiles might not work effectively on aged printers. A printer’s durability is crucial. Ensure to purchase high-quality parts, such as the hotend or extruder, to gain better versatility.
Actionable Recommendations to Achieve the Top
Optimizing the Anycubic printer requires strong setups, ongoing tuning, and proactive maintenance. Consider the following hacks:
Optimizing Your Print Environment
Ensure Draft and Airflow Control
3D printers have their unique temperature preference. Avoid placing your device in direct hot or cold temperatures. Sudden temperature changes should also be avoided, as they can lead to warping.
Use of a Printer Enclosure
While using filaments such as ABS, it is advisable to use a printer enclosure to maintain a steady environment.
Use Pre-Configured Profiles
When time is a factor, assist yourself with pre-configured profiles for filaments like PLA and ABS. You won’t have to focus on every single setting.
Conclusion
Don’t worry, setting up your Anycubic printer with Cura profiles is not that scary. Most of the steps and tips provided in this guide will allow you to achieve high-quality prints and overcome many challenges. This guide covers everything from advanced settings and issue troubleshooting to routine maintenance of your printer, ensuring you get the best out of your 3D printer.
Start experimenting with different Cura profiles, make the minor changes suggested, and see your prints come to life!

