Key Takeaways:
-
Speed Meets Simplicity: The Ender 3 V3 KE redefines beginner-friendly printing by combining blazing-fast speeds of up to 500mm/s with a setup process that takes less than 20 minutes.
-
Smart Printing Power: It runs on the powerful Klipper-based Creality OS, bringing advanced features like input shaping and precise flow control to an affordable price point, all managed through a responsive touchscreen.
-
Direct Drive Precision: Featuring the “Sprite” Direct Drive Extruder and a 300°C hotend, this printer handles a wide range of filaments, from standard PLA to flexible TPU and heat-resistant ABS, with remarkable accuracy.
-
Not Just for Beginners: While incredibly easy to use out of the box, the underlying Klipper firmware offers a deep well of customization for tinkerers and advanced users looking to push performance to its limits.
-
Value Proposition: The Ender 3 V3 KE offers features previously found on much more expensive printers, making it a top contender for the best value 3D printer for both newcomers and seasoned hobbyists.
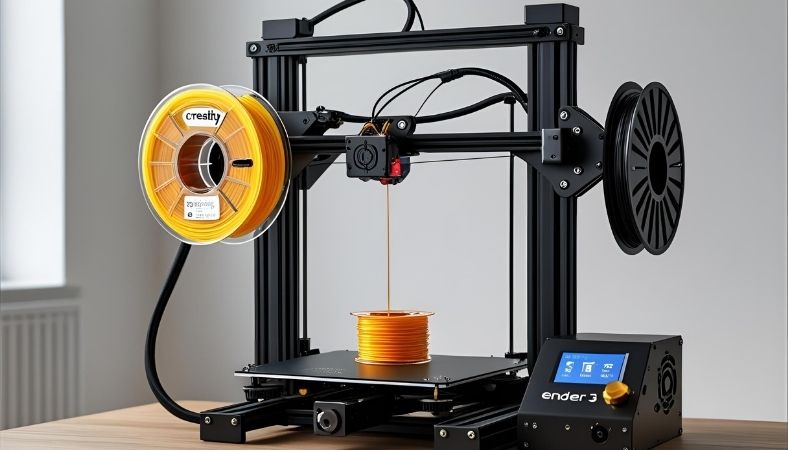
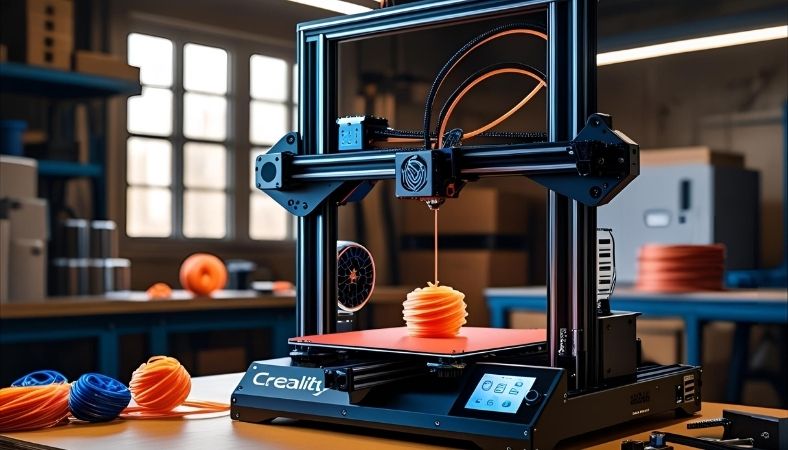 creality 3d printer ender 3 v3 ke
Have you ever been excited to 3D print something, only to be told it will take ten hours? That long wait has been a part of the hobby for years. But what if you could get that same print, with great quality, in just a couple of hours?
That’s the promise of the Creality 3D Printer Ender 3 V3 KE. It’s a machine that has created a lot of buzz, promising super-fast speeds and smart features without a hefty price tag. But does it live up to the hype? We’ve dug deep, looked at the performance, and listened to what real users are saying to give you the full story.
Is the Creality Ender 3 V3 KE the Right 3D Printer for You?
Before we get into the nuts and bolts, let’s figure out if this printer is even a good fit for you. It’s not a one-size-fits-all world, especially in 3D printing.
Who This Printer Is For: The Beginner, The Hobbyist, The Tinkerer
This printer really shines for a few groups of people. If you’re a complete beginner, the V3 KE is fantastic. The setup is simple, and the automatic calibration means you can get great-looking prints without endless tinkering.
If you’re already a hobbyist with an older, slower printer, the V3 KE is a massive upgrade. The speed alone will feel like a leap into the future. You’ll spend more time printing and less time waiting. For tinkerers, the Klipper-based software under the hood offers a playground for customization if you want to push the machine to its absolute limits.
Who Should Look Elsewhere?
If you’re looking to print huge objects, the 220x220x240mm build volume might feel a bit limiting. Also, if you want a fully enclosed printer for high-temperature materials like nylon right out of the box, you might want to look at other options, as the V3 KE has an open-frame design.
Unboxing and a 20-Minute Setup: Getting Started the Easy Way
Creality has nailed the setup experience here. Gone are the days of spending an entire afternoon assembling a kit from hundreds of tiny screws and parts. The Ender 3 V3 KE is a testament to how easy getting started can be.
What’s in the Box: A Quick Rundown
Inside the box, everything is neatly packed and protected. You get the pre-assembled gantry and the base, a handful of screws, the touchscreen, a spool holder, and all the tools you need. It feels clean and organized, not like a messy puzzle.
Step-by-Step Assembly: So Simple You Barely Need the Manual
Putting the V3 KE together is refreshingly straightforward. You essentially just bolt the gantry to the base, attach the touchscreen and spool holder, and plug in a few cables. Most people report going from unboxing to fully assembled in under 20 minutes. It’s a huge win for anyone who feels intimidated by mechanical assemblies.
(Visual Suggestion: A simple infographic or a few images showing the main assembly steps: attaching the gantry, mounting the screen, and plugging in the cables.)
Powering On: The Guided First-Time Setup and Auto-Calibration
Once you turn it on, the bright, responsive touchscreen guides you through the rest. It checks itself, heats up, and then performs a fully automatic bed leveling and Z-offset calibration. This step is critical for a perfect first layer, and the V3 KE handles it all on its own. You don’t have to slide a piece of paper under the nozzle trying to guess the right height.
Core Features Deep Dive: What Makes the V3 KE So Fast and Smart?
So, how does this printer achieve its impressive speed without turning prints into a wobbly mess? It comes down to a few key hardware and software choices.
The Brains of the Operation: Understanding Creality OS (Klipper)
The secret sauce is its operating system. The Ender 3 V3 KE runs on Creality OS, which is built on Klipper. Think of Klipper as a high-performance engine for your printer. It uses a smarter approach to control movement, allowing for much higher speeds and better quality. It’s what gives the V3 KE its “smarts.”
Speed and Precision: X-Axis Linear Rails and Input Shaping Explained
To move quickly and smoothly, the V3 KE uses a rigid steel linear rail on its X-axis (the one that moves side-to-side). This is a big upgrade from the rubber wheels used on many other budget printers. It reduces wobble and keeps the print head steady, even when it’s flying around.
Combined with a software feature called input shaping, it works wonders. Input shaping is like noise-cancellation for movement. It intelligently cancels out vibrations that happen during fast printing, preventing the “ghosting” or ringing artifacts you often see on high-speed prints.
The “Sprite” Direct Drive Extruder: Why It’s a Game-Changer for Filament Versatility
The V3 KE features Creality’s excellent “Sprite” Direct Drive Extruder. “Direct drive” just means the motor that pushes the filament is mounted right on the print head. This gives it much better control, which is especially important for flexible filaments like TPU.
The hotend can also reach up to 300°C, which opens the door to printing with tougher, heat-resistant materials like ABS and some nylons, not just standard PLA and PETG.
(Visual Suggestion: A close-up shot of the “Sprite” extruder on the print head.)
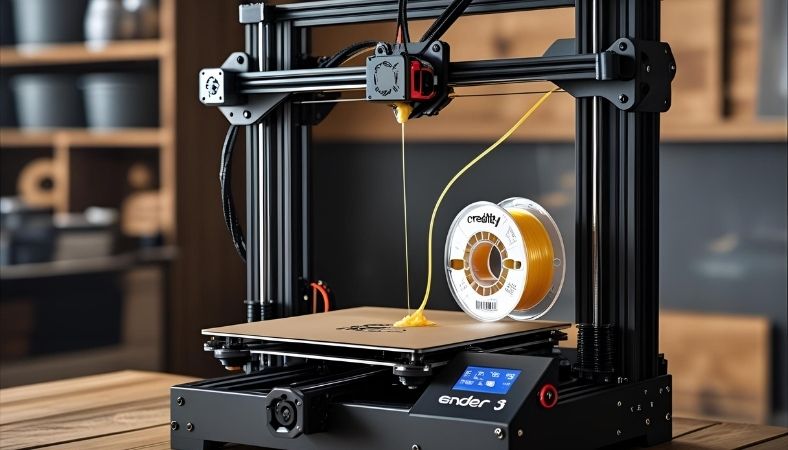
Hands-Off Perfect First Layers: The CR Touch Auto-Bed Leveling System
We mentioned this in the setup, but it’s worth highlighting again. The CR Touch auto-bed leveling system probes multiple points on the build plate to create a digital map of its surface. It then automatically adjusts as it prints to make sure that first layer is perfectly squished down everywhere, which is the key to a successful print.
 Real-World Print Performance and Quality
Specs on a sheet are one thing, but how does it actually print? We looked at dozens of test prints and user reports to find out.
Putting Speed to the Test: Benchy Prints from 300mm/s to 500mm/s
The classic “Benchy” boat is a standard 3D printing benchmark. On older printers, this could take an hour and a half. The Ender 3 V3 KE can print a great-looking Benchy at its “typical” speed of 300mm/s in about 30 minutes. Pushing it to its maximum 500mm/s can get it done in around 17 minutes, though you might see a slight dip in quality at that top speed.
Print Quality Showcase: Examining Detail, Overhangs, and Bridging
For the speed, the quality is impressive. Details are sharp, and thanks to excellent part cooling, overhangs and bridges are handled cleanly. You can print detailed miniatures, functional mechanical parts, and decorative items with confidence. It’s a machine that doesn’t force you to choose between speed and quality; you can have both.
(Visual Suggestion: A gallery of images showing different types of prints off the V3 KE: a detailed model, a functional part, and something with tricky overhangs.)
Handling Different Materials: From PLA and PETG to High-Temp Filaments
The direct drive extruder and all-metal hotend make this a versatile machine. It prints PLA and PETG beautifully, as you’d expect. But it also handles flexible TPU without the usual headaches, and the 300°C nozzle temp means you can successfully print with ABS (though an enclosure is recommended for best results).
The Sound of Speed: Addressing Noise Levels and Vibration
One trade-off for speed is noise. When the Ender 3 V3 KE is printing fast, it’s noticeably louder than a slow, old-school printer. The motors and fans are working hard. It’s not unbearable, but it’s probably not something you’d want running on your desk right next to you while you work.
Ender 3 V3 KE vs. Ender 3 V3 SE: Which One Should You Buy?
One of the most common questions is how the KE compares to its slightly cheaper sibling, the Ender 3 V3 SE. They look similar, but there are key differences that justify the price gap.
Head-to-Head Comparison: Speed, Firmware, and Hardware Differences
-
Firmware: This is the biggest difference. The KE runs on Klipper-based Creality OS, which is smarter, faster, and more feature-rich. The SE uses more traditional Marlin firmware.
-
Speed: The KE is faster, with a top speed of 500mm/s versus the SE’s 250mm/s.
-
Hardware: The KE has a linear rail on the X-axis for more stability at speed, while the SE uses wheels. The KE also has a more responsive and feature-rich touchscreen.
-
Hotend: The KE’s 300°C hotend can handle more materials than the SE’s 260°C hotend.
Price vs. Performance: Is the KE Worth the Extra Cost?
In almost every case, yes. The small price increase for the KE gets you a much more capable and future-proof machine. The speed, improved hardware, and smarter firmware provide a significantly better user experience and higher performance ceiling. The SE is a good printer, but the KE is a great one.
User Experience and Software: Creality Print and Beyond
Your printer is only as good as its slicer software—the program that turns your 3D model into instructions for the printer.
Slicing with Creality Print: The Good and The Bad
The V3 KE comes with Creality’s own slicer, Creality Print. It’s easy to use and has profiles ready to go for the printer. However, some users have found its performance with certain materials, like PETG, to be a bit unreliable. It’s a fine starting point, but you can get better results elsewhere.
Expanding Your Horizons: Using PrusaSlicer and Orca Slicer for Better Results
The 3D printing community has developed some amazing free slicers. PrusaSlicer and its popular offshoot, Orca Slicer, are often recommended for the V3 KE. They offer more control, better slicing results, and have well-tuned profiles available that can improve your print quality even further.
The Optional Nebula Camera: Is Remote Monitoring and Timelapse Worth It?
Creality sells an optional Nebula Camera that integrates with the printer. It lets you monitor your prints remotely from your phone and automatically creates cool timelapse videos. It’s a fun and useful accessory, especially if you plan on running long prints while you’re away from home.
Addressing the Pain Points: Common Issues and Practical Solutions
No printer is perfect. Based on user feedback, here are a few common challenges and how to handle them.
Is the Optional Vibration Compensation Sensor Necessary?
To get the absolute most out of the input shaping feature, you can buy an optional sensor that measures the printer’s vibrations to calibrate it perfectly. While not strictly necessary—the default settings are quite good—many users report that running the calibration with the sensor does tighten up the print quality and reduce ghosting even more.
Long-Term Reliability: A Look at Maintenance Needs After 100+ Hours
The Ender 3 V3 KE is built well, but like any machine, it needs a little upkeep. After many hours of printing, you should check that the belts are still tight and that there’s no wobble in any of the moving parts. Keeping the linear rail clean and lightly lubricated is also a good practice to ensure it continues to run smoothly.
Managing the 8GB Onboard Storage Effectively
The printer has 8GB of onboard storage, which is convenient for storing your files. However, it can fill up, and some users have reported the firmware can get a bit sluggish when it’s nearly full. It’s a good idea to periodically delete old print files from the machine to keep it running smoothly.
The True Cost of Ownership and Must-Have Upgrades
The attractive sticker price is just the start of your 3D printing journey. To get the most out of your Ender 3 V3 KE, there are a few other things to consider.
Beyond the Sticker Price: Factoring in Filaments and Accessories
You’ll need filament, of course! It’s wise to also consider a filament dryer, especially if you live in a humid climate, as moisture is the enemy of good prints. A good set of digital calipers is also an invaluable tool for any 3D printing enthusiast.
Top 5 Recommended Upgrades for Your Ender 3 V3 KE
While it’s great out of the box, a few small additions can make the V3 KE even better. Here’s a list of practical upgrades:
-
Hardened Steel Nozzles: If you want to print with abrasive filaments like carbon-fiber-infused PLA, a hardened steel nozzle is a must-have to prevent the standard brass nozzle from wearing out.
-
Filament Dryer: As mentioned, this is one of the best accessories you can buy. It keeps your filament in perfect condition, which solves a huge number of print quality issues.
-
The Nebula Camera: If you like the idea of remote monitoring and timelapses, this is a purpose-built and easy-to-install option.
-
Upgraded Hotend Fan: Some users find the stock hotend fan a bit loud. There are quieter, high-quality fan replacements available for those who want to reduce the printer’s noise level.
-
Y-Axis Linear Rail Kit: If you become addicted to tinkering and want maximum stability, you can buy a kit to add a linear rail to the Y-axis (the bed movement) to match the X-axis.
Final Verdict: An Unbeatable Value in Today’s 3D Printing Market
So, after all that, what’s the bottom line? The Creality Ender 3 V3 KE is a phenomenal 3D printer for its price. It successfully bridges the gap between affordability, ease of use, and high-end performance.
Summary of Strengths and Weaknesses
Its main strengths are its incredible speed, excellent print quality, and smart, Klipper-based firmware. The super-simple assembly makes it accessible to everyone. Its weaknesses are minor—it can be a bit noisy at full tilt, and the included slicer software isn’t the best on the market.
The Bottom Line: Why the Ender 3 V3 KE is Our Top Recommendation
The Ender 3 V3 KE packs in features that, just a year or two ago, were only found on printers costing two or three times as much. It’s an easy recommendation for anyone new to the hobby and a very compelling upgrade for those with older machines. It empowers you to create more, faster, and with better results.
Frequently Asked Questions (FAQ)
What is the price of Ender 3 V3 KE in Pakistan?
Prices in Pakistan can change based on the retailer and import duties. It’s best to check with local electronics stores and online marketplaces like Daraz.pk for the most current pricing and availability in your area.
What can the Ender 3 V3 KE print?
It prints everything from detailed miniatures and cosplay parts to functional household items. Its high-temperature hotend handles common filaments like PLA and PETG, plus tougher materials like ABS and flexible TPU, giving you lots of creative freedom.
Which is better, Ender 3 V3 SE or KE?
The KE is the better choice for most people. It offers significantly faster speeds, smarter Klipper-based software, and a more stable linear rail. That small extra cost unlocks a huge jump in performance and future-proof features.
What is the difference between Ender 3 V3 KE and K1?
The K1 is a fully enclosed, professional-grade CoreXY printer built for maximum speed and performance with engineering materials. The Ender 3 V3 KE is a more affordable open-frame printer that brings incredible speed and smart features to the hobbyist level.
Can the Ender 3 V3 KE print in multiple colors?
Not automatically out of the box, as it has one nozzle. However, you can achieve multi-color prints by manually pausing the print to swap filament colors. For automated changes, you would need to add a multi-material upgrade kit.
What is the best first 3D printer?
The Ender 3 V3 KE is a fantastic first printer. Its quick 20-minute setup, automatic bed leveling, and intuitive touchscreen remove common beginner frustrations. You get to focus on the fun of printing, not endless troubleshooting.

