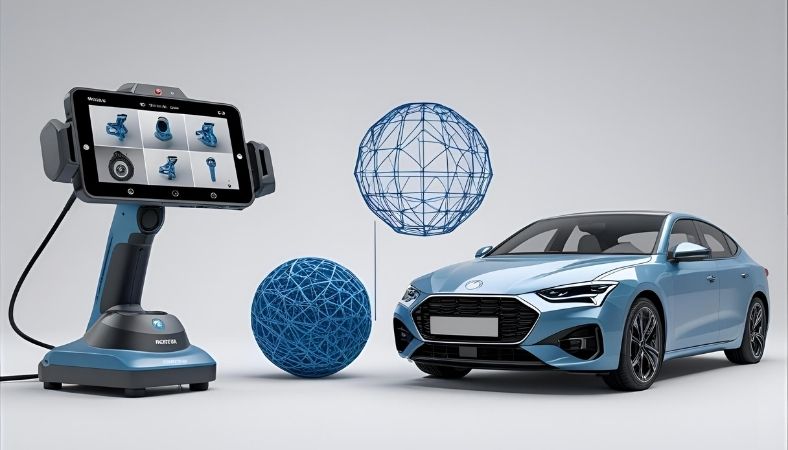
Master 3D scan for 3D print with expert tips on apps, scanners, and workflows. Overcome challenges like shiny surfaces and discover trends like AI integration for accurate STL files.
Think about that moment when you spot a broken part in your favourite gadget, or maybe you want to make a custom toy for a kid. Instead of starting from scratch, what if you could just copy the real thing and print it? That’s where 3D scanning steps in, turning everyday objects into digital files ready for your printer. In this guide, we’ll walk through how it all works, share some handy tools, and fix those common headaches that pop up. By the end, you’ll feel ready to try it yourself.
Key Takeaways
- 3D scanning cuts modelling time from 70-110 hours to minutes, enabling precise replicas.
- Affordable tools like phone apps (Polycam) and scanners ($300-400) make it accessible for beginners.
- Address challenges like reflective surfaces with matte sprays for better accuracy (0.01-1mm).
- Trends include AI and AR for enhanced customisation in healthcare and manufacturing.
- Combine scanning with printing for applications like reverse engineering and custom parts.
What is 3d scan for 3d print?
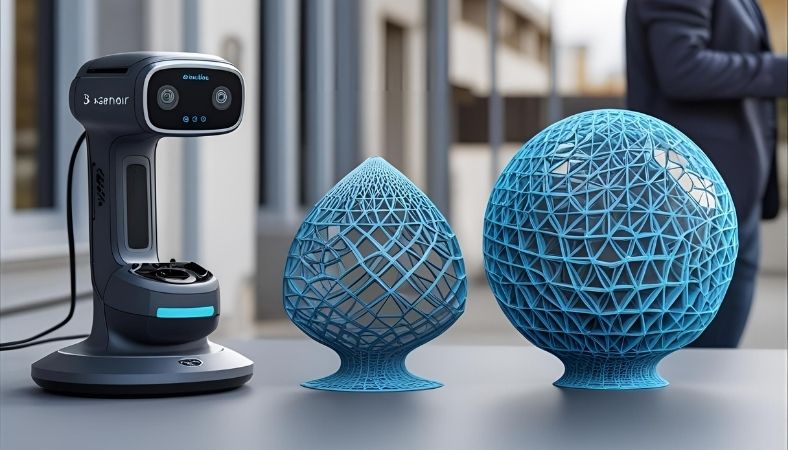 3D scanning captures the shape and details of a real object to create a digital version you can edit or print. It’s like taking a bunch of photos or measurements from all angles and stitching them together into a 3D model. This model often ends up as an STL or OBJ file, which your 3D printer can understand.
Why bother? It saves heaps of time compared to building models by hand in software. For example, if you’re fixing a vintage car part, scanning grabs every curve without guesswork. And get this: smartphones can do basic scans now using apps that rely on photogrammetry, where photos turn into 3D data.
The process is non-destructive, meaning you don’t harm the original item. Accuracy can hit 0.01mm on high-end setups, but even budget options get close enough for most hobby projects. It’s grown popular because the tech has gotten cheaper and easier, especially in 2025, with AI helping smooth out rough scans.
Scanning Technologies
There are a few main ways to scan objects for 3D printing. Structured light scanners project patterns onto the item and measure how they distort to map the surface. Laser triangulation uses a laser line that bends over the object, captured by a camera for precise points.
Then there’s photogrammetry, which stitches together photos from your phone or camera. It’s super accessible—no fancy hardware needed beyond an app. For instance, apps like Kiri Engine turn 200 photos into a detailed mesh.
Compare phone apps to dedicated scanners: Apps are free or low-cost and portable, but they might lack the 0.02mm accuracy of something like the Revopoint Mini. Entities like Creality Raptor Pro shine for medium objects, while Artec Spider handles pro-level detail at a higher price. If you’re just starting, go with photogrammetry—it’s forgiving and fun.
Structured light is great for indoor use, avoiding sunlight interference, while lasers work well on larger items. In 2025, AI boosts all these, making scans cleaner without much manual tweaks. Pick based on your needs: small hobbies favor apps, while workshops might need robust scanners.
Step-by-Step Workflow
Start by prepping your object. Clean it off and, if it’s shiny or dark, dust on some matte powder to help the scanner see better. This simple step avoids glitches in the data.
Next, scan it. With a phone app like Polycam, circle the item slowly, snapping photos from every angle. For a scanner like the Creality Otter, hold it steady and move around the object. Aim for even lighting—no harsh shadows.
Process the data in software. Use Meshmixer to fix holes or refine the mesh, making it watertight so your printer doesn’t freak out. Export as STL, check wall thickness, and you’re set to print.
Here’s a quick list of tips:
- Use a turntable for even coverage on small items.
- Scan in sections for big objects, then merge.
- Indirect light prevents glare issues.
- Calibrate your tool first for spot-on results.
Picture scanning a family heirloom to replicate it—follow these steps, and you’ll have a perfect copy without risking the original.
Best Tools and Software
For scanners, affordable picks in 2025 include the Revopoint Inspire at around $300, with 0.2mm accuracy and easy portability. The Creality Raptor Pro, priced $300-400, excels at 0.01mm for car parts or toys. Pro options like Einscan Rigil offer wireless scanning but hit $4999 not for beginners.
Apps? Polycam and Kiri Engine for Android/iOS are stars. Polycam handles head scans to STL fast, while Kiri shines on thin surfaces. Free vs. paid: Meshroom is solid for no-cost photogrammetry, but paid like Reality Capture adds speed.
Software for editing: Fusion 360 for tweaks, Meshmixer for free mesh fixes. Compare: Free tools suit casual use, paid ones speed up pros. Users love Revopoint for quick setups, per recent reviews.
If you’re into games or e-commerce, try 3DMakerpro’s portable scanners—they’re built for on-the-go pros. Start cheap and upgrade as you get hooked.
Common Challenges Solved
Shiny or transparent surfaces? They reflect light weirdly, messing up scans. Fix it with a quick spray of matte powder—cheap and effective. Dark items absorb light, so boost your setup’s brightness or use structured light scanners.
Post-processing can be a drag, with noisy data or holes in the mesh. Jump into Meshmixer to smooth things out—it’s free and straightforward. For cost worries, calculate your ROI: A $300 scanner pays off after a few projects by saving design time.
Imagine scanning a reflective car door—without prep, it’s a fail. But with powder and good lighting, you get a clean model ready for custom prints. Tech hiccups like gyroscope errors? Update your app and scan slowly. Community tips from Reddit highlight slow support for apps like Polycam, so check forums first.
Privacy in scans? Keep data local if sharing models. These fixes make scanning less frustrating and more rewarding.
Applications and Examples
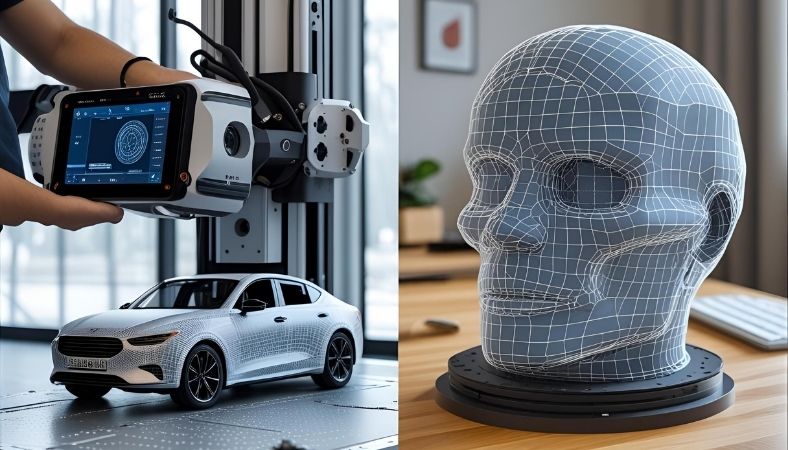 Reverse engineering is huge scan old parts for new prints, like automotive fittings or prosthetics. In healthcare, custom orthotics from scans improve fit and comfort.
Art and education love it too. Museums scan fossils for replicas, letting kids handle history without damage. Education uses it for hands-on learning, like scanning tools for engineering classes.
Case study: Using Pix4D on drones to scan farms, then print scaled models for planning. Another: Shuvosaurid skeleton replicas via scanning, preserving originals while sharing knowledge.
For fun, scan a joystick to make custom accessories in Fusion 360. Construction benefits from building scans for precise renovations. These real uses show scanning’s versatility beyond hobbies.
2025 Trends and Future
AI is big, optimizing photogrammetry for faster, smarter scans. AR integration lets you overlay digital models on real worlds, great for design.
Sustainability pushes eco-materials in printing, tied to efficient scanning. Market-wise, 3D scanners hit $2.25 billion in 2025, growing to $7.16 billion by 2034. Printing market? $29.29 billion now, eyeing $134.58 billion by 2034.
Experts say pocket-sized scanners and automation will dominate, making pros more productive. Healthcare sees more 3D tech for personalized care. Future? Expect localized manufacturing, cutting shipping with on-site scan-to-print.
Comparisons and Alternatives
Scanning beats manual modelling for speed and accuracy on complex shapes—minutes vs. hours. But for simple designs, modelling might suffice without hardware.
Free tools like Meshroom vs. paid Reality Capture: Free is great for starters, paid for pros needing extras. Phone scans (Polycam) are casual and cheap, while pro scanners like Artec Eva deliver industrial precision but cost more.
Low-competition angle: Scan to print custom prosthetics, users report big ROI in time saved. Alternatives? Hire services if you don’t want gear, but DIY keeps control.
Weigh your project: Hobbies lean app-based, work demands dedicated tools.
Final Takeaway
Apply these workflows and tips to start scanning today, experiment with free apps for quick results and scale up for pro projects.
Frequently Asked Questions
How to scan an object for 3D printing?
Grab a phone app like Polycam or a scanner such as Creality Raptor Pro. Prep the object by cleaning it and applying matte powder if shiny. Circle it, capturing from all angles in good, indirect light, aiming for 200+ photos with photogrammetry. Process in software like Meshmixer to refine the mesh, fix holes, and ensure it’s watertight. Export as STL or OBJ, check for printability like wall thickness, and send to your printer. This works for small to medium items; for larger ones, scan in parts and merge. Beginners, start slow to avoid errors—practice on simple shapes first.
Best affordable 3D scanner?
In 2025, the Revopoint Inspire stands out at around $300 with 0.2mm accuracy, perfect for hobbyists scanning small objects like toys or parts. Creality Raptor Pro, $300-400, offers 0.01mm precision for detailed work like car mods. It’s portable, fast (14-18 fps), and integrates well with printers. User reviews praise its ease for beginners, though it needs good lighting. Compared to Revopoint Mini for even tighter 0.02mm, but similar price. Avoid cheap knockoffs, stick to brands like these for reliable results. For under $500, these balances cost and quality without pro-level extras.
Can I use my phone for 3D scanning?
Absolutely, apps like Kiri Engine or Polycam use photogrammetry to turn photos into 3D models on Android or iOS. Take 200+ shots in indirect light, moving steadily around the object. The app processes into STL files ready for printing. It’s free for basics, with pro versions adding features like higher resolution. Challenges include shiny surfaces, so use matte spray. Great for casual users replicating items like tools or figures, but accuracy tops at 0.1-1mm, not pro-level. No extra hardware needed, making it super accessible and ideal for testing before buying a scanner.
Challenges with shiny objects?
Shiny or reflective surfaces bounce light, causing scan errors or missing data. Solve by applying temporary matte powder or developer spray to dull them—it’s cheap and washes off. Use structured light scanners like Revopoint Pop3, which handle reflections better than lasers. Scan in controlled, diffuse lighting to minimise glare. Post-process in Fusion 360 to fill gaps. Users report success with car parts or gadgets this way. For transparent items, add opaque markers. This tweak turns frustrating scans into smooth ones, saving time and frustration essential for accurate reverse engineering.
Is 3D scanning legal?
Yes, for personal, non-commercial use, like replicating your own items or public domain objects. But watch for copyright scanning, branded products could infringe if you sell copies. Patents protect functions, not always shapes, so check if modifying for personal fixes. Museums often allow scans for education but ban sales. In the US, fair use might apply for limited copies. Always credit sources for shared models. For pros, get permissions in commercial work. It’s generally safe at home, but ethics matter avoid profiting from others’ designs without rights. Consult the laws in your area for clarity.
Software for scan processing?
Meshmixer is free and user-friendly for editing, fixing holes, smoothing meshes, and making watertight for printing. Fusion 360 adds advanced tools like surface extraction for CAD integration, great for reverse engineering. Reality Capture handles photogrammetry scans with AI cleanup. Compare Free options like Meshroom suit beginners, while paid ones like Blender plugins suit pros. Export to STL/OBJ easily. Tips: Start with basics to avoid overwhelm; use tutorials for refinements. In 2025, AI in these tools automates noise reduction, making workflows faster for all levels.

