If you’re like me, unboxing your Anycubic Kobra 2 felt like opening a treasure chest of creative possibilities. But getting those first prints right with Cura can be tricky for newbies. For most people, setting up an Anycubic printer with Cura can feel overwhelming.
Anycubic Kobra 2 Cura settings for a beginner are about finding the sweet spot for your prints without tearing your hair out. I’m sharing what worked for my friend Sam and clients to help you print like a pro from day one.
What Are Anycubic Kobra 2 Cura Settings?
Cura is a free slicing software that turns your 3D models into printer instructions. Anycubic Kobra 2 Cura settings for a beginner mean tweaking Cura to match this printer’s speed and precision. The Kobra 2 is a fast FDM printer with a 222x222x250mm build volume, direct-drive extruder, and heated bed. You adjust settings like temperature, speed, and layer height to get clean prints. It’s like tuning a guitar, get it right, and the results sing.
Common Problems Beginners Face
Navigating Anycubic Kobra 2 Cura settings for beginners can be a bit tricky. Sam’s first prints looked like melted spaghetti because he used the default Cura settings. Stringing those annoying filament threads is a big issue if temperatures or retraction settings are off. Poor bed adhesion can make prints peel off mid-job. Many beginners select the wrong profile, leading to clogs or warped models. Slow prints or failed jobs also frustrate new users, especially with tricky filaments like PETG. These hiccups are common but fixable.
Steps to Nail Your Cura Settings
I’ve guided folks like Sam through Anycubic Kobra 2 Cura settings, including the best settings for beginners, and here’s my go-to plan.
- Add Kobra 2 to Cura
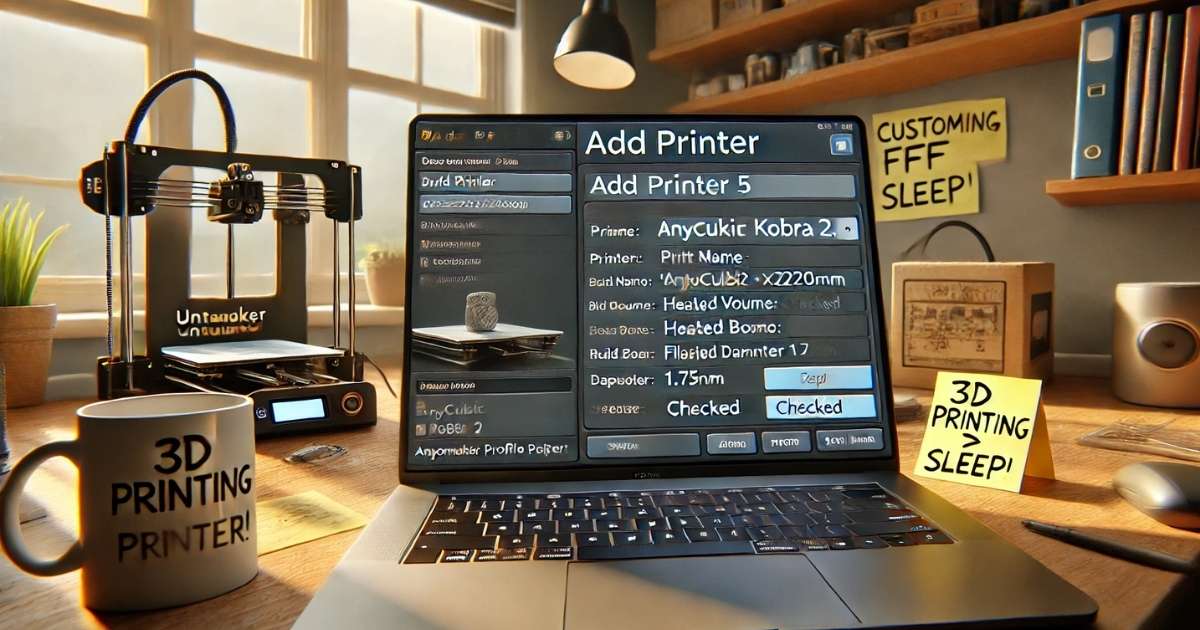
Open Cura, click “Add Printer,” select “Custom FFF Printer,” and name it “Anycubic Kobra 2.” Set X/Y to 222mm, Z to 250mm, check “Heated Bed,” and use 1.75mm filament diameter. This sets the stage for accurate slicing. - Import Official Profiles
Download Kobra 2 profiles from Anycubic’s site for PLA, PETG, ABS, or TPU. In Cura, go to “Preferences,” select “Profiles,” and import the file. Sam used the PLA profile and got clean prints instantly. - Tweak PLA Settings
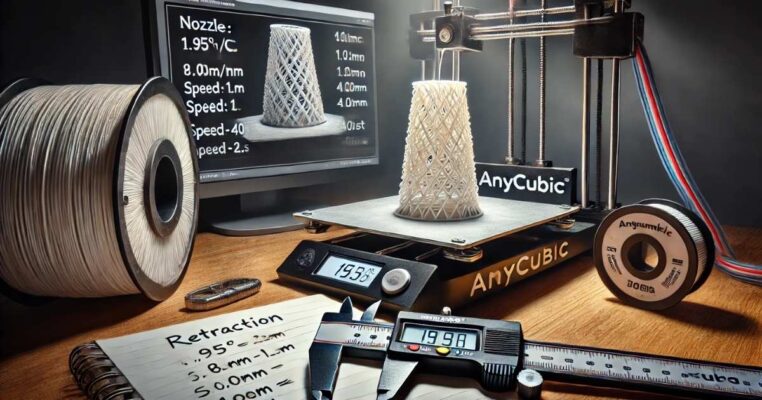
Set nozzle temperature to 200°C, bed to 60°C, print speed to 50mm/s, and layer height to 0.2mm. Enable retraction at 0.8mm distance and 40mm/s speed. These settings balance speed and quality for beginners. - Calibrate Your Printer
Print a calibration cube to check flow and retraction. Adjust the flow to 100-105% if you see gaps. I tweaked Sam’s retraction to 1mm after stringing issues. Use Cura’s Calibration Shapes plugin for quick tests. - Test Bed Adhesion
Use a skirt or brim for better grip. Set initial layer speed to 20mm/s and line width to 150%. This fixed Sam’s prints peeling off the bed mid-print. - Save and Test
Save your custom profile in Cura. Print a small model, such as a 3DBenchy, to test. Tweak one setting at a time—speed, temp, or retraction—to avoid confusion.
My Take: Stories, Tips, and Lessons
Anycubic Kobra 2 Cura settings for a beginner are about starting simple and building confidence. Sam, my friend, got his Kobra 2 to print cosplay props, but his first tries were a mess—stringy, warped, you name it. We sat down, imported Anycubic’s PLA profile, and tweaked the retraction to 0.8mm. His next print, a sword hilt, came out crisp in under two hours. His secret? He tested small prints before tackling big projects.
Here’s what most people miss: calibration is king. I always print a test cube to check dimensions and flow. A client of mine, Priya, used Cura’s default settings and got lumpy prints. We dialed back her speed to 40mm/s and bumped the bed temp to 65°C—problem solved. Another tip? Keep a notebook for your settings. I jot down what works for each filament to avoid guesswork. For more on 3D printing basics, check Wikipedia’s 3D printing page—it’s a great primer on how slicers like Cura work.
I’ve seen the Kobra 2 shine for beginners. Its direct-drive extruder handles flexible filaments like TPU better than older models. Priya printed a phone case in TPU after tweaking the retraction to 1.5mm and the speed to 30mm/s. The key is patience, don’t rush into complex prints. Start with PLA, master the basics, then experiment with PETG or ABS once you’re comfy.
Pros and Cons of Kobra 2 with Cura
Using Cura with the Kobra 2 has its highs and lows. Here’s the real scoop.
Pros
- Beginner-Friendly: The Kobra 2’s auto bed leveling and Cura’s interface make setup easy.
- Fast Printing: Speeds up to 300mm/s with tuned settings, saving time.
- Flexible Filaments: Direct-drive extruder nails PLA, PETG, and TPU.
- Customizable: Cura’s profiles let you tweak everything for perfect prints.
Cons
- No Default Profile: Kobra 2 isn’t built into Cura, so you must add it manually.
- Stringing Issues: High speeds or wrong retraction cause filament threads.
- Learning Curve: Beginners might struggle with calibration without guidance.
- Firmware Quirks: Some users report inconsistent auto-leveling.
Consider your goals. If you want fast, quality prints and don’t mind tweaking, the Kobra 2 with Cura is awesome. If you hate manual setup, you might prefer PrusaSlicer.
Final Thoughts: Your First Print Awaits
Anycubic Kobra 2 Cura settings for a beginner are about starting small and tweaking as you go. Sam went from failed prints to crafting epic props by following simple steps and testing patiently. You can do the same. Download Cura 5.4 or later, add your Kobra 2, and import Anycubic’s PLA profile. Print a test model, such as a 3DBenchy, this week to dial in your settings. Keep a log of what works and join forums like r/3Dprinting for tips. One good print could spark your next big project.
Frequently Asked Questions
What are the Anycubic Kobra 2 Cura settings for the best beginner?
They’re Cura tweaks for the Kobra 2 to get clean prints. Start with PLA at 200°C, 50mm/s, 0.2mm layers.
How do I add Kobra 2 to Cura?
Go to “Add Printer,” select “Custom FFF Printer,” name it “Anycubic Kobra 2,” set 222x222x250mm, and import profiles.
Why do my Kobra 2 prints fail?
Check bed adhesion, use a brim, and tweak retraction. Set initial layer speed to 20mm/s for better grip.
What’s the best filament for beginners?
PLA is easiest to use with a 200°C nozzle, 60°C bed. Download Anycubic’s PLA profile for quick setup.
How do I fix the stringing on the Kobra 2?
Lower the nozzle temperature to 195°C or increase the retraction to 1mm. Test with a small print first.
Is Cura better than Anycubic Slicer?
Cura’s more customizable but needs setup. Anycubic Slicer is simpler for beginners but lacks flexibility.


