Anycubic Kobra Cura settings for beginners
The process of setting up Cura, the slicing software, for the first time can feel like a lot if you just purchased an Anycubic Kobra, especially if you’re new to the 3D printing world. Setting up the Anycubic Kobra Cura settings for beginners is more straightforward than you might assume, so don’t worry. This guide will ensure you thoroughly understand everything essential, like material selection and temperature settings for a 3D printer, raising the odds of your 3D prints coming out smoothly and in great detail. Finding the best Anycubic printer for budget DIY projects is like picking the perfect hammer: affordable, reliable, and versatile.
For 3D printing, Cura remains one of the most favored options and is compatible with Anycubic Kobras, which helps in achieving accurate and reliable prints. It’s important to know whether you are a first-time user or just want to tweak your settings finely, knowing the right way to configure Cura is the first step to perfect prints. This is why, in this article, we will cover everything you need to know to get started so that you can get straight to Anycubic Kobra Cura settings for beginners.
What are the Anycubic Kobra Cura Settings For Beginners?
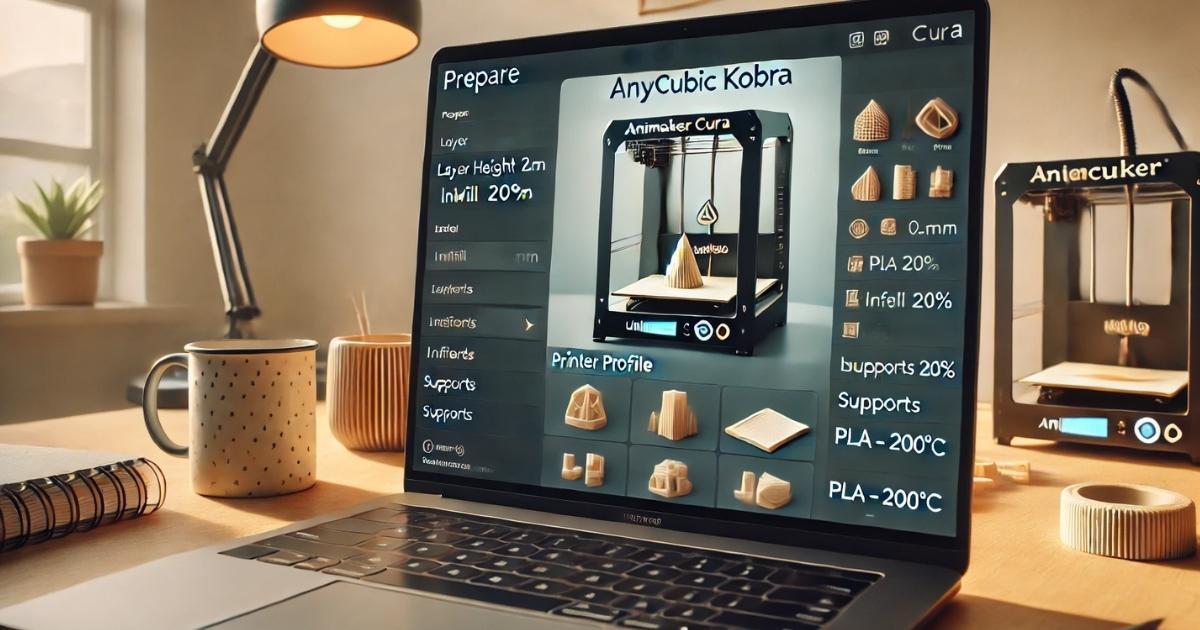
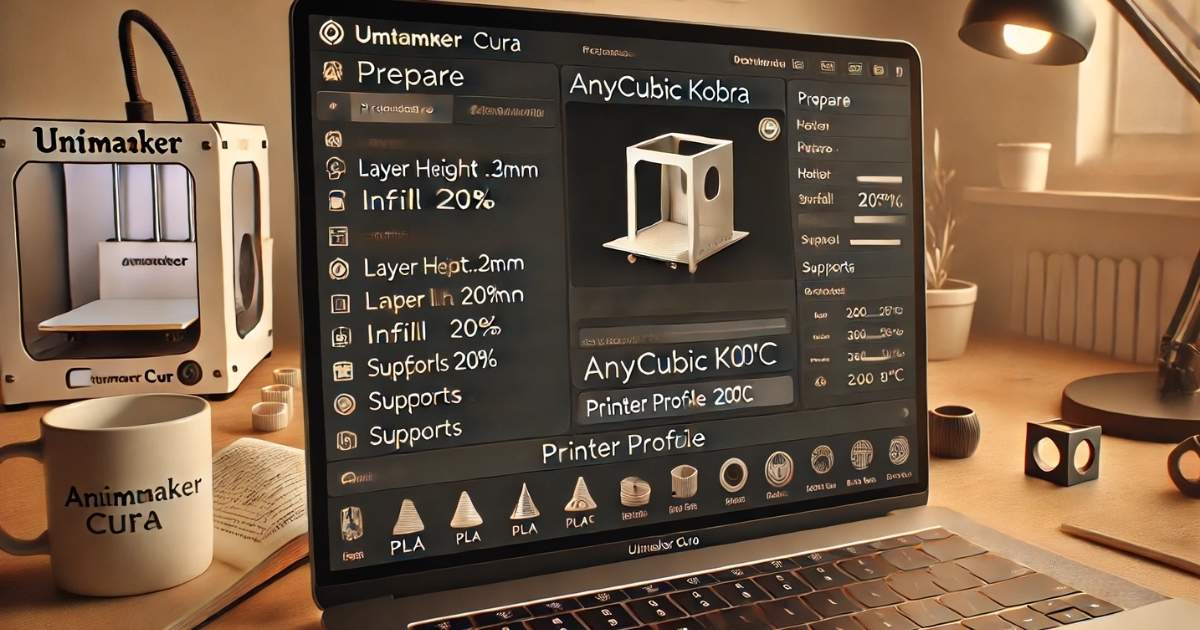
Anycubic Kobra Cura settings for beginners involve making specific changes in the slicing software to achieve precise printing outcomes on the Anycubic Kobra 3D printer. Cura is used in the preparation of 3D models to be printed in a manner that the 3D printer can understand and process. For best results, beginners need to pay attention to profile, temperature, print speed, and material settings in Cura.
Initially, Kobra users may find Cura intimidating, but once they grasp the basics of settings, they will be able to print models more effectively and reduce errors. Each setting is vital to the quality of the print, and mastering these for the 3D printer will significantly improve the print’s quality. The best approach is to begin with elementary settings and then modify them progressively based on the models and materials used.
Comprehensive Tutorial on Anycubic Kobra Cura Settings for Novices
For novices, setting up Anycubic Kobra Cura should not be difficult. All the basic configurations for your 3D printer will be done in this guide, so you can print with assurance.
Step 1: Download Cura and Create a Printer Profile
As with any setting, make sure Cura is downloaded on your PC. A printer profile is created in cura and can be set in the printer settings tab.
Use the steps below to set the printer profile for Anycubic Kobra.
- Open the Cura application, navigate to the menu, and click on Printers, then Add Printer.
- From the list of printer manufacturers, select Anycubic and then select Anycubic Kobra from the listed models.
- Cura will automatically fill in some basic parameters, for example, the print bed dimensions, nozzle size, and build volume, which is 220 x 220 x 250 mm on the Kobra.
Do check your parameters to verify everything is accurate as mismatched parameters will lead to errors in the setup.
Step 2: Set Up the Print Bed and Material Preferences
For the Anycubic Kobra 3D printer, the next step is to set the print bed size and choose the relevant materials. The size of the print bed is essential because it eases the adhesion of the 3D print and helps to mitigate warping during the printing process.
Set bed size parameters to:
- Width: 220 mm
- Depth: 220 mm
- Height: 250 mm
Next, select the material to be used. Starting with PLA is often the best option leveraged by beginners, as it requires the least effort to print and doesn’t need a heated bed. However, Cura lets you choose other filaments like ABS and PETG, too, depending on the project requirements.
Materials need to be selected before other settings, such as print temperature, and Cura will automatically optimize other settings based on the filament used.
Step 3: Set Layer Height
Now, it is time to set the layer height, which is one of the most important indicators of quality. The layer height is a multifaceted printing parameter. Smaller values lead to more detail and a longer print time, while larger values provide a faster print with less detail.
For Anycubic Kobra Cura beginner settings, a layer height of 0.2mm is ideal to achieve a standard quality print. For more detailed printing, a lower height of 0.1mm can be used. However, it is recommended to use a smaller height only to increase detail for time-sensitive projects. Keep in mind that a smaller height will lead to a longer print time.
- 0.2mm is ideal for general prints.
- 0.1mm is best for high-resolution, detailed prints.
- 0.3mm is excellent for fast, less detailed prints.
Step 4: Set Print Speed
The print speed is set to a maximum of 50mm/s for the Anycubic Kobra and must be maintained until further adjustments are made to enhance print quality. Starting slow leads to better prints, and a 50 mm/s speed is reasonable for starters.
- For high-quality prints, reduce the speed to 30-40 mm/s.
- For a rough, lower-quality print, increase the speed, but it is recommended to maintain 30-40 mm/s for best results.
Step 5: Adjust Temperature Settings
The extrusion temperature for the filament you are working with is a crucial setting to maintain. Maintaining a perfect temperature can lead to top-notch prints, but going too high or too low will lead to poor prints.
- To begin Kobra printing with Cura for Anycubic Kobra, here are some settings to consider.
- For PLA, head to the extruder and set the temperature between 190° to 210.
- Additionally, set the bed temperature to around 50° for PLA, making it less prone to warping.
For other materials, do remember to change the temperature settings to the manufacturer’s recommended temperature range for your filament.
Step 6: Enable Supports
For models with overhangs, supports need to be activated via Cura. Supports are structures that Cura generates to support the model during the printing process.
For beginners, grid supports are the easiest to remove and work the best for most models. To enable supports, navigate to the Support Settings in Cura and select Grid. Remember, there is an adjustable support density option that governs the strength of the support structure.
Step 7: Save and Start Printing
Adjusting all settings, the resultant file can be stored on an SD card. After saving, insert the SD card into your Anycubic Kobra and select the print job from your menu.
It is best to keep an eye on the print, especially during the first few layers, to make sure the model is sticking to the print bed.
Anycubic Kobra Cura Settings Pros and Cons for Novices
Pros:
- The User-Friendly Interface: Even for beginners, navigating Cura’s interface is easy.
- Broad Material Support: The use of multiple filaments, including PLA, ABS, and PETG, is supported, making it easier to work on different projects.
- Customizable Settings: Adjustments can be made to numerous print settings and thus, many print parameters can be modified to different needs.
- Optimized for Kobra: Cura comes with a pre-configured profile for the Anycubic Kobra, which simplifies the initial configuration.
Cons:
- Overwhelming for Beginners: First-time users are likely to be confused by the abundant settings.
- Can be Time Consuming: Adjusting settings can be tedious, especially when trying to achieve a perfect print.
- Tweaks Required: Some settings, such as print speed and temperature, may require adjustment after a few test prints.
Frequently Asked Questions
What are the most basic Anycubic Kobra Cura settings for beginners?
Begin with the printer profile, layer height, print speed, and temperature. Pick PLA as the filament for ease, and also ensure that the bed size is correctly set in Cura.
What steps must I take to improve the print quality by adjusting the Anycubic Kobra Cura settings for beginners?
Increase the resolution to high by adjusting the layer height to 0.1mm and lowering the print speed to 30-40 mm/s. Ensure the temperature settings correspond to the filament being used as well.
Can you refine Anycubic Kobra Cura settings for beginners for more advanced prints?
Absolutely! It’s great for beginners to start with baseline settings. However, with experience, there is room for refinement towards more sophisticated prints.
What is the best way to get a print with the Anycubic Kobra Cura settings for beginners?
Your settings need to be adjusted, particularly temperature and speed, if the prints are coming out a certain way. It is better to think of the process as trial and error to help you adjust to the settings correctly.
What material is best to start with for Anycubic Kobra Cura settings for beginners?
For beginners, the best option is PLA because of its convenience, decent adhesion, and reduced warping. It also does not need a heated bed to operate.
How to remove supports in Anycubic Kobra Cura settings for beginners?
After completing a print, consider using a spatula, pliers, and even tweezers to extract supports gently. Generally, supports should easily detach, especially the grid variety.
Conclusion
As we saw, Anycubic Kobra Cura settings for beginners are straightforward and intuitive, provided some of the fundamental tweaks to Cura are made. With the Anycubic Kobra, effective print quality starts with a careful crafting of the printer profile, material, and print settings. Most importantly, start with a solid base, adjust settings as needed, and then refine based on the results. With the information in this guide, you are now equipped to print and get great results.
We wish you happy printing, and most importantly, adjust your settings to suit your prints instead of sticking to a preset.
Bonus Tips
- Regular Bed Cleaning: Before each print, clean the print bed to ensure proper adhesion.
- Ensure Cura is not outdated: Before using Cura, verify that it is up to date to avoid missing features and bug fixes.
- Printer Status Check: Perform routine checks for Anycubic Kobra’s firmware updates to ensure it is working optimally.

