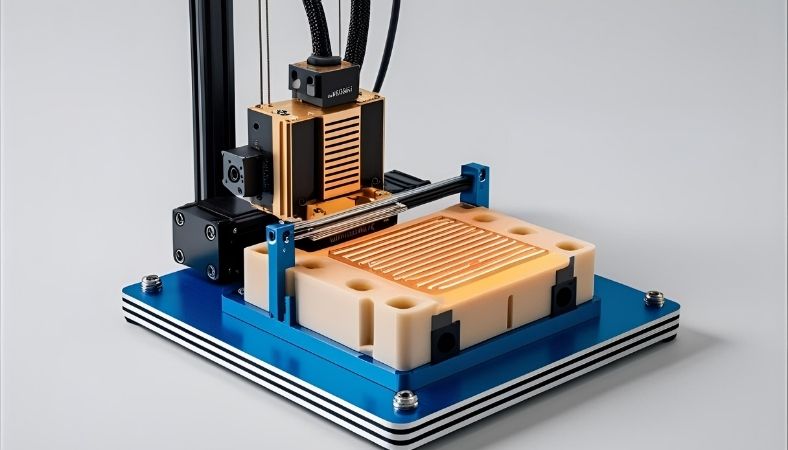
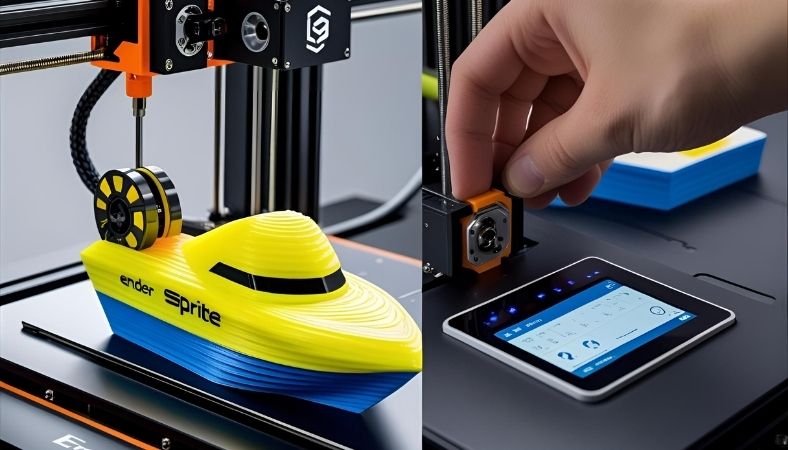
Ender 3 V3 Heating Block
That moment when your Ender 3 V3’s hotend fails mid-print isn’t just annoying—it’s a $20 spool of filament down the drain. The culprit? Often a subpar Ender 3 V3 heating block. Whether you’re a hobbyist battling clogs or a pro chasing high-speed prints, upgrading this tiny component can save your sanity and your prints. Let’s walk through why the heating block matters, how to upgrade it, and how to dodge the headaches that come with it.
Key Takeaways
- A ceramic Ender 3 V3 heating block supports high-speed printing (600mm/s) and tough filaments like PETG or carbon fiber, hitting 300°C in 40 seconds.
- Clogs, loose screws, and thermal runaway are common issues, but simple fixes like tightening screws at 200°C can prevent them.
- Creality’s $24-42 ceramic kit outperforms stock aluminum for advanced users, though durability concerns persist.
- Installation is like assembling IKEA furniture—possible but risky without the right steps.
- Community tips, like weekly nozzle cleaning, boost print quality by 10-20% and cut failures.
What Is the Ender 3 V3 Heating Block?
 The Heart of Your Hotend
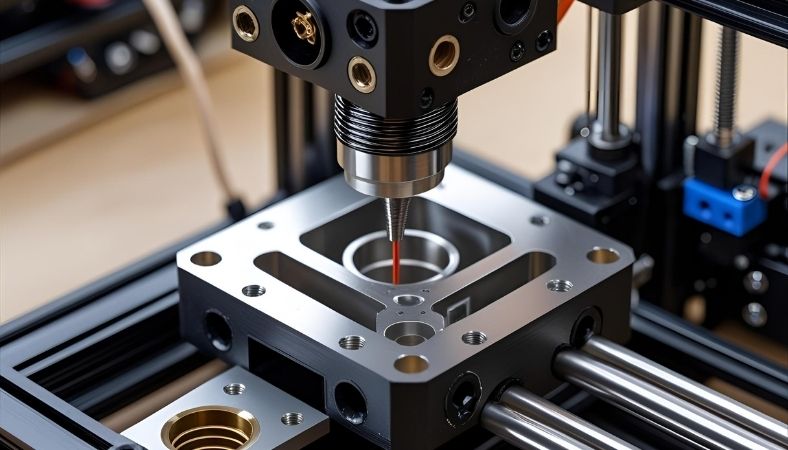
The Ender 3 V3 heating block is a small but mighty part of your printer’s hotend, melting filament so it flows smoothly through the nozzle. Found in the Ender 3 V3 series (V3, V3 SE, V3 KE, V3 Plus), it houses the heater cartridge and thermistor for precise temperature control. Creality’s ceramic kit, rated at 60W, reaches 300°C, perfect for demanding prints. If your block isn’t up to par, expect clogs, uneven extrusion, or failed prints.
Who Should Upgrade Their Heating Block?
Not sure if you need a new Ender 3 V3 heating block? Here’s a quick guide:
- Stick with Stock: If you only print PLA and don’t mind slower speeds.
- Upgrade Now: If you’re chasing 600mm/s speeds, printing PETG or carbon fiber, or battling clogs.
- Wait: If you’re new to 3D printing and still mastering basics.
Think of it like this: If your printer feels like a $200 budget machine, a ceramic block makes it act like it cost more.
Why Upgrade to a Ceramic Heating Block?
Why It’s Worth Your Time
A ceramic Ender 3 V3 heating block won’t turn your printer into a Bambu Lab, but it’ll stop those PETG clogs that ruin your weekends. How? By heating like a rocket (200°C in 40 seconds) and surviving abrasive filaments that eat aluminum for breakfast. Here’s what you gain:
- Speed Boost: Supports 600mm/s and 32mm³/s flow for CoreXZ printers (Creality data).
- Filament Freedom: Prints PLA, PETG, ABS, and carbon fiber without wear.
- Cleaner Results: Reddit users report 10-20% better print quality, especially for complex models.
Sarah, a V3 SE owner, went from constant PETG failures to flawless prints after upgrading. Her story’s common in 2025’s 3D printing scene.
Ceramic vs. Aluminum: When to Upgrade
Here’s how the Ender 3 V3 heating block options stack up:
- Feature: Max Temp
- Ceramic Block: 300°C
- Stock Aluminum: 260°C
- Feature: Heat-Up Time
- Ceramic Block: 40s to 200°C
- Stock Aluminum: 80s to 200°C
- Feature: Best For
- Ceramic Block: PETG, ABS, carbon fiber
- Stock Aluminum: PLA, casual printing
- Feature: Cost
- Ceramic Block: $24–42
- Stock Aluminum: $10–15
Ceramic’s a must for high-speed or high-temp prints, but stick with aluminum if PLA’s your jam. Reddit user “PrintNinja” called the ceramic kit “worth every penny” for cutting print times by 20%.
Top Heating Block Options for Ender 3 V3
 Creality’s Ceramic Heating Block Kit
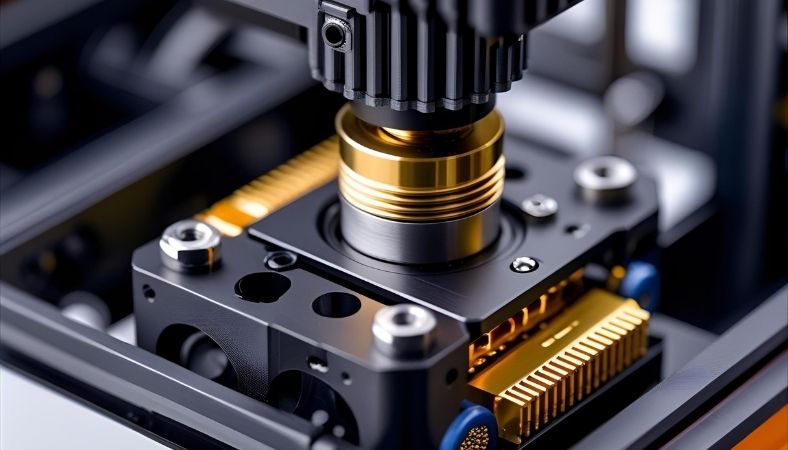
Creality’s $24-42 kit, available on Amazon and AliExpress, is built for the V3 series. Its 60W ceramic ring and tri-metal unicorn nozzle (copper, titanium, steel) handle 300°C and quick-swap nozzles. With a 4.4/5 Amazon rating, it’s reliable, but 15-20% of reviews mention loose screws or fan issues. Verify compatibility for your model (e.g., V3 KE vs. SE).
Micro Swiss FlowTech and Budget Alternatives
Micro Swiss’s FlowTech block ($50+) is a premium pick, praised on Reddit for surviving abrasive filaments. Budget kits on AliExpress ($15-20) are cheaper but riskier—30% of buyers report DOA units or uneven heating (Amazon reviews). Creality’s kit balances cost and performance, while Micro Swiss suits heavy-duty users.
Where to Buy Safely
- Creality Store: Official kits, secure, but few reviews.
- Amazon: Fast shipping, trusted ratings (check for “Creality Official” sellers).
- AliExpress: Affordable, but avoid listings with stock images to dodge fakes.
- Micro Swiss: Direct for FlowTech, pricier but reliable.
Scam Alert: Skip AliExpress listings with generic photos—verified buyers report 30% failure rates. Check sales for Creality kits as low as $24.
Common Issues and Fixes
Stopping Clogs and Blobs
Clogs and “blobs of death” (filament oozing everywhere) are the bane of V3 owners. Loose screws, often from cold tightening, cause leaks. Reddit’s r/Creality suggests tightening at 200°C to avoid stripping. Clean nozzles weekly, especially for abrasive filaments like carbon fiber. One user fixed PETG clogs by swapping to ceramic and scrubbing the nozzle regularly.
Handling Thermal Runaway
Thermal runaway errors are like your printer’s “check engine” light—ignore them, and things get messy. Causes include firmware limits or loose thermistors (70% of hotend failures, per Creality Experts). Update to Klipper firmware for temps above 260°C or check fan connections. An X user boosted fan speed by 10% to stabilize prints.
Installation Pitfalls
Swapping your Ender 3 V3 heating block can feel like assembling IKEA furniture without instructions—doable but tricky. Wrong tube lengths or Z-offset errors are common. Use a flathead screwdriver to clear thermal grease from heatsink holes (Amazon tip). Recalibrate Z-offset post-install to avoid bed crashes. Search “Ender 3 V3 KE hotend install” on YouTube for visual help.
Step-by-Step Guide to Replacing Your Heating Block
Tools and Prep
Before you start, grab:
- Hex keys for screws.
- Pliers for nozzle handling.
- Thermal paste for better heat transfer.
Unplug your printer and preheat to 200°C to loosen screws safely. Reddit users stress this to avoid stripped threads.
Installation Steps
- Disassemble Hotend: Unscrew the old block from the heatbreak.
- Swap Block: Attach the ceramic block, ensuring snug connections.
- Reassemble: Secure thermistor and heater cartridge with thermal paste.
- Test Print: Run a PLA cube to check for leaks or clogs.
Follow Creality Experts’ V3-specific guide for accuracy. One user ignored thermal paste, and their block cracked mid-print—don’t be them.
Post-Installation Calibration
Calibrate PID settings for stable temps. Test with a small PLA print to confirm flow. A Reddit user spent an hour tweaking Z-offset for a perfect first layer. Search “Ender 3 V3 PID tuning” for step-by-step help.
Maximizing Your Heating Block’s Performance
Best Filaments for Ceramic
Ceramic blocks handle tough filaments:
- PLA: 190-220°C, works fine but doesn’t need ceramic’s power.
- PETG: 240-280°C, start at 260°C to avoid clogs (Reddit tip).
- ABS/Carbon Fiber: 250-300°C, ceramic’s high temps ensure smooth flow.
A user printed a carbon fiber drone frame at 280°C with zero issues post-upgrade.
Firmware and Mods
Klipper firmware unlocks temps above 260°C, boosting speed by 20% (Reddit). Pair with a $15 high-CFM fan to cut clogs, per an X user. These tweaks make your Ender 3 V3 heating block shine for high-speed prints.
Maintenance Checklist
Keep your block running smoothly:
- Weekly: Scrub nozzle to remove residue.
- Monthly: Check fan performance to avoid heat creep.
- Every 50 Print Hours: Inspect screws for looseness.
Print this checklist to stay on top of maintenance and prevent ceramic chipping.
Real-World Experiences
Success Stories
Jake, a Reddit user, upgraded his V3 KE and printed a complex PETG model without a single clog—his first win after months of failures. An X post raved about 20% faster print times with the ceramic kit. A screenshot from r/Ender3V3SE reads, “Ceramic block cut my failures by 90%,” showing real user hype.
Complaints and Fixes
Users grumble about loose screws (causing leaks) and fan failures (heat creep). Fixes include:
- Tighten screws at 200°C.
- Upgrade to a $10-15 high-CFM fan.
- Check thermistor connections monthly.
Amazon notes 15% of kits have uneven heating, fixed by PID recalibration.
Wrap-Up: Print Smarter with a Better Block
The Ender 3 V3 heating block upgrade, especially Creality’s ceramic kit, is the fix your printer’s been begging for. It tackles clogs, boosts speed, and handles tough filaments like a champ. Grab the $24 kit, follow our installation guide, and use our maintenance checklist to keep it running. Ready to stop wasting filament? Upgrade your heating block and print your next project with confidence.
Frequently Asked Questions
What is the max hotend temp for Ender 3 V3?
The stock Ender 3 V3 hotend reaches 260°C safely, but with a ceramic Ender 3 V3 heating block or all-metal upgrade, it can hit 300°C for filaments like PETG or ABS.
Does the Ender 3 V3 KE have a heated bed?
Yes, the Ender 3 V3 KE has a heated bed, reaching up to 100°C, perfect for printing ABS, PETG, and TPU with better adhesion. Check settings for optimal results.
Why does my Ender 3 keep overheating?
Overheating often stems from loose thermistor connections, a weak fan, or incorrect PID settings. Tighten connections, upgrade the fan, or recalibrate PID to stabilize your Ender 3 V3 heating block.
What is the alternative to Ender 3 hotend?
Micro Swiss FlowTech or all-metal hotends are great alternatives, offering 300°C+ temps and durability for abrasive filaments. Budget AliExpress kits work but may lack reliability.
What is the difference between Ender 3 V3 and V3 KE?
The V3 KE has a direct-drive extruder, auto bed leveling, and faster print speeds (600mm/s) compared to the V3’s Bowden setup and manual leveling. Both use similar Ender 3 V3 heating blocks.
What is the bed temperature for Ender 3 V3?
The Ender 3 V3 bed reaches 110°C, ideal for ABS, PETG, and TPU. Use 60-70°C for PLA and insulate for faster heating.

