Official Creality Ender 3 V2 neo How to Level
Learn how to level the bed on your Official Creality Ender 3 V2 Neo with step-by-step instructions. Master CR Touch auto-levelling, Z-offset calibration, and fix common issues for perfect first layers. Get tips on tools, troubleshooting, and upgrades to make printing smoother.
The unboxing is pure magic. The smell of new electronics, the crisp packaging of your Creality Ender 3 V2 Neo. You assemble it with care, load up a benchmark test, and hit ‘print.’ But instead of a smooth, satisfying purr, you hear the harsh scrape-scrape-scrape of a nozzle digging into bare PEI. Your dream gadget is now a tangled bird’s nest of plastic. Sound familiar? You’re not alone.
The most common culprit isn’t a broken printer, it’s a bed that’s just slightly out of level. Bed levelling might seem like a chore, but it’s the key to turning those early frustrations into reliable, high-quality prints. We’ll go through it together, sharing tips from my own trial-and-error days with this machine. From basic steps to smart upgrades, you’ll have everything you need.
Key Takeaways
- Proper bed levelling stops many print failures by creating even first layers that stick well.
- Mix manual adjustments with the CR Touch sensor to handle uneven beds.
- Check levels every 10-20 prints or after shifting the printer around.
- Switch to a denser 7×7 mesh through firmware for sharper accuracy than the basic 3×3.
- Looking ahead to 2025, tools like eddy current scanning are making levelling quicker and more hands-off, helping you value your Neo’s setup while eyeing future tweaks.
Why Bed Levelling Matters
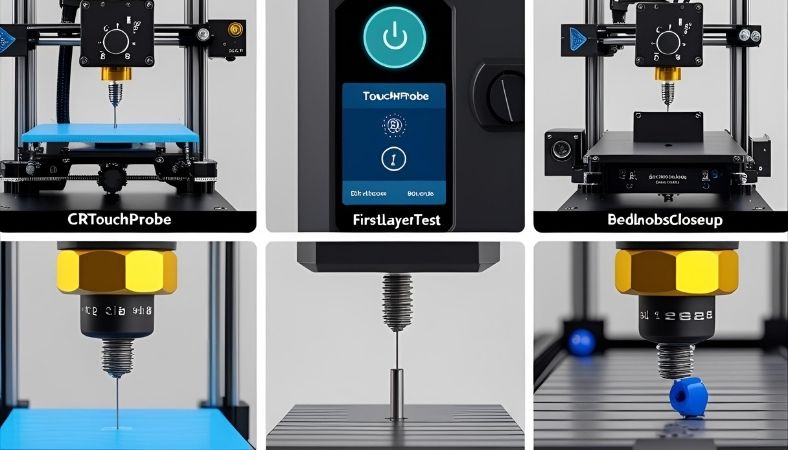 Bed levelling is the foundation of every successful print. Think of it like framing a house. If the frame is crooked, no amount of perfect drywall or paint will hide the underlying flaws. Similarly, an unlevel bed guarantees that even the best filament and slicer settings will struggle to produce a clean, strong print. It’s the non-negotiable first step to printing glory.
When the bed tilts or warps, the first layer of the mattress suffers. Parts might not stick, leading to shifts mid-print or total collapses. Users on forums like Reddit often call this a top reason for failed prints. It can cause nozzle clogs, uneven heights, or that dreaded “air printing” where filament floats above the surface. Fixing it early means less waste and more satisfaction. With the Ender 3 V2 Neo’s sensor, it’s simpler than manual-only machines, but skipping it invites trouble every time.
Tools You Need
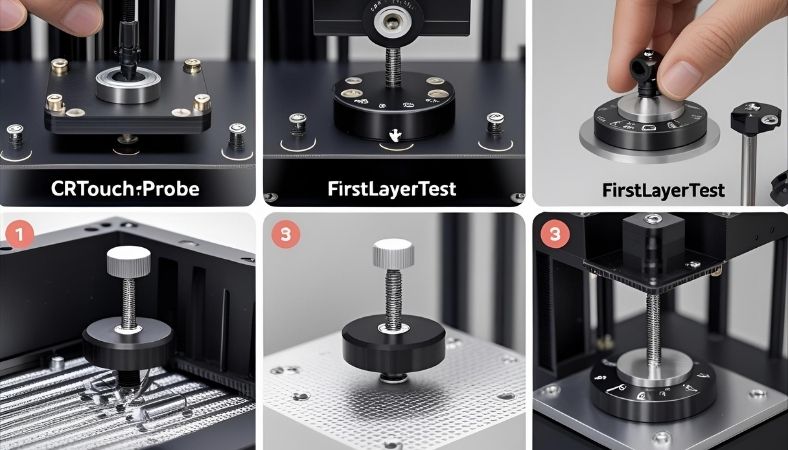
Gather a few simple items before starting. The printer comes with the CR Touch sensor, which serves as your main helper for mapping the bed. A sheet of plain paper works wonders for testing nozzle height—it should slide with just a hint of resistance.
For precision, use feeler gauges to measure the tiny 0.1mm space. If warping pops up often, a glass bed add-on keeps things flat and only sets you back about $20. OctoPrint software shows a visual map of your bed’s highs and lows right on your screen. Always preheat to mimic real conditions; beds expand slightly with heat, so aim for 65°C.
A screwdriver adjusts the knobs easily. Shims can prop up low spots if needed. These tools turn guessing into a quick routine.
Manual Bed Tramming Steps
Start with manual tramming to set a solid base. Preheat to 65°C on the bed and 130-140°C on the nozzle for PLA. Heat matters because materials stretch, and cold checks can lead to unexpected issues later. I’ve skipped this once, only to watch a print peel off halfway through.
Auto home next. The nozzle resets to zero, and the CR Touch taps to confirm. If it glitches, double-check wires.
Disable the steppers to move freely. Slide to each corner and centre. Twist knobs until paper drags lightly—no tears. Repeat cycles; it evens out. Because the stock springs compress over time, check them monthly and consider stiffer yellow ones or silicone spacers for a lasting hold. A cheap swap that cuts down on repeats.
Test the centre last. Warps are common here because heat cycles bend metal. If off, add shims or go glass. Run a small test print. See uniform lines? You’re good. This builds confidence, like learning to balance a bike before racing.
Auto Levelling with CR Touch
The CR Touch shines here, mapping uneven spots automatically. Run the 16-point scan from the menu. It probes and builds a mesh to guide the nozzle. Clean the tip first; dust causes skips.
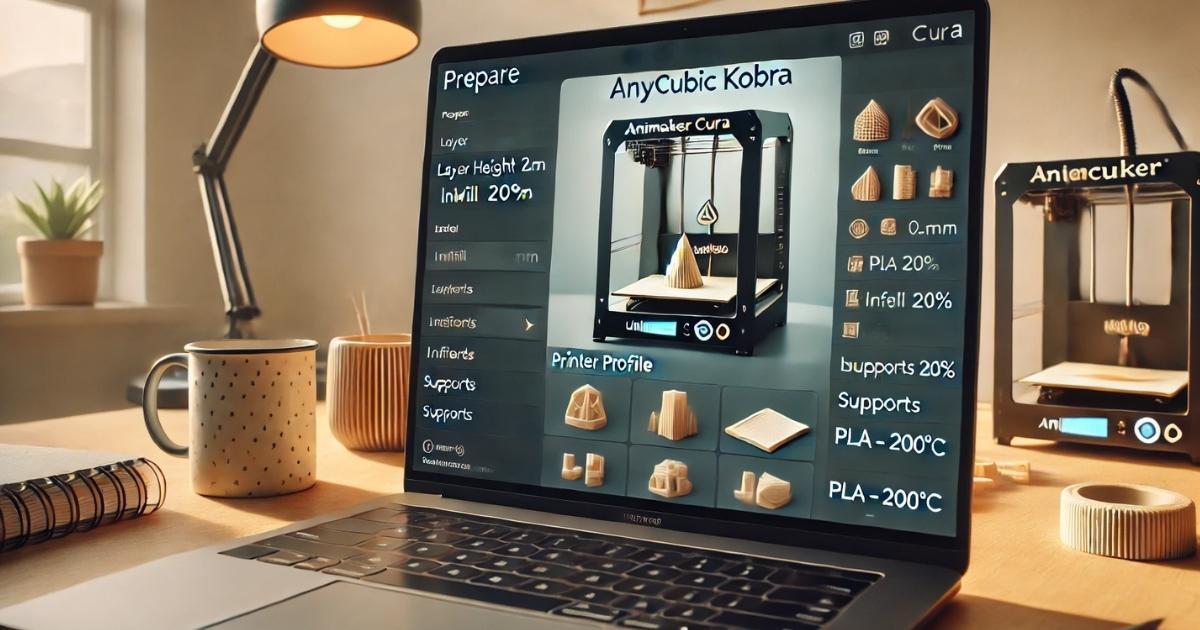
Save with M420 S1 in your slicer code. This applies the map each time, smoothing paths. Add it to start scripts in Cura.
Enable in the slicer for the full effect. The stock 3×3 mesh works, but firmware like Mriscoc unlocks 7×7 for finer detail on big prints. Capacitance detects the bed, though metal nearby can interfere keep clear.
A buddy of mine once forgot to save the mesh. Prints warped every time until he fixed it. Simple oversight. Visualise in OctoPrint for a topo-like view. In 2025, eddy current tech like the Beacon scanner skips physical taps altogether, speeding things up. Appreciate your Neo’s hybrid Approach now; it’s solid for most, and understanding trends like AI tweaks helps plan ahead.
Set Z-Offset Calibration
Z-offset fine-tunes the nozzle’s starting height. After homing, drop to the centre. Adjust till the paper drags at 0.1mm. Save it. For different filaments, nudge it—PLA snug, ABS a touch looser. Integrate into slicer profiles per material.
Test a single layer. Thin lines? Lower. Too fused? Raise. This tackles floating layers, a frequent headache in user stories. If using PEI, add a positive bump for thickness. Forgetting to save is common; always confirm.
I’ve dialled this mid-print before, but upfront is best. Nozzle size changes? Recalibrate. It ensures even flow from go, avoiding gaps.
Troubleshoot Common Issues
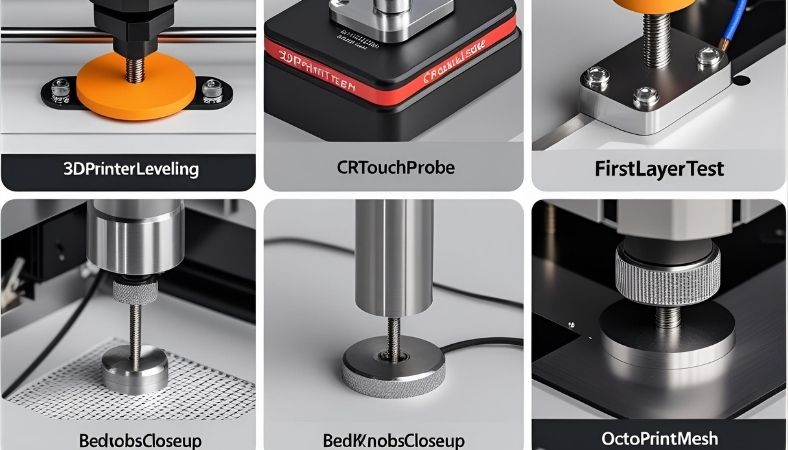 Warps dip in the centre, creating gaps. Shim underneath or clip on glass for flatness. It’s a go-to fix for ongoing bends.
Mesh off? Update firmware Creality’s latest or Jyers for extras. Probe fails mean clean and secure wires. Dust accumulates quickly.
Z sway throws levels; tighten belts, add braces. Electrical hiccups? Inspect plugs. One Reddit tale: Heating first solved “impossible” levelling by expanding evenly.
These steps handle most snags, as adhesion woes top failure lists. Forums buzz with similar fixes. Tackle one at a time. For adhesion post-level, wipe with alcohol. 2025 auto sensors cut these hassles, but your tweaks keep the Neo humming.
Advanced Tips and Upgrades
Re-level every 10-20 prints. Moves or long runs shift things. Heat checks account for expansion.
Denser meshes catch subtle dips. Mriscoc firmware enables it without fuss. AI in newer models auto-adjusts, but apps like Creality Cloud monitor your setup remotely now.
Glass beds swap easily with clips. Eddy probes in 2025 avoid wear from taps. Stock is great for starters; upgrades halve headaches.
After stiffer springs, I levelled less from every five prints to 30. Backup files before changes. Flexible materials? Level more; they pull harder. These make your printer a workhorse.
Comparisons to Alternatives
- Manual vs. auto: Manual teaches basics for free, auto handles warps faster. Neo’s built-in CR Touch beats the Pro’s add-on need.
- Against Bambu: AI full-auto means fewer hands-on, but a higher price. Sovol’s 2025 eddy scanning scales big beds well, though costlier.
- Paper method suits newbies; gauges for pros. Glass trumps magnetic for staying flat, fewer re-levels. Pick by use—casual? Stock hybrid. Heavy? Auto upgrades.
These choices guide your path. Neo balances cost and ease nicely.
Frequently Asked Questions
Can I leave the Ender 3 running overnight?
It’s not advised to leave your Ender 3 unattended overnight due to fire risks. If needed, use a smoke detector, place it in a safe area, and monitor it remotely with a camera.
How to safely turn off a 3D printer?
Stop the print via the menu, let the nozzle and bed cool, then switch off the power. Unplug to avoid standby draw and ensure no filament is loaded.
Does the Ender 3 V2 turn off after printing?
The Ender 3 V2 Neo doesn’t auto-shutoff post-print. Add GCode (M81) in your slicer to power down, or manually turn off after cooling to prevent heat-related issues.
What is the most common problem with the Ender 3?
Bed levelling issues top the list, causing uneven first layers or adhesion failures. Regular trimming, using CR Touch, and checking for warps can prevent most print mishaps.
Can I leave my 3D printer unattended?
Avoid leaving it alone due to fire or mechanical risks. If you must, use a webcam, keep it in a ventilated, non-flammable space, and check it frequently.
Should I turn off my 3D printer when not in use?
Yes, turn it off and unplug to save energy and reduce wear or fire risks. Cool it down first and store in a dry, dust-free spot.
Final Takeaway
Put these tips to work on your Ender 3 V2 Neo, try manual trammelling tonight, and watch your prints improve right away.

