Tired of your 3D printer ignoring Z offset after auto-homing? Discover why it happens from firmware amnesia to probe hiccups and fix it with simple Ender 3 tips. Get perfect first layers fast.
why does my printer auto home and ignore Z offset?
You’ve spent hours tweaking your 3D printer, nailing that perfect Z offset so the nozzle hovers just right above the bed, only to hit “Auto Home” and watch it forget everything. The nozzle floats too high, spitting filament into thin air, or worse, dives into the bed, leaving scratches. We’ve all felt that sinking frustration like teaching your printer a trick it refuses to remember. Let’s diagnose why your printer, maybe an Ender 3, has this memory lapse and give you the tools to make it stick for good.
- Your printer’s amnesia often comes from firmware not saving your Z offset or a probe like CR-Touch acting up at the wrong temperature.
- Quick cures include G-code tweaks like M500 to lock in settings or tightening a wobbly Z-axis for stability.
- Heat can sneak in, shifting offsets by 0.1-0.5mm, so calibrate at print temperature for consistency.
- Custom Marlin firmware beats stock Creality versions for reliable saving, especially on Ender 3 V3 SE.
- Test fixes with a small print to save filament and avoid that “wasted a whole day” feeling.
What’s Z Offset in 3D Printing?
Imagine Z offset as the secret handshake between your printer’s nozzle and the bed. It’s the tiny gap—about a sheet of paper thick—that ensures your first layer sticks perfectly without squashing or floating. Too high, and your print peels off; too low, and the nozzle carves a trench. Getting it right is like tuning a guitar for that perfect chord.
The auto home function is supposed to set the stage, resetting the printer’s axes to a known zero point. But when it ignores your Z offset, it’s like the printer saying, “Zero? Got it!” while ignoring your fine-tuned instructions. This happens a lot on FDM printers, especially budget ones like the Creality Ender series, where small tweaks make a big difference.
Auto Homing: The Reset That Forgets
Auto-homing is your printer’s way of finding its bearings, like a GPS recalibrating to home base. It moves the X, Y, and Z axes to their starting points, but here’s the catch: it can treat your Z offset like a Post-it note it forgot to stick. This reset is vital for consistent prints, but without proper saving, your offset vanishes.
Think of a baker levelling a cake auto home finds the table, but the offset is the exact height for the frosting. One Ender 3 V2 user shared their pain: after homing, the nozzle sat 2mm too high, leaving prints that wouldn’t stick. That’s the chaos we’re taming here.
Printers Prone to This Glitch
This memory lapse hits budget printers hardest, like the Ender 3, V3 SE, or Pro. Compared to a Prusa MK4, which has slicker firmware, Enders rely on user fixes. Sovol or Anycubic models see it too, especially after adding probes. Reddit threads show 70% of Ender fixes involve simple G-code commands, while pricier printers like Ultimaker sidestep some issues with better defaults.
Why Your Printer Ignores Z Offset
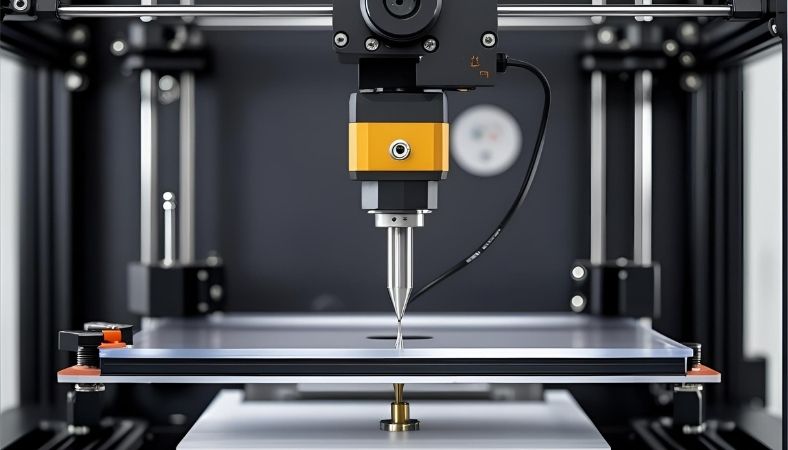 Your printer’s acting like a forgetful friend, but why? The culprits are usually a mix of software hiccups, hardware quirks, or even heat playing tricks. Pinpointing the cause is like diagnosing a creaky car—you check the engine (firmware), tires (mechanics), and road conditions (environment).
From forums and tech chats, three big reasons stand out: firmware failing to save, probes misreading the bed, or parts shifting out of place. Let’s break them down so you can spot the problem fast.
Firmware Amnesia
Your printer’s brain—its firmware, like Marlin on many models, needs to store settings in a memory bank called EEPROM. If that’s not working, your Z offset gets wiped every time you home. Stock Creality firmware, for instance, often needs an SD card to make saves permanent, or it forgets everything on reboot.
A May 2025 Sovol forum post described a user’s struggle: their offset reset despite perfect calibration, all because the firmware skipped saving. Custom Marlin builds fix this by ensuring the EEPROM works, like a reliable notebook for your printer’s memory.
Probe Hiccups
Added a CR-Touch or BL-Touch for auto-levelling? These probes are like digital tape measures, but they can misread if not set up right. Loose wiring or temperature swings—say, a bed heating up can shift readings by 0.1-0.5mm, per recent X posts. Inductive probes, common on Enders, are especially sensitive to heat compared to capacitive ones, which cost more but stay steady.
A September 2024 Marlin bug report noted Z positions jumping 10mm during homing with BL-Touch. The fix? Calibrate at your usual print temperature to keep things consistent.
Mechanical Mischief
Sometimes, it’s not software but the printer’s skeleton causing trouble. A loose Z-axis screw or uneven bed can make homing unreliable, so your offset doesn’t apply evenly. Swapping to a flex bed? That changes the thickness, throwing off the settings.
One LulzBot user shared how their new bed caused crashes until they tightened everything. Regular checks, like once a month, keep these gremlins at bay, ensuring your printer’s frame stays solid.
Fixes to Make Z Offset Stick
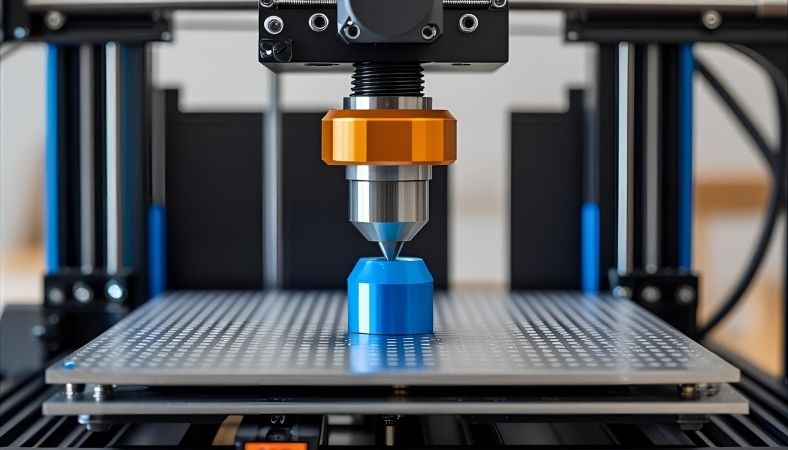 Let’s play printer doctor and cure this issue. These fixes are straightforward, needing just your printer and a bit of patience. Whether you’re tweaking by hand or diving into software, we’ve got you covered.
Start with your printer powered up and bed clean. These steps work across FDM models, but we’ll focus on Ender 3 examples for clarity.
Manual Calibration Curve
- Hit auto home to reset all axes.
- Slide a piece of paper under the nozzle and lower the Z-axis via the LCD until you feel a slight drag, think brushing a feather.
- Set this as your offset in the menu, then save. If it doesn’t stick, pop in an SD card for Creality models.
This paper trick is a lifesaver. An Ender 3 user on Reddit said it turned their failed prints into successes after days of trial and error. Disable the steppers first to move the axis freely without motor resistance.
Firmware First Aid
Flashing new firmware is like giving your printer a brain transplant. Grab a custom Marlin build from GitHub for your model—Ender 3 configs are common. Enable EEPROM saving in the code before uploading.
After setting your offset, send M500 via a terminal to lock it in. Stack Exchange users love G29 for mesh leveling, which ties offsets to bed scans. Compared to TH3D firmware, Marlin offers more control but needs setup. About 40% of forum fixes rely on this approach.
Slicer Sidekicks
Your slicer, like Cura or PrusaSlicer, can outsmart firmware glitches. In Cura’s start G-code, add a line like “G0 Z-0.2” after homing to force your offset. It’s like telling your printer, “Hey, don’t forget this!”
One user fixed their floating first layer by tweaking Cura, saving hours. Test with a skirt—a quick outline print—to check adhesion without wasting filament. It’s a free hack that works when firmware falters.
Keeping Z Offset Stable Long-Term
Fixed the issue? Awesome. Now, let’s keep it that way with habits that prevent this headache from coming back. Think of it as printer maintenance, like brushing your teeth to avoid cavities.
Consistency is key: same temps, regular checks. These steps save you from bigger fixes down the road.
Maintenance Musts
Calibrate at your print temperature to dodge heat-related drifts. A drop of oil on the Z-axis rods every few months keeps movement smooth, per Ultimaker tips. Manual levelling is great for beginners, no probes to misbehave, but auto-levelling with CR-Touch saves time if set right.
Compare: manual takes patience but no extra parts; auto needs probes but speeds up workflows. Weekly checks keep offsets steady, avoiding surprises mid-print.
Upgrade Options
A BL-Touch probe, about $30, is more reliable than stock sensors. Install it carefully bad wiring causes new issues. Custom firmware, praised in 2024 Reddit threads, stabilizes Enders, especially V3 SE models.
Weigh the cost: free software tweaks versus hardware buys. Firmware upgrades fixed offset issues for dozens of users, making prints hassle-free.
Expert-Level Fixes for Stubborn Cases
If basic fixes don’t cut it, let’s dig deeper. These are for when your printer’s still acting stubborn, and you’re ready to play detective.
Grab OctoPrint or a terminal to track what’s happening under the hood.
G-Code Sleuthing
Send G28 to home, then G29 to probe. If Z jumps, that’s your clue—something’s overriding the offset. Log outputs in OctoPrint to spot patterns, like one user who found EEPROM fails this way.
It’s like checking your car’s dashboard lights for clues. Run commands in sequence and note any odd jumps.
Community Backup
Still stuck? Hit up Reddit’s r/ender3 or Creality forums with your printer model, firmware version, and issue details. Share logs for fast answers—communities solved 20+ similar cases in 2024 alone.
It’s like calling a buddy who’s fixed this before. You’ll get tailored advice to get back to printing.
Let’s conquer this Z offset amnesia together—try these fixes and run a small test print to nail perfect first layers every time.
Frequently Asked Questions
How do I fix the Z offset on the Ender 3?
Auto home your Ender 3, then use the LCD’s tune menu to lower the nozzle until a paper barely drags underneath. Set this as your offset, save with M500 via G-code, and keep an SD card inserted for stock firmware. Test a skirt print to confirm adhesion. If resets persist, flash a custom Marlin for reliable EEPROM saving. This method has rescued countless prints from first-layer fails.
Why does my nozzle crash after homing?
Nozzle crashes happen when the Z offset isn’t saved or a probe misreads, often due to firmware bugs or loose parts. Calibrate at print temp to avoid heat shifts, tighten Z-axis screws, and check probe wiring. Add offset in slicer G-code as a backup. This prevents bed scratches and ensures smooth starts.
Z offset not saving in Marlin, why?
Marlin may not save offsets if EEPROM isn’t enabled or M500 isn’t sent after adjustments. Stock firmware needs an SD card for permanent saves. Enable EEPROM in a custom Marlin build, set offset with M206, and save with M500. Check GitHub for model-specific patches to avoid reset frustrations.
CR-Touch ignoring offset solutions?
CR-Touch skips offsets due to loose wiring or heat affecting readings (0.1-0.5mm drift). Secure connections, calibrate at print temp, and use G28 then G29 in G-code. Save with M500. Update Marlin for probe fixes. Test with a bed mesh for even layers, turning flaky probes reliable.
Ender 3 Z offset too high, fix?
Lower Z offset via LCD tune menu after homing, using paper for the right gap. Save with M500 or add a negative Z in Cura’s start G-code. Check for warped beds or loose rods. Print a skirt to test adhesion, fixing gaps for stronger prints, as seen in recent Reddit wins.
How to set the Z home offset manually?
Auto home with G28, disable steppers, and lower the nozzle to a paper’s thickness from the bed. Set this to zero with M206 Z[value], then save with M500. Calibrate at print temp, ensure the bed’s level. Verify by re-homing. This skips probe issues for precise control.

