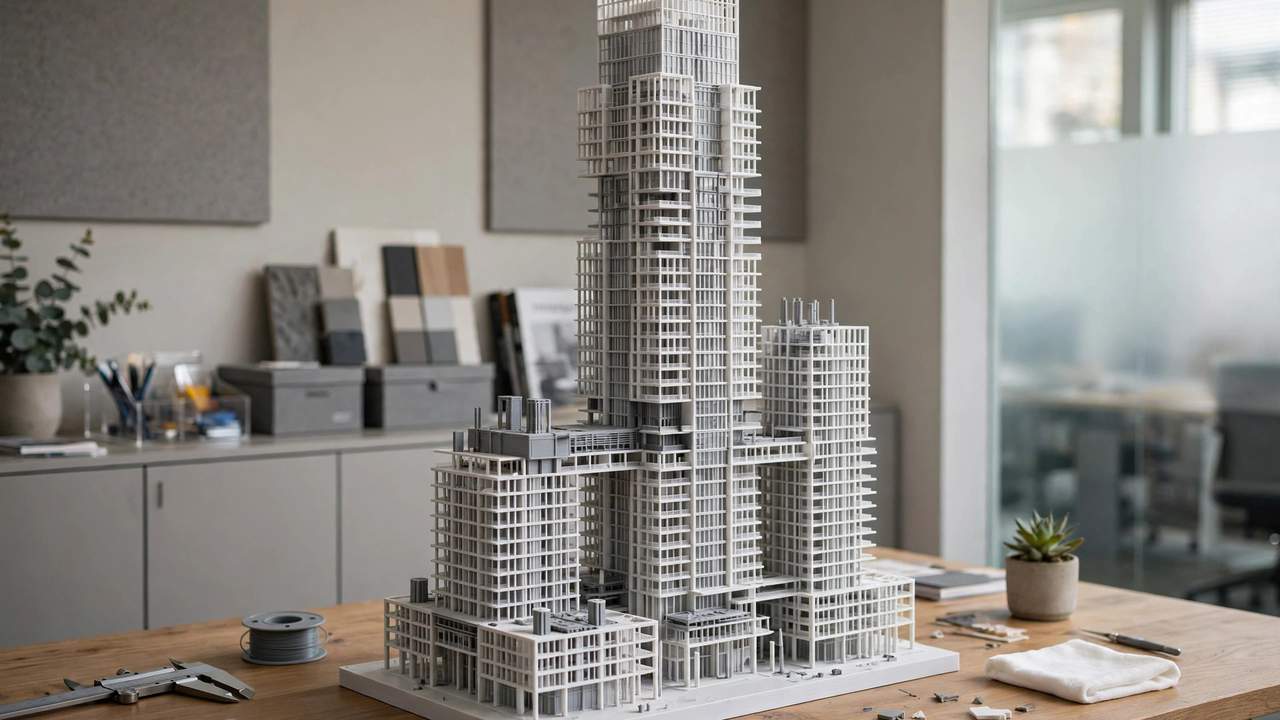
Architecture firms used to outsource physical models at hundreds of dollars a pop, waiting days for delivery. Now a desktop 3D printer for architecture models sits in the corner of studios worldwide, turning around concept models overnight for the cost of a spool of filament. But architectural modelling has specific demands — fine detail, dimensional accuracy, clean surfaces, and the ability to handle both chunky massing models and delicate facade studies. The wrong printer gives you blobby walls and stringy windows. This guide will help you choose the best 3D printer for architecture models for your studio, your budget, and your workflow.
This guide is written for architects, architecture students, and model-making enthusiasts. We’ll cover what actually matters for architectural prints (it’s not what the marketing says), FDM versus resin for different model types, and the specific machines worth buying in 2026 — with Australian availability and pricing.
What Architecture Models Demand From a Printer
Architectural 3D printing isn’t like printing a phone stand. The requirements are distinct:
- Fine detail resolution. Window mullions, facade panels, railings, and staircases are often 1–2mm thick at common scales (1:100, 1:200). The printer must resolve these cleanly without them fusing into blobs.
- Dimensional accuracy. A wall that’s supposed to be 3mm thick needs to be 3mm thick. Inconsistent extrusion or poor calibration shows immediately in architectural work.
- Clean overhangs and bridges. Cantilevers, balconies, roof overhangs, and window reveals are everywhere in architecture. Good part cooling and bridge performance matter enormously.
- Large build volume (sometimes). Site models and context models can be big. The ability to print a 300mm+ base in one piece — or cleanly in sections — matters for presentation models.
- Surface finish. Presentation models get scrutinised. Layer lines that are invisible on a functional bracket scream at you on a white massing model under gallery lighting.
- Material choice. Most architectural models print in white or neutral PLA/PETG for that classic “study model” look. But detailed facade studies benefit enormously from resin.
FDM vs Resin for Architecture: The Real Answer
This is the fundamental fork, and the honest answer is: most architecture practices need both, but start with FDM.
FDM (filament) printers are the workhorses: cheap to run ($25–35/kg for PLA), large build volumes, easy post-processing, and perfectly adequate for massing models, site models, interior studies, and anything at 1:200 or smaller where fine detail is less critical. A well-tuned FDM printer with a 0.2mm nozzle produces genuinely impressive architectural models.
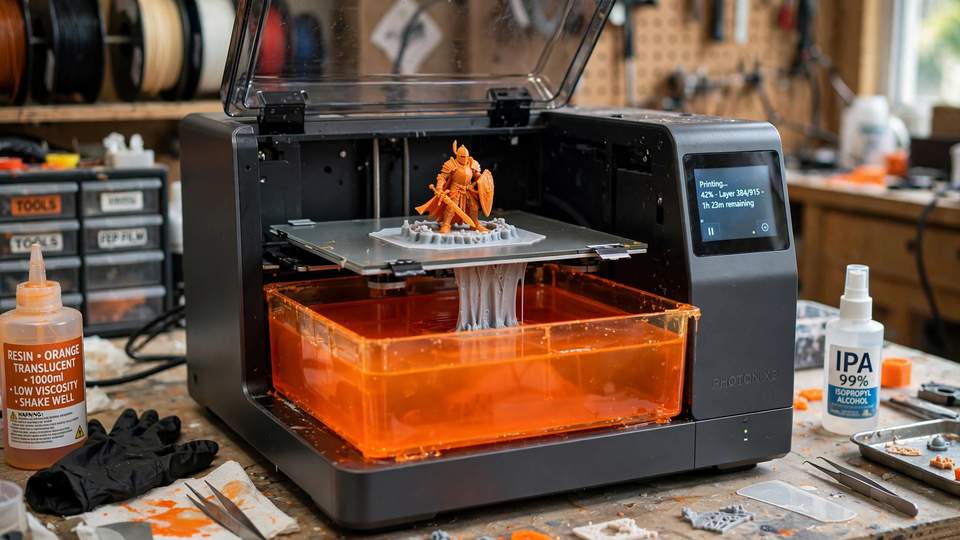
Resin (MSLA) printers are the detail kings: layer heights down to 0.02mm, crisp edges, smooth surfaces that look injection-moulded. For facade detail studies, intricate ornament, 1:50 presentation models, and anything where surface quality is the point, resin is transformative. The trade-offs: smaller build volumes, messier workflow (resin handling, washing, curing), higher material costs ($40–70/kg), and safety requirements (gloves, ventilation).
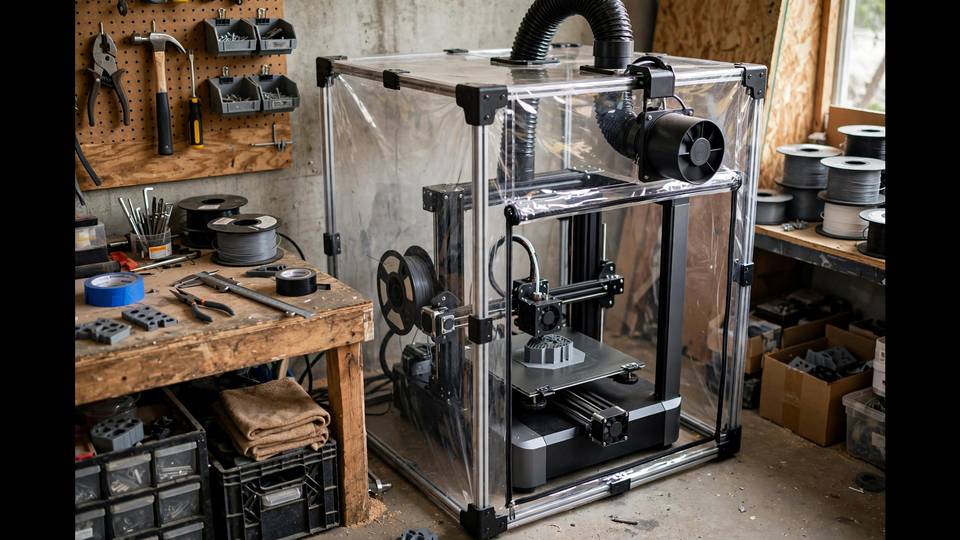
The practical studio setup: an FDM printer for the 80% of models that are massing, context, and concept work, plus a resin printer for the 20% that are detail-critical presentation pieces. If you can only buy one machine, the best 3D printer for architecture models for most studios is an enclosed FDM printer — it handles the broadest range of architectural work. Our resin vs FDM comparison goes deeper on the trade-offs.
Best 3D Printer for Architecture Models: Top FDM Picks
Bambu Lab P1S — The Studio Workhorse
If there’s a default answer for “architecture studio buys a 3D printer” in 2026, it’s the Bambu Lab P1S (or its bigger sibling). Enclosed (good for warp-free large prints), fast, reliable enough to run overnight without babysitting, and 256×256×256mm build volume handles most architectural models in one piece. The AMS option adds multi-colour for coded massing models (different colours for program zones — genuinely useful in client presentations).
For architecture specifically: the enclosure means large flat site models don’t warp at the corners, the speed means next-morning turnaround on concept models, and the reliability means the intern can run it without a 3D printing degree. Expect around $900–1,100 AUD for the P1S in Australia depending on configuration.
Creality K1 Series — The Value Alternative
Creality’s K1 (and K1 Max for bigger volumes) offers enclosed, high-speed printing at a lower price point than Bambu. The K1 Max’s 300×300×300mm volume is genuinely useful for large site models. Print quality is excellent once dialled in, though it demands slightly more tuning patience than the Bambu.
For students and small practices watching budget, the K1 hits the sweet spot of enclosed reliability and speed without the premium price. Our K1 vs Bambu comparison breaks down the differences.
Any FDM Printer + 0.2mm Nozzle — The Detail Upgrade
Here’s the secret the marketing doesn’t emphasise: for architectural detail on FDM, the nozzle matters more than the printer. Swapping the standard 0.4mm nozzle for a 0.2mm nozzle (a $10–15 part) doubles your effective detail resolution. Walls print thinner, mullions resolve cleaner, surfaces get smoother.
The trade-off is speed — 0.2mm nozzles print roughly 2–3x slower — but for presentation models where quality is everything, it’s worth it. Keep the 0.4mm for fast concept models, swap to 0.2mm for finals. This one upgrade does more for architectural print quality than spending an extra $500 on the printer. Our nozzle guide covers selection and swapping.
Best 3D Printer for Architecture Models: Top Resin Picks
Elegoo Mars / Saturn Series — The Detail Machines
For facade studies and presentation models, a mid-size MSLA printer like the Elegoo Saturn 4 (or equivalent) delivers the crisp detail that makes clients lean in. The 10K+ resolution screens on current models resolve features FDM simply cannot — delicate tracery, fine railings, textured facades.
The Saturn-class build volume (~220×130×250mm) handles most detail studies in one piece. Larger presentation models get printed in sections and assembled — resin bonds beautifully with a drop of fresh resin cured under UV, making invisible joins.
Budget reality: a capable resin setup (printer + wash/cure station + resin + safety gear) runs $600–900 AUD all-in. The per-model material cost is higher than FDM, but for the models where detail matters, there’s no substitute. Our budget resin printer guide has Australian-specific picks.
Settings That Matter for Architecture
Regardless of printer, these settings make or break architectural prints:
- Layer height: 0.12–0.16mm for FDM presentation models (0.2mm is fine for concept/massing). Resin: 0.03–0.05mm.
- Walls: minimum 2–3 walls for thin architectural elements. Single-wall prints look terrible and break.
- Infill: 10–15% is plenty for display models. Don’t waste filament on 100% infill — it adds nothing visually and risks warping.
- Supports: architectural models are support-heavy (overhangs everywhere). Learn your slicer’s support painting — auto supports waste material and scar surfaces. Tree/organic supports are kinder to facades than grid supports.
- Orientation: think about which faces matter. The top-facing surfaces get the best finish; orient so presentation faces point up. Facades print best vertical (layer lines read as “material texture”) rather than flat.
- Scale thinking: at 1:200, a 3mm wall is realistic but prints poorly on 0.4mm nozzle. Either thicken sub-nozzle features or switch to 0.2mm nozzle. Design for the manufacturing process, not just the drawing.
Our slicer comparison covers which software gives you the finest control over these parameters.
Workflow: From CAD/BIM to Print
The pipeline from architectural software to physical model:
- Export: from Revit/ArchiCAD/Rhino/SketchUp as STL or 3MF. Check export units — a model in metres exported as millimetres gives you a building the size of a bacterium.
- Repair: architectural exports are notoriously messy — non-manifold edges, inverted normals, zero-thickness walls. Run through a repair tool (your slicer’s built-in repair, or a dedicated tool) before slicing.
- Thicken: walls thinner than 2× nozzle diameter won’t print. Thicken curtain walls, mullions, and railings to printable dimensions.
- Split: models bigger than the bed get split in the slicer or CAD. Design split lines along natural breaks (floor levels, facade joints) so they’re invisible.
- Slice: with the architecture-specific settings above.
- Finish: most architectural models look best in matte white or light grey. A coat of primer unifies multi-part prints and hides layer lines. For presentation, consider a light sanding + primer + matte topcoat.
Cost Reality: In-House vs Outsourced
A typical outsourced architectural model (1:200, medium complexity) costs $300–800+ AUD and takes 3–7 days. The same model printed in-house: $5–15 in filament, overnight print time, and an hour of finishing. The printer pays for itself within 2–3 models.
The hidden value isn’t just cost — it’s iteration speed. Being able to print three massing options overnight and compare them physically the next morning changes how you design. Clients respond to physical models in ways renders can’t match, and the ability to produce them on demand is a genuine competitive advantage for small practices.
The Student Budget Setup
Architecture students don’t have practice budgets. Here’s the minimum viable setup that still produces portfolio-worthy models:
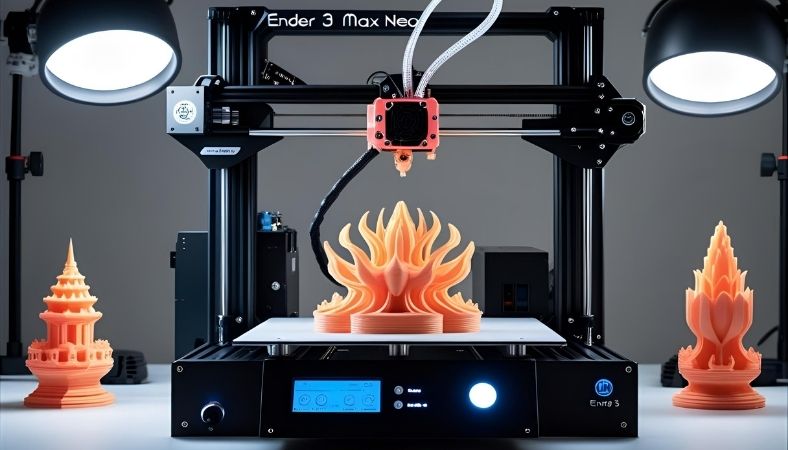
- Printer: any reliable budget FDM machine ($250–350 AUD) — the Ender 3 V3 SE or equivalent. What matters is reliability, not features.
- Nozzle set: 0.4mm (daily work) + 0.2mm (presentation models). $20 for the pair.
- Filament: 2–3 spools of white/mat-grey PLA ($25–35/kg). White is the architectural standard — it photographs well and takes primer evenly.
- Finishing: filler primer ($15), a pack of sandpaper ($10), and matte white spray paint ($12). This $37 finishing kit does more for presentation quality than any printer upgrade.
- Tools: flush cutters, craft knife, cutting mat. $25 total.
All-in: under $450 for a setup that produces models good enough for final-year presentations. The most common student mistake is spending the budget on the printer and having nothing left for filament and finishing — a $250 printer with proper finishing beats a $600 printer with raw prints every time.
Presenting Models to Clients
A physical model changes the client conversation. Some presentation tips from practices that do this well:
- Scale consistency: present the model alongside a scale figure (printed or bought). Clients struggle with abstract scale; a tiny human figure makes a 1:200 model instantly legible.
- Colour coding: if you have multi-colour capability (or just paint), use colour to communicate — program zones, phasing, options. A model that explains beats a model that just shows.
- Multiple options: the real power of in-house printing is iteration. Bring three massing options, not one. Clients who can compare physically make faster, more confident decisions.
- Lighting: present under good light. A desk lamp aimed at the model reveals the detail you worked for; overhead fluorescents flatten everything.
- Context: a simple printed base with surrounding streets (even abstract blocks) grounds the building. Context models photograph dramatically better than isolated buildings.
Common Architectural Printing Mistakes
- Printing the BIM model directly: BIM exports are full of unprintable geometry — zero-thickness walls, overlapping solids, insane detail at unprintable scales. Always simplify for print: merge details, thicken walls, remove anything smaller than your nozzle can resolve.
- Wrong scale thinking: designing at 1:1 then scaling down in the slicer crushes detail below printability. Design (or at least check) at final scale.
- Ignoring support scars: auto-generated supports on a visible facade leave pockmarks. Learn manual support placement, or split the model to minimise overhangs on presentation faces.
- Skipping the test print: a 2-hour test section of the trickiest facade bay saves a 20-hour failed full model. Always test the hard parts first.
- Forgetting the base: models need a base — for stability, presentation, and handling. Design it in, don’t improvise with cardboard.
Frequently Asked Questions
What is the best 3D printer for architecture students?
A reliable FDM printer like the Bambu Lab A1 or Creality Ender 3 V3 series — affordable, easy to run in a dorm or shared studio, and capable of excellent results with a 0.2mm nozzle for detail work. Add a resin printer later if facade detail becomes important.
Is FDM or resin better for architectural models?
FDM for massing models, site models, and concept work (80% of architectural printing) — cheaper, larger volumes, easier workflow. Resin for detail-critical presentation pieces and facade studies where surface quality matters most. Most serious setups eventually have both.
What scale do architects 3D print models at?
Common scales are 1:100 and 1:200 for building models, 1:500 for site/context models, and 1:50 for detail studies. At 1:200, remember that real-world 600mm walls become 3mm — right at the edge of FDM resolution, so thicken sub-nozzle features.
How much does it cost to 3D print an architectural model?
Filament cost is typically $5–20 AUD for a medium model. Compared to $300–800+ for outsourced models, in-house printing pays for the printer within 2–3 projects. The real saving is turnaround time — overnight instead of a week.
Can I print directly from Revit or ArchiCAD?
Export as STL or 3MF, then repair and slice. Architectural BIM exports often need cleanup — non-manifold geometry, zero-thickness walls, and unit mismatches are common. Always check the model in the slicer preview before committing to a long print.
What is the best 3D printer for architecture models overall?
For most studios, an enclosed FDM printer like the Bambu Lab P1S — fast, reliable, and big enough for most models in one piece. Add a resin printer later for detail-critical presentation work where surface quality matters most.