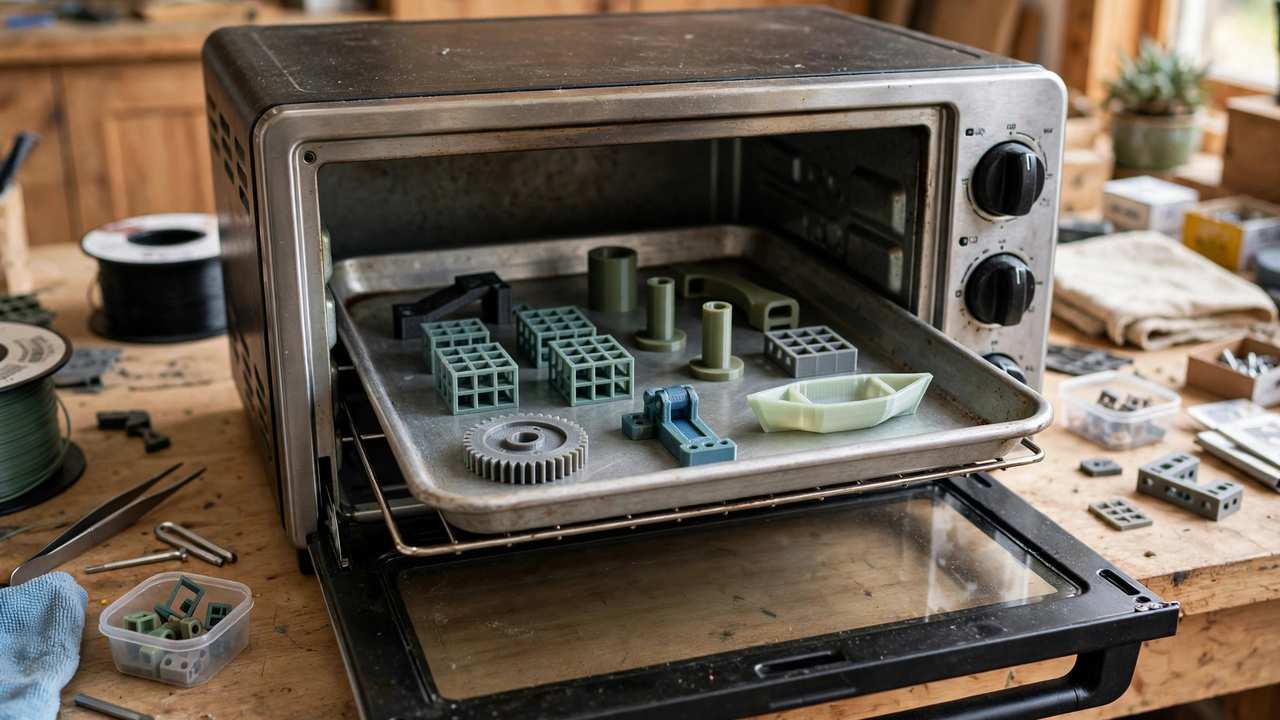
PLA is the easiest filament to print — and one of the weakest for functional parts. It softens at just 60°C, which means a PLA bracket in a hot car turns to spaghetti. But there’s a trick that transforms PLA’s mechanical properties: anneal PLA prints with controlled heat and you can boost strength by up to 40% and push heat resistance past 100°C.
It sounds like alchemy, but it’s solid materials science. This guide explains how annealing works, gives you a foolproof step-by-step method, and covers the warping pitfalls that ruin first attempts. By the end, you’ll know exactly how to anneal PLA prints safely in a home oven — no lab equipment required.
What Is Annealing (and Why Does It Work)?
When PLA prints, each layer cools rapidly — the plastic solidifies in a mostly amorphous state, with polymer chains frozen in random orientations. Amorphous PLA is easy to print but relatively weak and heat-sensitive.
Annealing reheats the finished print to just above PLA’s glass transition temperature (around 60–65°C) and holds it there. The added thermal energy lets polymer chains reorganize into crystalline structures — ordered, tightly-packed arrangements that are significantly stronger and more heat-resistant.
The results, backed by multiple published tests in the maker community:
- Tensile strength: Up to 30–40% improvement
- Heat deflection: From ~60°C to 90–110°C+ depending on method
- Layer adhesion: Noticeably improved — annealed parts fail less often along layer lines
- Stiffness: Increased, though with slightly reduced impact toughness (a trade-off)
The catch: crystallization causes shrinkage — typically 1–3% depending on geometry. You must account for this or your precision parts won’t fit. More on compensation below.
What You Need
- An oven — a kitchen oven works, but temperature accuracy matters. An oven thermometer ($10 from Kmart) is essential; most ovens lie by 10–15°C.
- A baking tray — lined with baking paper or a silicone mat.
- Support medium (optional but recommended) — fine sand, salt, or plaster to bury the part in. This supports overhangs during softening and dramatically reduces warping.
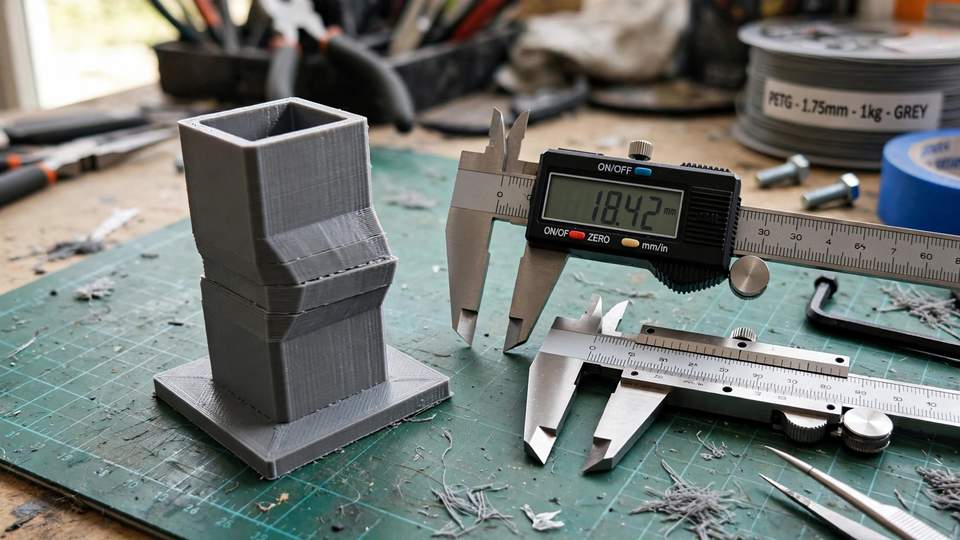
- Calipers — for measuring before/after and calculating shrinkage.
- Patience — rushing the cool-down ruins everything.
Safety note: don’t use an oven you cook food in immediately afterwards without ventilation — PLA is non-toxic but can release mild odours. Many makers dedicate a cheap toaster oven from Kmart ($40–50) as their “annealing oven.”
Step-by-Step: How to Anneal PLA Prints with the Oven Method
Step 1: Measure and record
Measure critical dimensions with calipers and write them down. You’ll compare after annealing to calculate your shrinkage factor for future prints.
Step 2: Preheat with thermometer
Set the oven to 80–100°C and verify with your oven thermometer. For standard PLA, 80–90°C is the sweet spot. PLA+ / tough PLA formulations may want 90–100°C. Never exceed 110°C — you’ll get a puddle, not a part.
Step 3: Prepare the part
For flat or simple parts: place directly on the lined tray. For anything with overhangs, bridges, or fine details: bury it in sand or salt in an oven-safe container. The support medium holds every surface in place as the plastic softens, preventing sagging. This single trick separates successful anneals from Salvador Dalí impressions.
Step 4: Bake
Place the tray in the preheated oven and bake for 30–60 minutes depending on part thickness. Thin parts (under 3mm walls): 30 minutes. Chunky parts: up to 60 minutes. You’re aiming for the entire part to reach temperature evenly — rushing with higher heat causes surface melting before the core crystallizes.
Step 5: Cool slowly — this is critical
Turn the oven off and leave the part inside with the door closed until it reaches room temperature. This slow cool-down (1–2 hours) is what locks in the crystalline structure. Quenching in water or pulling the part out into cool air causes thermal shock, warping, and negates much of the benefit.
Step 6: Measure and calculate
Measure your critical dimensions again. Calculate shrinkage: (original − annealed) ÷ original × 100. Typical results are 1–3%. For your next functional print, scale the model up by this percentage in the slicer before printing, then anneal — and it’ll come out at the intended size.
Dealing with Warping
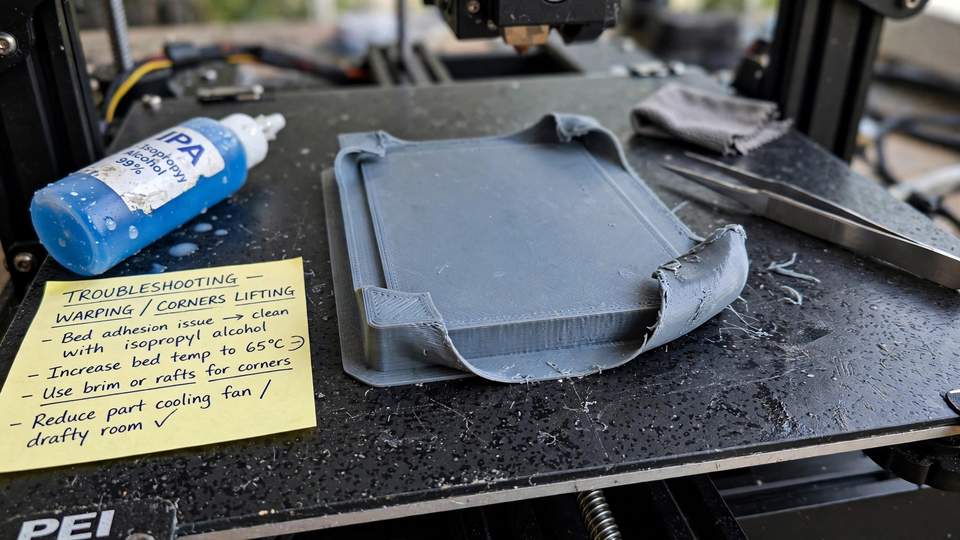
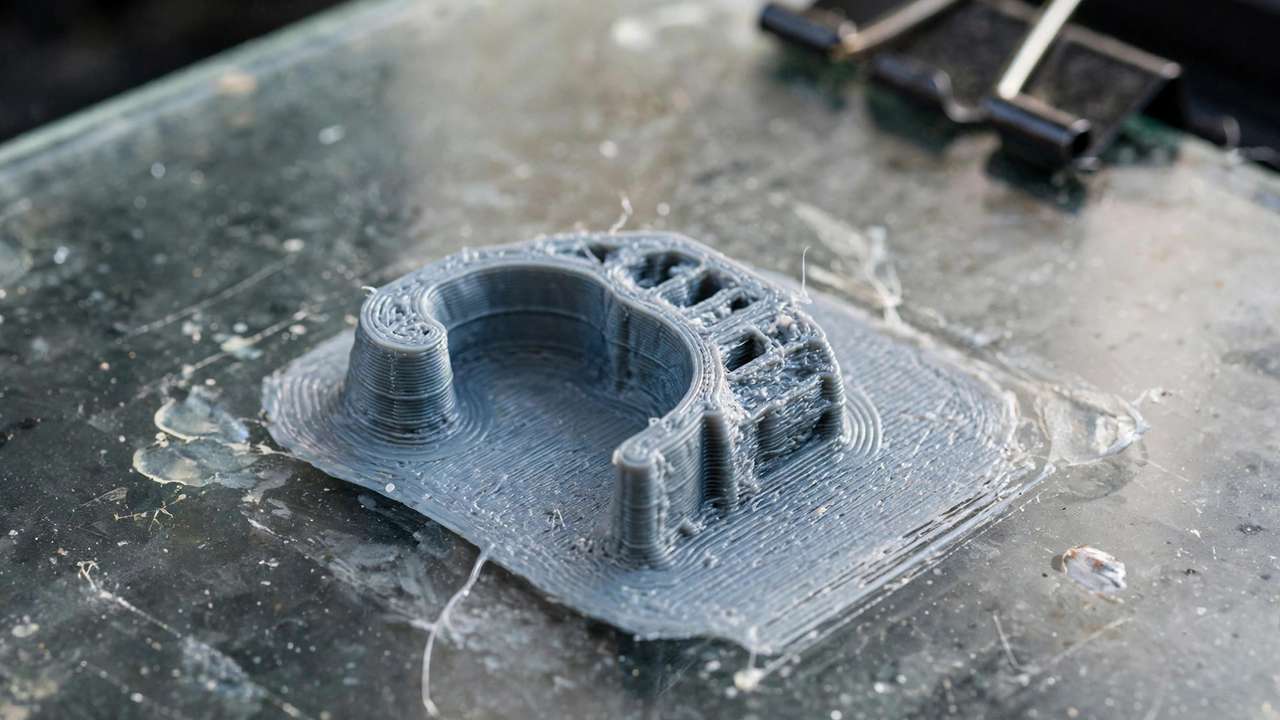
Warping is the number one annealing failure. Prevention strategies in order of effectiveness:
- Bury in sand/salt. This is the professional approach and it works remarkably well — the medium supports every surface.
- Anneal on a flat surface with weight. For flat parts, place a ceramic tile on top during baking.
- Design for annealing. Avoid long thin sections, add fillets instead of sharp corners, and keep wall thickness consistent. Uneven thickness = uneven shrinkage = warp.
- Lower temperature, longer time. 80°C for 60 minutes warps less than 100°C for 30 minutes, with similar crystallinity gains.
- Accept and compensate. Some geometries will always move slightly. Design in the shrinkage compensation and verify fit after.
PLA vs PLA+ vs HT-PLA
Not all PLAs anneal equally:
- Standard PLA: Anneals well. 80–90°C, 30–60 min. Good strength gains.
- PLA+ / Tough PLA: Often anneals even better — the impact modifiers don’t prevent crystallization. Use 90–100°C.
- HT-PLA (high-temp PLA): Specifically formulated for annealing — brands like Polymaker’s HT-PLA claim heat resistance up to 140°C+ after proper annealing. Follow the manufacturer’s protocol exactly; these are engineered for the process.
- Silk / matte / specialty PLAs: Annealing can dull shiny finishes and alter colours. Test on a scrap piece first.
When Annealing Is Worth It (and When It’s Not)
Worth it: Functional brackets, gears, jigs, automotive clips, drone parts, anything that sees heat above 50°C or mechanical load. Once you anneal PLA prints a few times, the process becomes routine — and it changes how you design functional parts. The strength and heat gains are real and significant.
Not worth it: Decorative prints (dimensional change ruins fit and finish), precision-fit parts where you can’t compensate, anything with fine unsupported details, and prints where PETG or ASA would serve better from the start. Sometimes the right answer is just printing in a stronger material — see our filament comparison guide.
Alternative: Anneal PLA Prints in Hot Water
Some makers anneal in 80–90°C water instead of an oven. Advantages: perfectly even heating, no hot spots. Disadvantages: water gets into infill and takes days to dry out, and handling hot wet parts is awkward. It works for solid or high-infill parts; skip it for anything with low infill. The oven-plus-sand method remains the most reliable overall.
Testing Your Results: How to Verify Strength Gains
Don’t take the 40% figure on faith — test it. Simple approaches:
- The vice test: Print two identical brackets, anneal one, clamp each in a vice and hang weight until failure. Crude but convincing.
- Layer adhesion test: Print single-wall test coupons and pull them apart. Annealed coupons consistently show higher break force and fail less cleanly along layer lines.
- Heat test: Place annealed and unannealed parts in 70°C water. The unannealed PLA softens visibly; the annealed part holds shape. Dramatic and persuasive.
Document your shrinkage factor and optimal time/temperature for each filament brand you use — different manufacturers’ PLA formulations crystallize slightly differently. What works for eSUN PLA+ may need tweaking for Polymaker PolyTerra.
Annealing and Painting: Order of Operations
Always anneal before painting. Annealing temperatures (80–100°C) will bubble, crack, or discolour most paints and fillers. The workflow is: print → anneal → sand/fill → prime → paint. Annealed PLA actually takes filler primer and paint slightly better than raw PLA — the crystalline surface is less chemically reactive but mechanically more stable, so paint adheres to a part that won’t later warp underneath it.
If you’re airbrushing the finished part, our budget airbrush guide covers equipment that won’t break the bank.
The Science: What’s Happening at the Molecular Level
Understanding why annealing works helps you troubleshoot it. PLA is a semi-crystalline polymer — meaning it can form ordered crystal structures, but rapid cooling during printing freezes it in a mostly amorphous (disordered) state. Think of it like glass versus quartz: same chemistry, wildly different properties based on molecular arrangement.
Heating to 80–100°C gives polymer chains enough thermal energy to move and reorganize. They naturally settle into lower-energy crystalline arrangements — tightly packed, ordered regions called spherulites. These crystalline regions resist deformation (strength) and remain solid at higher temperatures (heat resistance) because breaking the ordered structure takes more energy than wiggling amorphous chains.
The shrinkage happens because crystalline packing is denser than amorphous arrangement — the same mass occupies slightly less volume. Thicker sections crystallize more completely (more material to reorganize), which is why uneven wall thickness causes uneven shrinkage and warping.
This also explains the trade-off: crystalline structures are strong but less able to deform before breaking — hence slightly reduced impact toughness. You’re trading ductility for strength and heat resistance, which is the right trade for most functional parts.
Brand-Specific Annealing Profiles
Different PLA formulations respond differently. Starting points from community testing:
- eSUN PLA+: 90°C, 45–60 min. Anneals beautifully; among the most responsive to the process.
- Polymaker PolyTerra: 80°C, 30–45 min. Lower temp due to the matte formulation; higher temps can dull the finish further.
- Creality Hyper PLA: 85–90°C, 45 min. High-speed formulations crystallize readily.
- Generic PLA: 80°C, 60 min. Conservative starting point; increase temp if results disappoint.
- Polymaker HT-PLA: Follow the manufacturer’s protocol exactly (typically 100°C+ with specific ramp rates) — it’s engineered for annealing and rewards precision.
Always test on a calibration piece before annealing a critical part. Print three identical test coupons, anneal at different temperatures, and compare strength and dimensional change.
Annealing vs Simply Printing Hotter Materials
A fair question: why anneal PLA when you could just print PETG or ASA? Honest comparison:
- Annealed PLA vs PETG: Annealed PLA matches or beats PETG on stiffness and heat resistance, with better dimensional accuracy (PETG strings and blobs more). PETG wins on impact toughness and needs no post-processing.
- Annealed PLA vs ASA: ASA still wins on UV resistance and ultimate heat tolerance, but needs an enclosure and vents fumes. Annealed PLA is the easier path for indoor functional parts.
- Annealed PLA vs nylon: Nylon wins outright on toughness, but it’s finicky to print and moisture-hungry. Annealed PLA is the pragmatic choice when nylon’s extremes aren’t needed.
The real answer: annealed PLA occupies a sweet spot of “easy to print, surprisingly capable after treatment.” For makers who own one printer and print mostly PLA, it’s a superpower hiding in the kitchen oven.
Start small: pick one non-critical bracket, print two copies, anneal one using the sand-bury method at 85°C for 45 minutes, and compare. Measure the shrinkage, test the strength difference by hand, and note the settings. That single experiment teaches more than any guide — including this one. Once you’ve seen an annealed part survive what breaks its unannealed twin, you’ll never look at PLA the same way again.
One more practical note: annealing works best as part of a deliberate workflow, not an afterthought. When you design a functional part, decide before printing whether you’ll anneal it — then you can build in the shrinkage compensation, choose appropriate wall thicknesses, and avoid geometries that warp. Retrofitting annealing onto a part designed without it in mind is where most failures happen. Plan for it, and the process becomes routine rather than risky.
Frequently Asked Questions
What temperature do you anneal PLA at?
80–100°C for standard PLA (80–90°C is the sweet spot). PLA+ can go 90–100°C. Never exceed 110°C. Always verify with an oven thermometer — most ovens are inaccurate by 10–15°C.
How much stronger does annealing make PLA?
Tensile strength improves up to 30–40%, and heat deflection rises from ~60°C to 90–110°C+. Layer adhesion also improves noticeably. Impact toughness may decrease slightly.
Does annealing cause shrinkage?
Yes — typically 1–3%. Measure before and after, calculate your shrinkage factor, and scale future prints up by that amount before printing and annealing.
Can you anneal PLA in a microwave?
No. Microwaves heat unevenly and can’t hold a stable 80–90°C. You’ll get melted spots and cold spots. Use an oven with a thermometer.
Does annealing work on PETG or ABS?
Annealing is primarily a PLA technique (it’s about PLA’s crystallization behaviour). PETG and ABS don’t crystallize the same way; for those materials, print settings and enclosure matter far more.
Need stronger materials from the start? Our polycarbonate filament guide covers PC printing, and the TPU guide handles flexible functional parts.