You know the look: thin, wispy walls, gaps between lines, layers that barely hold together — your printer is starving the print of plastic. Under-extrusion is one of the most common 3D printing problems, and the frustrating part is that it has a dozen possible causes. This guide will help you fix under-extrusion 3D prints the right way — nearly all causes are fixable in under an hour once you know where to look.
This guide walks through every cause of under-extrusion systematically, from the five-minute checks to the deeper mechanical fixes. Work through them in order and you’ll fix under-extrusion 3D prints on your machine — and find your culprit.
What Does Under-Extrusion Look Like?
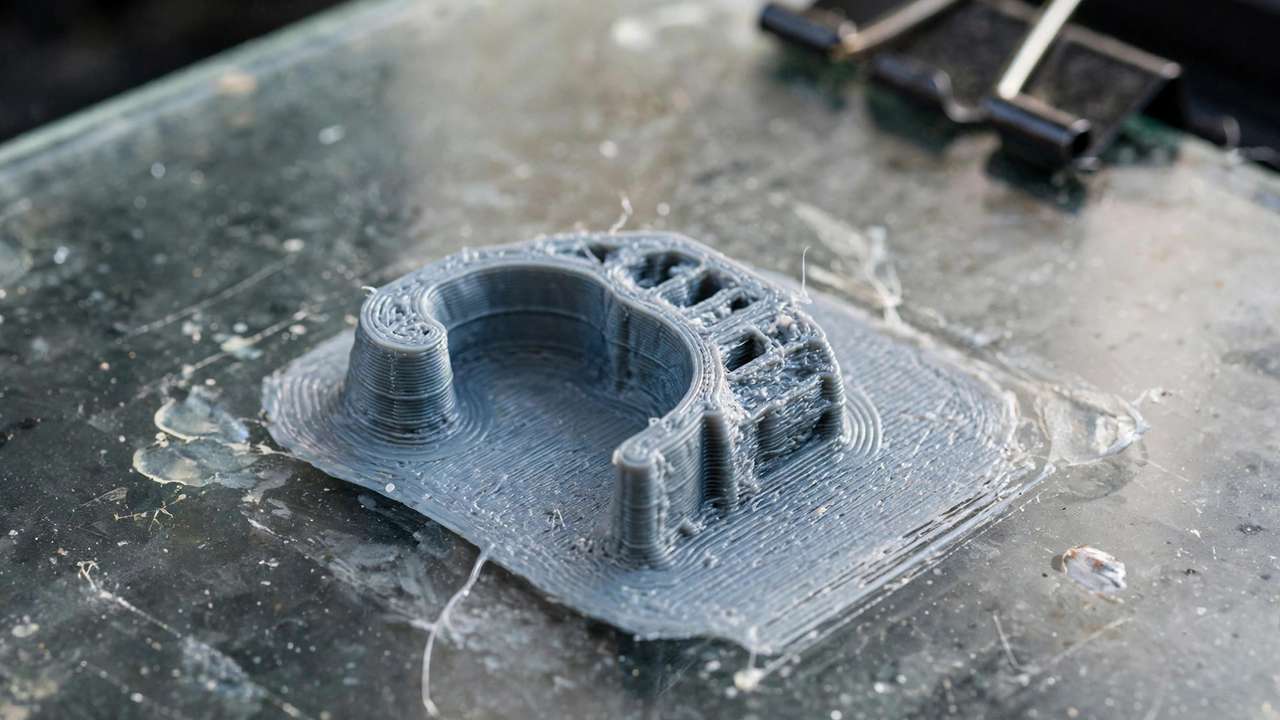
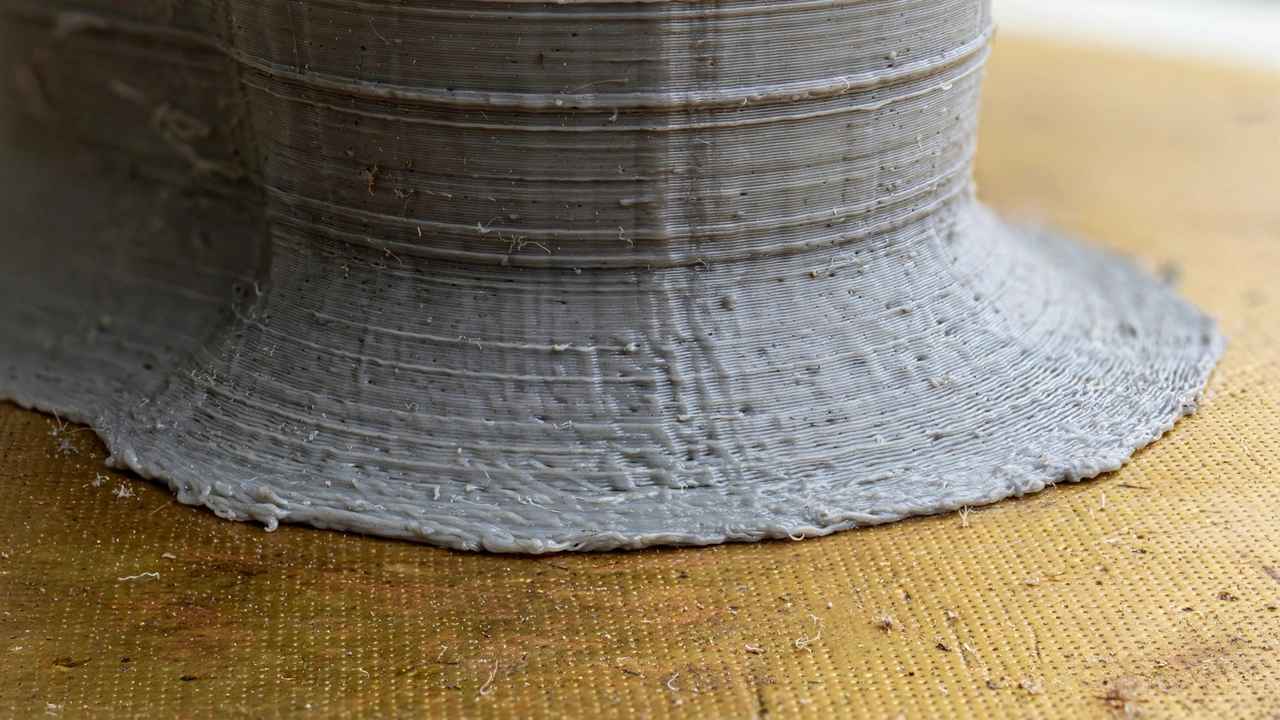
Before fixing anything, confirm you’re actually dealing with under-extrusion and not a slicer or design issue. Classic symptoms include:
- Gaps in top layers — you can see through the infill between top-layer lines
- Thin or missing walls — perimeters that don’t touch each other
- Weak, brittle prints — parts snap along layer lines with little force
- Inconsistent extrusion — some sections look fine, others are starved
- Clicking extruder — the extruder motor skips steps trying to push filament (listen for the click)
- Blobs followed by gaps — pressure builds up, releases, then starves again
If your entire print is uniformly fine but one section fails, that’s more likely a partial clog or heat creep. If everything is uniformly thin, suspect slicer settings or e-steps. The pattern tells you where to look.
Step 1: Five-Minute Checks to Fix Under-Extrusion 3D Prints
Check your filament diameter setting
This sounds too simple, but it’s the number one “embarrassing” cause. If your slicer thinks you’re using 2.85mm filament but you’re actually running 1.75mm (or vice versa), every extrusion calculation is wrong. In Cura: Preferences → Printers → Machine Settings → Extruder → Compatible material diameter. In PrusaSlicer/OrcaSlicer: Filament Settings → Diameter.
While you’re there, measure your actual filament with calipers in 3–4 spots. Cheap filament can vary from 1.65 to 1.85mm. If it averages 1.71mm, enter 1.71 — the slicer will compensate correctly.
Check nozzle temperature
Printing too cold is a classic cause. The plastic can’t melt fast enough to keep up with the print speed, so the extruder starves. Bump your temperature up 5–10°C and run a test. PLA that was “fine” at 200°C on one spool might need 215°C on another — pigments and additives change the ideal temperature.
Quick test: heat the nozzle to printing temp, then manually push filament through. It should flow smoothly with steady, moderate pressure. If you have to lean on it, your temperature is too low or you have a partial clog.
Check for a tangled spool
Walk over to your printer right now and look at the spool. Is the filament feeding cleanly, or is it crossed under itself? A tangle creates intermittent resistance — the extruder pulls fine for a while, then hits the snag and under-extrudes until the tangle slips free. This causes the maddening “fine, then bad, then fine again” pattern.
Untangle by hand, and consider printing a spool holder with bearings. In humid Aussie climates, also check whether your filament has absorbed moisture — wet filament can cause inconsistent extrusion that mimics under-extrusion. Our guide on drying wet filament in Australia covers the fix.
Step 2: Clear Clogs and Partial Blockages
The cold pull (atomic pull)
A partial clog — a bit of burnt plastic or debris narrowing the nozzle — is probably the single most common mechanical cause of under-extrusion. The cold pull clears it:
- Heat the nozzle to your normal printing temperature
- Push filament through manually until it flows
- Cool the nozzle down to ~90°C for PLA (or ~120°C for PETG)
- Once cool, yank the filament out firmly and quickly
- Inspect the tip — you should see a clean cone with any debris embedded in it
- Repeat until the pulled tip comes out perfectly clean
If cold pulls don’t clear it, remove the nozzle entirely. Hold it with pliers, heat it with a heat gun or small torch until any residue burns off, then clear the bore with a fine nozzle cleaning needle. Nozzles are wear items — a brass nozzle costs a few dollars, and if yours has 200+ hours on it, just replace it.
Check for heat creep
Heat creep happens when heat travels up past the heat break into the cold zone, softening filament before it should melt. The softened filament swells, increases friction, and the extruder can’t push consistently. Symptoms: prints start fine, then degrade after 30–60 minutes.
Fixes: make sure your hotend cooling fan is running at full speed (it should spin up the moment the hotend passes ~50°C), check that the fan isn’t clogged with dust, and verify your retraction isn’t excessive — more than 5–6mm on a Bowden setup (or 1–2mm on direct drive) can pull molten plastic into the heat break.
Step 3: Calibrate Your Extruder (E-Steps)
If your printer has never been calibrated, it might simply be extruding less plastic than the slicer commands. E-steps calibration is a 10-minute job:
- Heat the nozzle to printing temp and remove the Bowden tube from the extruder (or mark filament above a direct-drive extruder)
- Make a mark on the filament 120mm above the extruder entry point
- Command the printer to extrude 100mm (via the LCD or OctoPrint terminal:
G1 E100 F100) - Measure from the extruder to your mark — if it reads 25mm, you extruded 95mm (120 − 25)
- Calculate:
new E-steps = old E-steps × (100 ÷ actual extruded) - Save with
M92 E[new value]thenM500
Then calibrate flow rate (extrusion multiplier) in your slicer: print a single-wall calibration cube with 0.4mm line width, measure the wall with calipers, and adjust flow so the wall measures exactly 0.4mm. Most printers end up between 92% and 105% flow.
Step 4: Inspect the Extruder Hardware
Extruder tension
Too little tension and the drive gear slips on the filament; too much and it grinds a notch into the filament, which then can’t feed. You want the gear teeth to bite firmly without chewing. If you see plastic dust around the extruder or a crescent-shaped gouge in the filament, back the tension off.
On the stock plastic extruders that ship with older Ender 3s, check for a cracked tension arm — it’s a notorious failure point. An aluminium extruder upgrade costs under $20 AUD and eliminates the problem permanently.
Bowden tube gap
On Bowden printers, the PTFE tube must sit flush against the nozzle inside the hot end. If there’s even a 1mm gap, molten plastic pools there, creating resistance and inconsistent flow. When reassembling a hot end: heat it to printing temperature, push the tube firmly down until it seats against the nozzle, then tighten the coupler. Doing this cold guarantees a gap once everything expands.
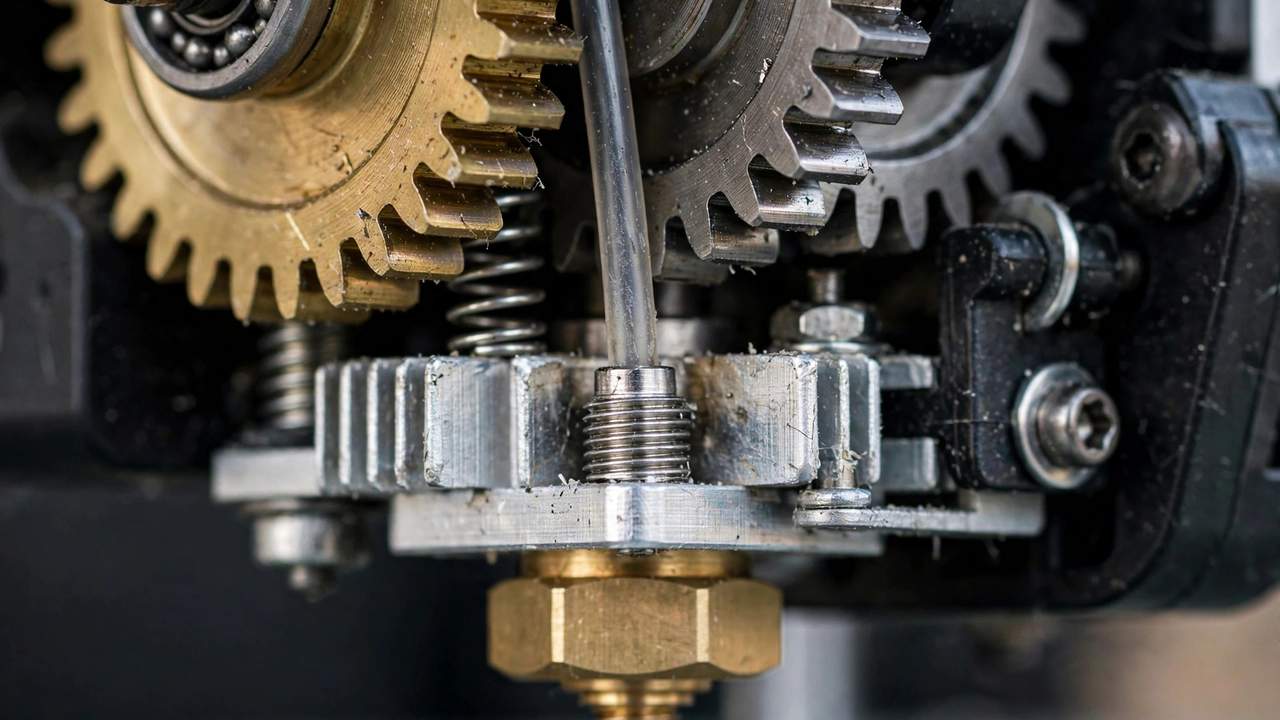
Worn drive gear
After hundreds of hours, the brass drive gear’s teeth wear smooth, especially with abrasive filaments. If the gear looks polished instead of sharp, replace it — they’re cheap and it takes five minutes.
Step 5: Slicer Settings That Cause Under-Extrusion
- Print speed too high for the hot end. Every hot end has a maximum volumetric flow rate (typically 8–12 mm³/s for stock, 20+ for high-flow). If your speed × layer height × line width exceeds it, you’ll under-extrude on fast sections. Slow down or upgrade the hot end.
- Retraction too aggressive. Excessive retraction distance or speed can grind filament or pull melt into the cold zone. Start conservative: 4–5mm at 40mm/s for Bowden, 0.5–1mm at 30mm/s for direct drive.
- Coasting or wipe enabled excessively. These features deliberately under-extrude at line ends to reduce blobs. If overdone, they cause visible gaps. Try disabling them as a test.
- Wrong nozzle size selected. If you fitted a 0.6mm nozzle but the slicer still thinks it’s 0.4mm, line widths and flow calculations are all wrong.
The Systematic Order to Fix Under-Extrusion 3D Prints
When you’re staring at a failed print, work through this checklist in order — most of the time you’ll fix under-extrusion 3D prints within the first three steps:
- Filament diameter setting correct? (2 min)
- Spool tangled or wet? (2 min)
- Temperature adequate? Bump 10°C and test (5 min)
- Cold pull to clear partial clog (10 min)
- Hotend fan running properly? (2 min)
- E-steps calibrated? (10 min)
- Extruder tension and gear condition (5 min)
- Bowden tube seated flush? (15 min)
- Slicer flow rate calibrated? (15 min)
Total worst case: about an hour. And you’ll have a better-calibrated printer at the end of it regardless of which step fixed the problem.
When It’s Not Under-Extrusion
A few issues masquerade as under-extrusion. Z-seam gaps in one spot are a retraction/seam setting issue, not flow. Top-layer pillowing over sparse infill is an infill percentage problem — bump infill to 20%+ or add top layers. First-layer gaps with good upper layers usually mean the nozzle is too far from the bed, not under-extrusion. And if you see similar symptoms, our layer shifting fix guide covers the mechanical gremlins that often travel with extrusion issues.
Advanced: Pressure Advance and Linear Advance Tuning
Once the mechanical causes are ruled out, pressure advance (Klipper) or linear advance (Marlin) can clean up the last traces of inconsistent extrusion. These features compensate for the pressure lag in the melt zone — without them, corners bulge and line starts starve slightly.
Calibration is straightforward: print a pressure-advance test tower (Klipper’s built-in TUNING_TOWER command or a Marlin K-factor pattern), identify the cleanest section, and set the value. Typical results: 0.03–0.08 for direct drive, 0.4–0.8 for Bowden. This won’t fix a clog, but it transforms “good” extrusion into “excellent” extrusion.
When to Replace the Hot End Instead of Repairing
Sometimes the economical fix is replacement. Consider a new hot end assembly if:
- You’ve done three cold pulls and still get inconsistent flow — the heat break may be damaged or the nozzle seat worn
- The heater cartridge or thermistor wiring is frayed (a fire risk — replace immediately, don’t repair)
- You’re still on a PTFE-lined hot end and want to print PETG/ABS regularly — an all-metal upgrade ($40–70 AUD) pays for itself in reliability
- The heat break threads are stripped or the nozzle won’t seat properly
A complete hot end assembly (heater block, heat break, nozzle, sock, thermistor, heater) costs $30–60 AUD for most printers. Versus an hour of fiddly disassembly on a worn unit, replacement is often the rational choice. Keep the old one for parts.
Preventing Under-Extrusion: The Maintenance Habits That Matter
Most under-extrusion is preventable with boring routine:
- Monthly: Cold pull, check extruder gear for plastic dust, verify Bowden couplers still grip
- Every spool change: Check filament diameter with calipers, trim the filament end cleanly before loading
- Every 200 hours: Replace the brass nozzle (they’re consumables), inspect the PTFE tube end for charring
- Storage: Filament in dry boxes or sealed bags with desiccant — wet filament causes half the “mystery” extrusion issues in humid climates
Our full maintenance schedule puts all of this on a calendar so nothing slips.
Frequently Asked Questions
What is the most common cause of under-extrusion?
A partial nozzle clog is the most common mechanical cause, followed by printing too cold and incorrect filament diameter settings in the slicer. Work through the diagnostic checklist above starting with the five-minute checks.
Can wet filament cause under-extrusion?
Yes. Moisture in filament turns to steam in the hot end, causing inconsistent flow, popping, and weak extrusion. Dry the spool in a filament dryer at 55–65°C for 4–6 hours. This is especially common in humid Australian climates.
How do I know if my e-steps are wrong?
Mark 120mm of filament above the extruder, command 100mm of extrusion, and measure. If you didn’t get exactly 100mm, your e-steps need calibration using the formula: new E-steps = old E-steps × (100 ÷ actual extruded).
Should I just increase flow rate to fix under-extrusion?
Only as a last resort after calibration. Raising flow masks the real problem — a clog, wrong temperature, or bad e-steps. Fix the root cause first, then calibrate flow properly with a single-wall test.
Does print speed cause under-extrusion?
Yes, if you exceed your hot end’s maximum volumetric flow rate. Stock hot ends typically max out around 8–12 mm³/s. If fast sections under-extrude but slow sections are fine, reduce speed or upgrade to a high-flow hot end.
Bookmark this guide so you can fix under-extrusion 3D prints fast the next time a print comes out starved. Keep your machine in top shape with our 3D printer maintenance schedule, and if warping is your other nemesis, see how to fix warping in humid weather.