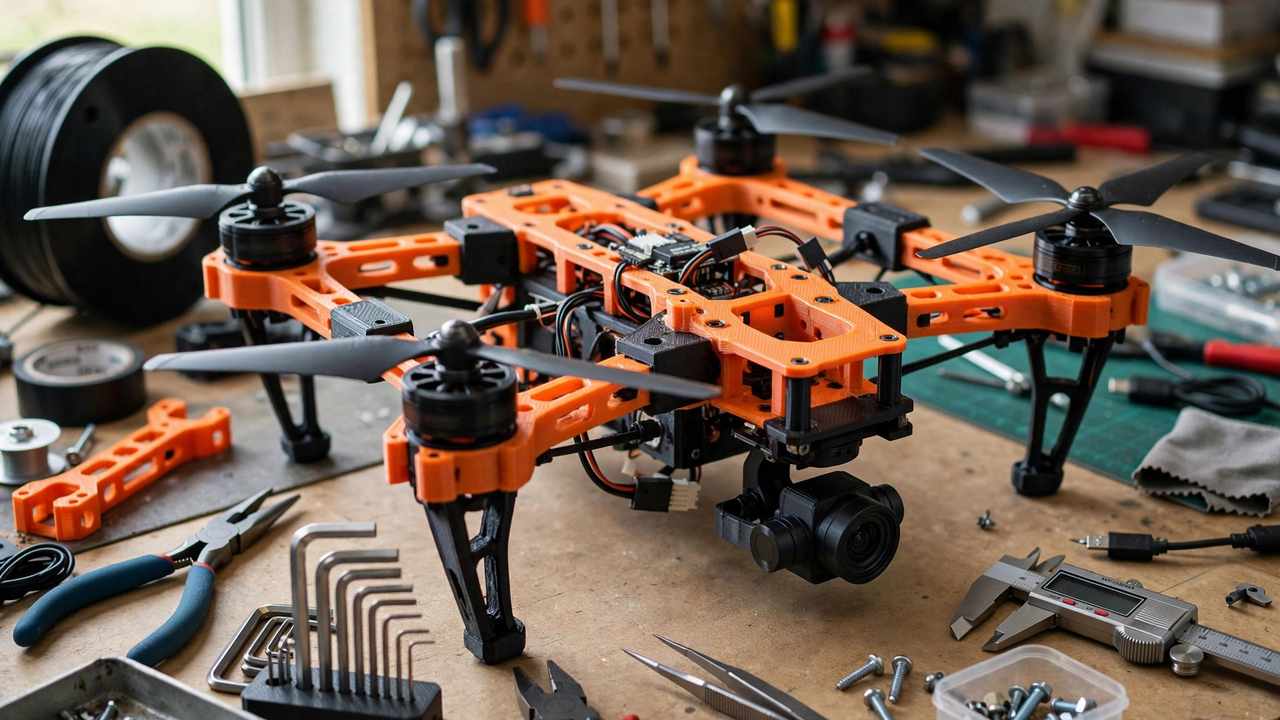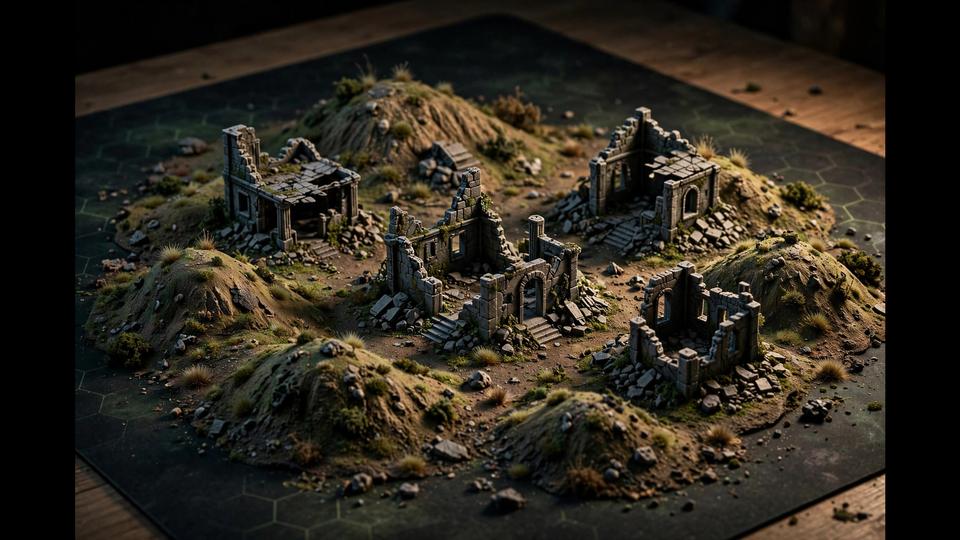
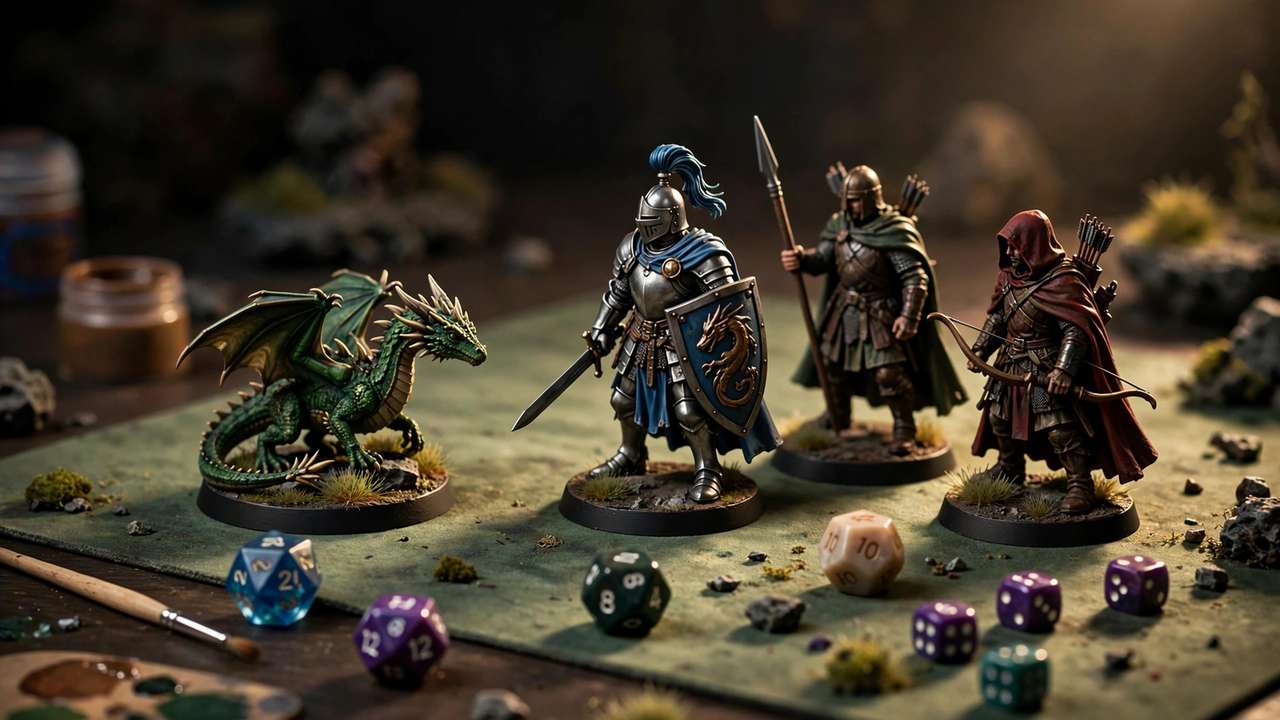
There’s a special kind of joy in fielding a miniature you designed, printed, and painted yourself — and 3D printing D&D miniatures has never been more accessible. Whether you’re a dungeon master building an entire bestiary or a player who wants your character on the table, this 3D printing D&D miniatures guide covers everything: FDM vs resin, the settings that actually matter, support strategies for tiny parts, scaling, painting, and where to find the best files.
3D Printing D&D Miniatures Guide: FDM vs Resin, the Honest Answer
This is the first decision, and the communities argue about it endlessly. Here’s the straight version:
Resin (MSLA) — Best Detail
- Detail: Unmatched. Resin captures facial features, texture, and fine details FDM simply can’t at 28mm scale.
- Best for: Player characters, display pieces, monsters where detail matters
- Downsides: Messy post-processing (wash + cure), resin fumes need ventilation, prints are more brittle, ongoing resin + IPA costs
- Starter pick: Any modern 4K+ MSLA printer (Elegoo Mars / Anycubic Photon series class, ~$300–$450 AUD)
FDM — Best Convenience
- Detail: Good, not great. A well-tuned FDM printer with a 0.2mm nozzle produces perfectly game-worthy 28mm minis.
- Best for: Terrain, large monsters, bulk NPCs, dungeon tiles — anything big or numerous
- Downsides: Layer lines visible up close, tiny details (fingers, weapons) can fail
- Advantage: Cheap, clean, safe materials; you probably already own one
The smart answer for most people: use FDM for terrain and big stuff, resin for hero characters. It’s the single most repeated advice in every 3D printing D&D miniatures guide worth reading — and it holds up. Many D&D printing enthusiasts end up with both — and FDM terrain is where the real table presence comes from anyway.
Best FDM Settings for Miniatures
Miniatures punish every slicer sin. These settings are the difference between “blobby mess” and “wow, you printed that?”:
- Nozzle: 0.2mm if you have one; 0.4mm works with careful tuning
- Layer height: 0.08–0.12mm (0.08 for heroes, 0.12 for rank-and-file)
- Speed: Slow right down — 25–40 mm/s for outer walls. Miniatures are small; speed gains are minutes, quality losses are permanent.
- Supports: Tree supports (organic supports in newer slicers) — they touch the model at fewer points and remove cleanly from tiny features
- Cooling: Maximum part cooling — small layers need to solidify before the next one lands
- Minimum layer time: Set 8–10 seconds so tiny layers don’t overheat
- Retraction: Tune carefully — stringing ruins miniatures faster than anything
Support Strategy: Where Minis Live or Die
Support removal is the #1 miniature killer. A perfect print with supports fused to a sword arm is a failed print.
- Use tree/organic supports — fewer contact points, easier removal
- Increase support Z-distance slightly (0.15–0.2mm) for cleaner breaks
- Orient thoughtfully: tilt the model back 30–45° so supports attach to the back/less-visible faces
- Print weapons separately when possible — thin spears and swords are support nightmares; gluing is easier
- Consider the “base down” vs “45° tilt” tradeoff: base-down is fastest but puts supports on the face; tilted takes longer but hides support marks
Scaling: Getting the Size Right
D&D’s standard is 28mm scale (roughly 1:56), measured to the eyes. But “28mm” files vary wildly between creators. Practical approach:
- Human mini: ~28–32mm tall to the eyes (32mm “heroic” scale is increasingly popular and prints more forgivingly)
- Calibrate once: print a test human, measure, and note the scale factor for that creator’s files
- Monsters: scale by narrative, not rules — a “huge” dragon at true scale would be a multi-day print; print what looks right on your table
- Bases: standard 25mm rounds for medium creatures; print bases separately for clean edges
Best Resin Settings for Miniatures
- Layer height: 0.03–0.05mm (0.05 is plenty for gaming pieces)
- Exposure: run the manufacturer’s calibration test — every resin/printer combo differs
- Orientation: 30–45° tilt, supports on the back
- Hollow large models: saves resin and reduces suction forces; add drain holes
- Wash: 5–10 min in IPA or water-washable alternative, then full UV cure
Safety is non-negotiable with resin: nitrile gloves, ventilation or a respirator with organic vapour cartridges, no skin contact with uncured resin. Treat it like the chemistry it is.
3D Printing D&D Miniatures Guide: Painting Your Printed Miniatures
Printing is half the hobby; painting is the other half. The essentials:
- Prime first — grey or white primer (spray or brush-on) gives paint something to grip. This step matters more than any other.
- Thin your paints — two thin coats beat one thick coat, always
- Base coat, wash, highlight — the classic three-step: solid base colours, a dark wash for shadows, then dry-brush highlights
- Contrast/speed paints are beginner magic — one coat over white primer gives shaded, highlighted results
- Varnish when done — gaming minis get handled; a matte varnish protects your work
FDM layer lines? A coat of filler primer (automotive grade) smooths them significantly before your colour coats.
Where to Find D&D Miniature STL Files
- Free: Printables, Thingiverse, and dedicated creators releasing free monthly models
- Paid/STL subscriptions: Patreon and Tribes creator subscriptions ($10–$15 AUD/month) from top miniature sculptors — the quality jump over free files is enormous
- Commercial licenses: if you ever want to sell prints, buy the merchant tier from creators
- Terrain: separate creators specialise in dungeon tiles, scatter terrain, and buildings — FDM’s true strength
Licensing warning: most miniature files are for personal use. Check the license before printing for friends for money — and never sell prints of files you don’t have merchant rights for.
Cost Breakdown: Is It Worth It?
- Shop-bought unpainted mini: $5–$15 AUD each
- FDM printed: ~$0.50–$2 in filament per 28mm mini
- Resin printed: ~$1–$3 in resin per mini
- Break-even: a printer pays for itself after a few dozen minis — and terrain savings are even bigger (a $60 shop terrain piece prints for ~$5)
Verdict
3D printing D&D miniatures is one of the hobby’s highest-satisfaction pursuits: low cost per piece, unlimited variety, and the unbeatable feeling of “I made that.” Start with FDM terrain and simple minis, add resin when the detail bug bites, and remember — the best miniature is a painted one. Get paint on it. Follow this 3D printing D&D miniatures guide and you’ll field your first tabletop-ready hero within a weekend.
Need printer advice first? Read our 3D printer buying guides for Australia.
Complete Resin Workflow: From File to Table
Resin printing intimidates beginners because the workflow has more steps. Here’s the full process, demystified:
- Prepare the file: hollow the model in your slicer (2mm walls), add drain holes at the lowest points, auto-generate supports then manually check thin areas like swords and fingers
- Print: 0.05mm layers; a 28mm miniature takes 2–4 hours depending on height
- Remove: gloves on — lift the build plate, slide a scraper under the supports (never under the model itself)
- Wash: submerge in IPA or resin-wash solution for 5–10 minutes with agitation; a second clean bath gives better results than one dirty bath
- Dry: air dry completely — curing wet prints causes white residue
- Remove supports: clip with flush cutters before final cure — supports snap off cleanly pre-cure and leave minimal marks
- Cure: 2–5 minutes per side under UV (turntable helps); overcuring makes resin brittle, so time it
- Prime and paint: grey primer reveals any remaining flaws to fix before colour coats
Resin workspace setup (Australia)
- Ventilation is mandatory — print near an open window with a fan exhausting outward, or in a garage
- Keep resin away from Australian summer heat in storage; it degrades faster warm
- Dispose of IPA/resin waste through your council’s chemical waste program — never down the drain
- Cure all waste resin (supports, failed prints, paper towels) in sunlight before binning
Terrain Printing: FDM’s True Strength
While resin wins miniatures, terrain is where FDM dominates — and great terrain transforms a game more than any single miniature:
- Dungeon tiles: print modular 25mm-grid tiles; a full dungeon set is a weekend of printing and lasts years
- Scatter terrain: crates, barrels, rubble, trees — fast prints, huge table impact
- Buildings: print in sections and glue; a convincing tavern is very achievable
- Settings for terrain: 0.2–0.28mm layers, 10–15% infill — terrain doesn’t need miniature detail, so print fast and big
- Painting terrain: drybrushing is the whole technique — base coat dark, drybrush lighter, done. Terrain painting is dramatically easier than miniature painting
A complete printed terrain collection that would cost $300+ retail prints for maybe $30 in filament. It’s the best value proposition in the entire hobby.
Storing and Transporting Your Miniatures
Printed and painted minis are fragile — protect the work:
- Magnetised bases: glue a small magnet under each base; transport in a metal tin or toolbox — minis stay put, no foam rubbing paint off
- Feldherr-style foam trays: for large collections; cut foam to fit
- Display: keep painted minis out of direct Australian sun — UV fades paint faster than you’d expect; a glass cabinet is ideal
- Repair kit: super glue, spare paint for touch-ups, and a fine brush in your game bag — swords break at the worst moments
Commission Painting: When to Outsource
Love printing but hate painting? Commission painters (plentiful in Australian hobby communities) typically charge $15–$50+ AUD per 28mm miniature depending on quality tier. Tabletop standard (neat base coats + wash) sits at the lower end; display quality climbs fast. It’s a legitimate way to field a gorgeous army without the painting time — no shame in it.
Kitbashing: Combining Models Like a Pro
Kitbashing — mixing parts from different models — is how experienced hobbyists create truly unique characters:
- Use Meshmixer (free) or Blender to combine a body from one creator with weapons from another
- Scale parts independently before merging — a great sword from a 32mm model works on a 28mm body with slight downscaling
- Print test fits of joints before committing to full prints — a 10-minute test saves hours
- Keep a “bits box” of printed spare weapons, heads, and accessories — future kitbashes get faster
- Respect licenses: kitbashing for personal use is fine; selling kitbashed prints needs merchant rights for every source model
One-Piece vs Multi-Part Printing
- One-piece: simpler, no assembly, no glue lines — but supports are harder and failures waste the whole print
- Multi-part: each part oriented optimally (less support), failures only scrap one section, enables bigger-than-printer models — but assembly and seam-hiding take skill
- Rule of thumb: 28mm single figures print one-piece; anything with a wingspan, long weapons, or above ~100mm tall prints better in parts
- Joinery: design 3–5mm pegs and sockets for alignment; pin with brass rod for strength on gaming pieces that get handled
- Glue: super glue (cyanoacrylate) for resin; plastic cement or super glue for FDM — clamp or hold until set
Basing: The Finishing Touch
- Texture paint: hobby texture paints (stirland mud, astrogranite styles) give instant realistic ground in one coat
- Static grass and tufts: cheap, transformative — a pinch of grass tufts makes any base look professional
- Theme your party: consistent basing across all player minis (same grass, same rim colour) unifies the table visually
- Rim colour: black rims are the classic choice — clean, consistent, and they make paint jobs pop
- Water effects: UV resin puddles on bases for swamp or dungeon themes — a drop of clear UV resin cured in place
Your first session: print one hero miniature for your own character and one batch of simple terrain. Paint the miniature (even roughly), set up the terrain, and play. That single session — your character, your table, your work — will hook you deeper than any amount of reading. The rest is just levelling up.
Frequently Asked Questions
Is FDM or resin better for D&D miniatures?
Resin for detail (characters), FDM for terrain and large monsters. Most enthusiasts eventually use both.
What settings should I use for FDM miniatures?
0.08–0.12mm layers, 25–40 mm/s outer walls, tree supports, max cooling, 8–10s minimum layer time.
What scale are D&D miniatures?
28mm to the eyes is standard; 32mm heroic scale prints more forgivingly. Calibrate per creator.
Is 3D printing miniatures cheaper than buying them?
Yes — $0.50–$2 per FDM mini vs $5–$15 retail. The printer pays for itself quickly.
Can I sell 3D printed D&D miniatures?
Only with a merchant license from the file creator. Most STLs are personal-use only.
Resin safety: always follow manufacturer SDS guidance. For chemical safety info in Australia, see Safe Work Australia.