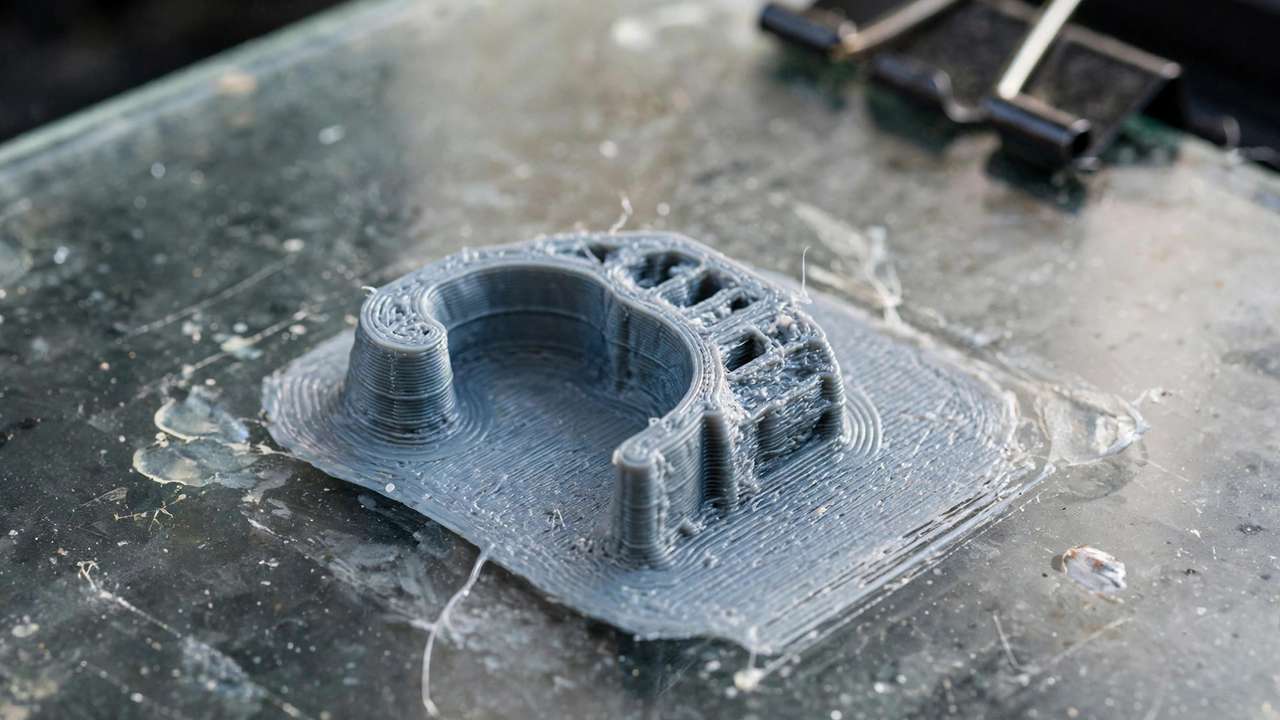
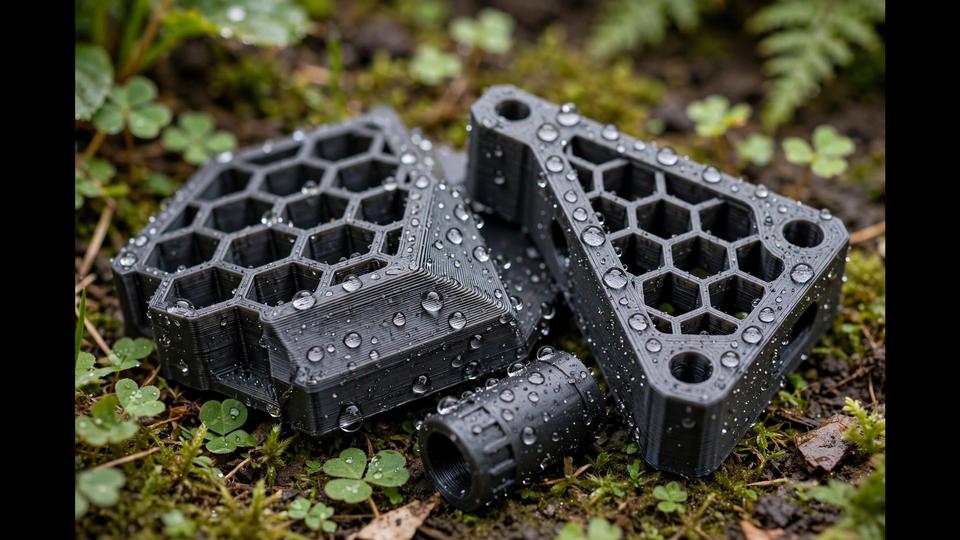
Australia is brutal on 3D prints — harsh UV, driving rain, and 40°C summer days will destroy the wrong material in a single season. But waterproof 3D prints that survive outdoors for years are absolutely achievable if you choose the right filament, design smart, and seal properly. This guide covers the complete process: materials that survive Australian weather, design principles, sealing methods ranked by effectiveness, and the maintenance that keeps outdoor prints alive. Follow this waterproof 3D prints outdoor use playbook and your parts will survive seasons, not weeks.
Why 3D Prints Fail Outdoors
Three killers, usually working together:
- Water ingress: FDM layer lines are microscopic channels. Water wicks in, and freeze-thaw (or just constant damp) delaminates layers over time.
- UV degradation: Sunlight breaks polymer chains. PLA becomes brittle and chalky; ABS yellows and weakens.
- Heat: A dark print in Australian summer sun can hit 70°C+ surface temps — above PLA’s glass transition (~60°C). Your print literally softens and sags.
Waterproofing means defeating all three, not just one.
Best Filaments for Outdoor Use (Ranked)
1. ASA — The Outdoor King
ASA is ABS’s weather-resistant sibling: same strength and printability, but with UV stabilisers built in. It’s the default choice for automotive exterior parts for good reason. Prints at 240–260°C with a 100°C+ bed; needs an enclosure. If your part lives outdoors permanently, ASA is worth the extra effort.
2. PETG — The Practical Choice
PETG handles water and moderate UV far better than PLA, prints easily without an enclosure, and survives Australian weather for years in most applications. It’ll eventually degrade in full sun, but for 90% of outdoor projects it’s the sweet spot of ease vs durability.
3. ABS — Strong but Sun-Shy
Great mechanical properties and water resistance, but UV breaks it down. Fine for covered outdoor areas; poor for full sun exposure.
4. PLA — Don’t
PLA outdoors is a temporary decoration, not a functional part. UV + heat + moisture will kill it within months in Australian conditions. (PLA can work for short-term or shaded use, but never rely on it.)
Special mentions
- Nylon (PA): Excellent toughness and UV resistance when properly dried and printed, but absorbs water — ironic for waterproofing, though sealed nylon performs well
- Polycarbonate: Outstanding all-round outdoor performance, but demanding to print
- PP (Polypropylene): Naturally water-resistant and tough, but warps badly and few printers handle it well
Bottom line: ASA for permanent full-sun parts, PETG for everything else. Skip PLA outdoors.
Design for Waterproofing
Material is half the battle; design is the other half:
- Minimise layer-line water traps: orient the print so water sheds off rather than pooling in layer grooves
- Design drainage: any enclosed volume needs a drain hole — trapped water is worse than flowing water
- Thick walls: 4+ perimeters and 30%+ infill. Thin walls flex, and flexing opens micro-cracks that let water in.
- Avoid sharp internal corners where stress concentrates and cracks start
- Consider vase mode (spiralise): single continuous extrusion = zero layer seams = naturally more watertight. Perfect for planters and containers.
- Plan for fasteners: design in brass heat-set inserts rather than printed threads — printed threads strip and leak
Waterproof 3D Prints Outdoor Use: Sealing Methods, Ranked
1. Epoxy Coating — Best Overall
A thin coat of two-part epoxy (like XTC-3D or marine epoxy) fills layer lines completely, creating a smooth waterproof shell. It’s the gold standard for functional waterproof prints. Apply 1–2 thin coats, sand between if needed. Adds strength as a bonus.
2. Polyurethane Spray/Coating
Marine-grade polyurethane spray is easier than epoxy and very effective. Multiple light coats beat one heavy coat. UV-resistant variants add sun protection too.
3. Silicone Sealant
For joints, seams, and where parts meet — run a bead of outdoor-rated silicone. Not a whole-part solution, but essential for assemblies.
4. Annealing (for PLA/PETG)
Carefully heating a print to just below its glass transition temperature fuses layers together, dramatically improving water resistance. Tricky to do without warping — use an oven thermometer and go slow. More useful for PETG than PLA.
5. Wax/Paraffin Dip
Quick and cheap for low-stakes items. Melt paraffin, dip the print, let cool. Not durable long-term but fine for a season.
What doesn’t work
- Nail polish / super glue: fine for tiny touch-ups, useless at scale
- “Waterproof” spray paints alone: they help with UV but don’t seal layer lines reliably
- Just printing with 100% infill: helps, but water still wicks along layer boundaries
Waterproof 3D Prints Outdoor Use: The Planter Walkthrough
- Material: ASA (full sun) or PETG (partial shade)
- Design: vase mode or 4 perimeters, drainage hole in base, thick walls
- Print: 0.2mm layers, 30%+ infill (or vase mode), dry filament first
- Seal: 2 coats of marine epoxy or polyurethane, inside and out
- Assemble: silicone sealant on any joints
- Maintain: inspect yearly, recoat every 2–3 years in harsh sun
Australian-Specific Considerations
- UV is the real killer here — our UV index regularly hits extreme. UV-resistant coatings aren’t optional for full-sun prints; they’re mandatory.
- Colour matters: black prints absorb dramatically more heat. Light colours (white, grey, beige) survive summer far better.
- Bushfire zones: keep prints away from ember-attack zones; no common filament is fire-safe
- Coastal areas: salt spray accelerates degradation — rinse outdoor prints occasionally and prefer ASA/polyurethane protection
Maintenance Schedule
- Yearly: visual inspection for cracks, chalking, or coating failure
- Every 2–3 years: recoat with polyurethane in harsh exposures
- After storms: check mounting points and drainage holes for blockages
Verdict
Waterproof outdoor 3D prints come down to a simple formula: ASA or PETG + smart design + epoxy or polyurethane sealing + light colours. That formula is the backbone of this waterproof 3D prints outdoor use method — get all four right and maintenance is a quick annual check, not a rebuild. Get those four right and your prints will outlast the project brief. Get them wrong and you’ll be reprinting every summer — ask anyone who’s tried PLA garden stakes.
Choosing materials? See our filament guides for ASA, PETG, and HIPS deep-dives.
Outdoor Project Ideas Worth Printing
- Garden planters and pots: custom sizes for awkward spaces; self-watering designs with reservoirs
- Outdoor lighting housings: custom mounts for solar path lights; translucent PETG diffusers for LED strips (low-heat LEDs only)
- Pool and spa accessories: skimmer basket handles, thermometer floats, drink holders — all in ASA or sealed PETG
- Letterbox numbers and signage: large embossed house numbers in ASA, visible from the street
- Tool and hose organisers: shed wall mounts, hose guides, custom brackets for garden tools
- Wildlife: nesting boxes and insect hotels — print with rough interior textures; avoid treated-wood contact issues entirely
- Irrigation fittings: custom drip-line stakes, hose adapters, sprinkler guards — measure your existing fittings with calipers first
How to Test Your Waterproofing
Don’t trust — verify. Before deploying any print that must hold water:
- The newspaper test: fill the print, set it on newspaper for 24 hours. Any damp spot = leak path to fix.
- The submersion test: for critical parts, submerge in a bucket and watch for bubble streams marking leak points.
- The sun test: leave a test coupon (a small printed tab) in full sun for a month alongside your project. If the coupon chalks or warps, your material choice needs upgrading.
- Pressure testing: for containers under any pressure, test at 2× expected load — printed parts fail suddenly, not gradually.
Common Outdoor Print Failures (And Prevention)
- Layer delamination after rain: water wicked into layer lines and freeze-thaw (or heat cycling) split them. Prevention: seal with epoxy, print hotter for better layer fusion.
- Sagging in summer: PLA or dark PETG in direct sun. Prevention: ASA + light colours.
- Mounting point cracks: stress concentration at screws. Prevention: heat-set brass inserts, oversized washers to spread load, flexible mounts that allow thermal expansion.
- Colour fading: UV bleaching. Prevention: UV-resistant topcoat; accept that even ASA fades slowly — choose colours that age gracefully.
Seasonal Maintenance Calendar (Australia)
- Spring (Sep–Nov): full inspection after winter — check for cracks, clear drainage holes of debris, wash off dust/pollen buildup
- Summer (Dec–Feb): watch for heat sag on dark prints; ensure shaded placement where possible; check mounts after severe storms
- Autumn (Mar–May): ideal recoating season — mild temps are perfect for epoxy/polyurethane application; clear leaf litter from drainage
- Winter (Jun–Aug): check for water pooling and freeze damage in colder regions (yes, it happens in parts of Australia); tighten any loosened mounts
Case Study: What Survives a Queensland Summer?
Anecdotal but instructive: makers in Queensland report ASA prints with polyurethane coating surviving multiple summers with only minor fading, while identical PLA prints warped within weeks. PETG sits in the middle — structurally sound after 2+ years but visibly weathered. The lesson repeats everywhere: material choice dominates every other factor. No coating saves PLA from an Australian summer; the right filament barely needs the coating.
Decision Guide: Which Approach for Your Project?
- Decorative garden ornament, shaded patio: PETG, no sealing needed — print and place
- Planter in full sun: ASA + polyurethane coating + drainage hole
- Functional bracket holding weight outdoors: ASA or nylon, 50%+ infill, epoxy-coated, mounted with brass inserts and stainless hardware
- Temporary/seasonal decoration: PLA is fine — accept it’s disposable and reprint next year
- Underwater (pond, aquarium): PETG or ASA with full epoxy encapsulation; verify coating is aquarium-safe if fish are involved
- High-heat near BBQ/engine: polycarbonate or ASA; keep clearances generous — radiant heat is the silent killer
Glues and Fasteners for Outdoor Assemblies
- Brass heat-set inserts: the professional choice — melted into the plastic with a soldering iron, they give metal threads that don’t strip and don’t wick water like printed threads
- Stainless steel hardware: always stainless outdoors — zinc-plated bolts rust and stain your prints within months in coastal Australia
- Polyurethane construction adhesive: bonds printed parts to wood, metal, and each other; remains flexible through thermal cycling
- Epoxy: strongest rigid bond; roughen mating surfaces with 120-grit first
- Allow for movement: plastics expand and contract with temperature — use slotted holes or flexible mounts rather than rigidly bolting large prints, or they’ll crack at the fasteners
What About “Waterproof” Filaments?
No filament is truly waterproof as-printed — FDM layer lines always wick. But some get closer:
- PETG with fat extrusion: 0.6mm line width at 0.3mm layers fuses aggressively — the closest to watertight off the printer
- Annealed ASA: post-print annealing fuses layers and dramatically cuts wicking
- Resin prints: SLA/DLP prints are inherently more watertight (no layer channels in the same way) — but standard resins are brittle outdoors and degrade in UV; “tough” and “weatherable” resins exist at premium prices
- The honest rule: design + material + sealing beats any single “waterproof filament” claim — there are no shortcuts
The one-sentence summary: print in ASA or PETG, design with thick walls and drainage, seal with epoxy or polyurethane, choose light colours, and inspect yearly. Do that and your outdoor prints will outlive the enthusiasm of the project that inspired them — which, in this hobby, is really saying something.
When to Call It: Repair vs Reprint
Outdoor prints eventually degrade — knowing when to repair versus reprint saves time:
- Repair: surface chalking (sand + recoat), small cracks (epoxy fill), faded colour (respray) — an afternoon’s work extends life by years
- Reprint: structural cracking through walls, severe warping, or delamination across layers — the part’s integrity is gone
- Upgrade on reprint: if a PETG part failed, reprint in ASA; if ASA failed, re-examine the design — thicker walls and better drainage beat material swaps
Start this weekend: pick one outdoor project from the ideas list, choose ASA or PETG, and print it. Seal it properly. In a year, when it’s still perfect while the neighbour’s PLA planter has crumbled, you’ll be the one giving the advice.
How often do waterproofed prints need resealing?
Inspect once a year. With the waterproof 3D prints outdoor use method above — ASA or PETG plus epoxy or polyurethane sealing — most parts go two to three years between touch-ups in Australian conditions.
Frequently Asked Questions
What is the best filament for outdoor 3D prints?
ASA for permanent full-sun use; PETG as the practical all-rounder. Avoid PLA outdoors.
How do you make a 3D print waterproof?
Seal with epoxy or marine polyurethane, design with thick walls and drainage, use ASA/PETG filament.
Will PLA survive outdoors in Australia?
Not reliably — UV, heat, and moisture degrade it within months. It can soften and sag in direct summer sun.
Does 100% infill make a print waterproof?
No. Water wicks along layer lines regardless of infill. Surface sealing is required.
How long do outdoor 3D prints last?
ASA + coating: 5+ years. PETG: 2–4 years in sun. PLA: often a single summer.
For chemical safety when using epoxy coatings, see Safe Work Australia.