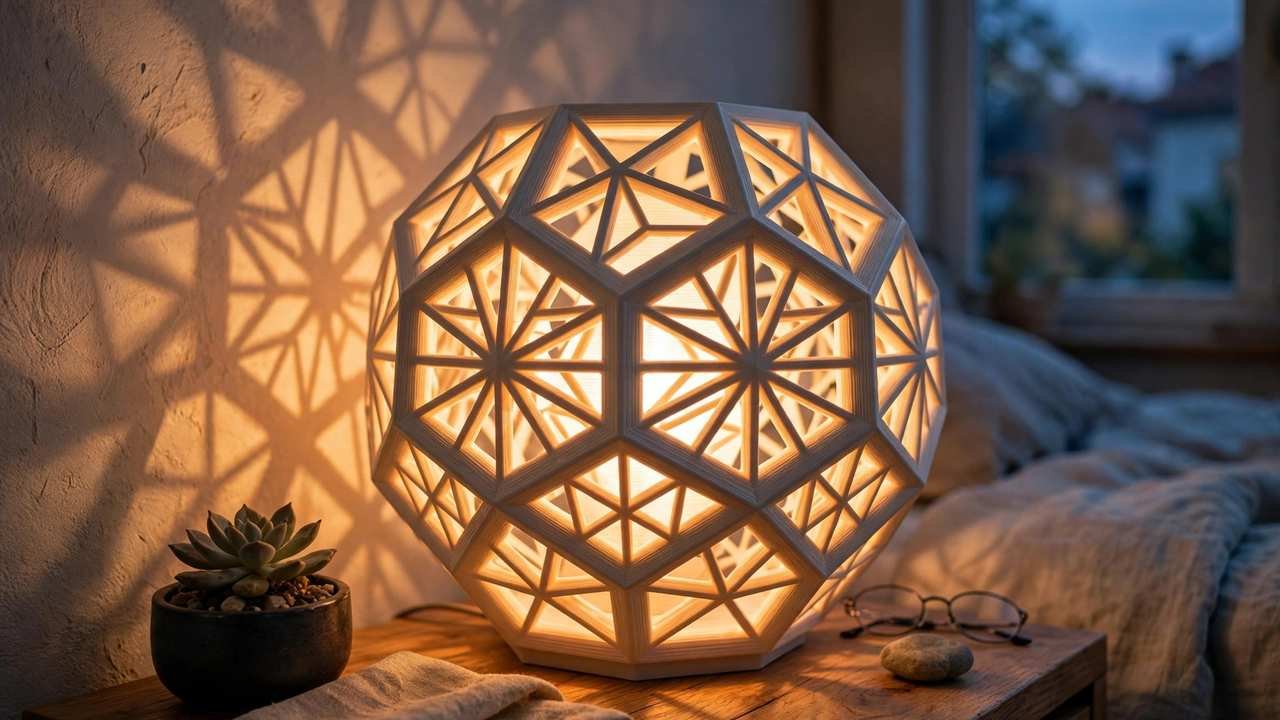
3D printed lampshades are one of those projects that make people stop and stare. A glowing geometric shade, a lithophane lamp revealing a hidden photograph, a Voronoi-patterned pendant throwing lace-like shadows across the ceiling — these are the prints that convert sceptics into believers. But there’s real science behind getting the light right, and a critical safety dimension that too many guides gloss over.
This guide to 3D printed lampshades covers the physics of light diffusion in printed plastics, the best materials and settings, design techniques from vase-mode shades to lithophane lamps, and the fire-safety rules that keep your beautiful lamp from becoming a hazard.
How Light Diffusion Works in Printed Plastic
A lampshade has one job: turn a harsh point of light into soft, even illumination. Printed plastic does this through subsurface scattering — light enters the wall, bounces around inside the material, and exits diffused. Three factors control the effect:
- Material translucency: How readily light passes through the plastic itself.
- Wall thickness: Thinner walls transmit more light; thicker walls diffuse more but dim the output. This is your primary tuning knob.
- Surface texture: Layer lines, infill patterns, and surface finishes all scatter light differently — sometimes beautifully, sometimes as ugly banding.
The magic of 3D printing for lampshades is that you control all three simultaneously, in geometries no traditional shade can match.
Best Materials for 3D Printed Lampshades
White/Natural PLA — The Default Champion
White PLA is the best all-round lampshade material. It diffuses evenly, prints easily, and produces that warm, even glow everyone pictures. Natural (uncoloured) PLA is slightly more translucent and gives a warmer tone. For detailed guidance on PLA behaviour, see our PLA vs PETG vs ABS comparison.
PETG — For Durability
White PETG diffuses similarly to PLA but handles heat better and won’t deform in a warm room. Slightly trickier to print, worth it for shades near heat sources.
Specialty Options
- Translucent/transparent PLA or PETG: For stained-glass effects — light passes through with colour tinting rather than full diffusion.
- Wood-filled PLA: Creates a warm, organic glow with visible texture. Gorgeous for rustic designs.
- Avoid silk/metallic filaments: They scatter light unpredictably and often look blotchy rather than evenly diffused.
- Avoid ABS: Besides fumes, it blocks too much light and the heat concern below applies double.
Fire Safety for 3D Printed Lampshades: Read This First
This is the section that matters most. PLA softens around 60°C — a hot incandescent bulb inches away will deform or melt a PLA shade, and in the worst case create a fire risk.
- LEDs only. Use low-heat LED bulbs or LED strips. Never incandescent or halogen bulbs in a printed shade.
- Mind the wattage and distance. Even LEDs generate some heat. Keep the light source at least a few centimetres from the shade wall, and prefer lower-wattage bulbs (under 10W LED is plenty).
- Ventilation: Design airflow into the shade — open tops, vent slots — so heat doesn’t accumulate.
- Never leave printed lamps unattended until you’ve run them for hours and confirmed the shade stays cool to the touch.
- Consider PETG for any shade where heat is a concern — its higher softening temperature gives more margin.
Design Technique 1: Vase Mode Shades
Spiral vase mode — a single continuous extrusion wall — is the fastest path to a beautiful shade:
- Settings: 0.2-0.3mm layer height, single wall, no infill, no top layers. The slicer’s spiralise/vase mode does the rest.
- Wall thickness = diffusion control: A single 0.4-0.6mm wall glows brightly; design double-wall sections where you want dimmer zones.
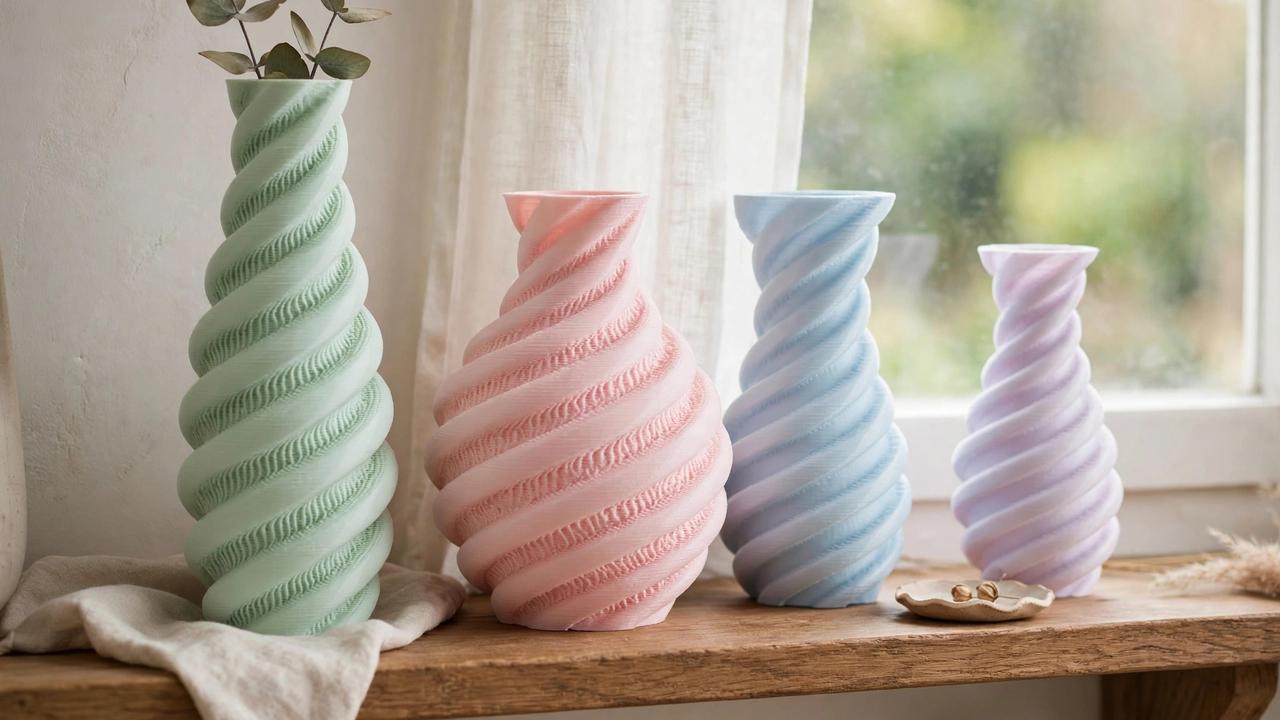
- Patterns: Wavy, ribbed, or twisted vase profiles create stunning light modulation as the wall angle changes how light exits.
- Scale: Vase mode shades print fast — a 200mm pendant shade might take 6-10 hours.
Design Technique 2: Geometric and Voronoi Shades
Parametric patterns — Voronoi cells, gyroid lattices, geometric tessellations — turn the shade into a shadow projector:
- The open areas throw patterned light onto walls and ceiling; the solid areas diffuse.
- Balance matters: too open and it’s just a bare bulb with decoration; too closed and you lose the shadow play.
- Print with 2-3 walls for structural integrity — these designs rely on the lattice for strength.
- White PLA keeps the projected patterns clean; coloured filament tints the shadows.
Design Technique 3: Lithophane Lamps
Lithophanes — thin plaques where varying thickness forms an image when backlit — make extraordinary personalised lamps. A cylinder of family photos glowing on a bedside table is unforgettable.
- Material: White PLA, always. It’s the diffusion king for lithophanes.
- Settings: 0.1-0.12mm layer height (layer height is your tonal resolution), 100% infill (any gap scatters light as grey haze), print vertically so layer lines run across the image.
- Speed: Slow — 30-50mm/s. Thin walls printed fast under-extrude, showing as banding in the image.
- Generators: Free tools like ItsLitho or LithophaneMaker convert photos to STLs, including lamp/cylinder shapes with bulb-fitter mounts.
- Light source: Warm white LED strip wound inside, plus a diffuser sleeve to soften the LED hotspots before light hits the lithophane panels.
For a full lithophane workflow, 3DSolved’s lithophane guide covers generator settings and print profiles in depth.
Slicing Tips for Clean Diffusion
- Consistent extrusion is everything. Under-extrusion shows as bright streaks; over-extrusion as dark bands. Calibrate flow rate before a big shade.
- Avoid Z-seam on the front face — align the seam to the back or use scarf seams if your slicer supports them.
- Uniform wall thickness in the design prevents unexpected bright/dim patches.
- Test swatches: Print small 50mm test cylinders at different wall thicknesses with your actual filament and bulb. Five quick tests beat one failed 20-hour shade.
Mounting and Hardware
- Pendant kits: Standard E27 pendant cord sets from Bunnings or IKEA work perfectly — design your shade around the socket diameter with 1-2mm tolerance.
- Table lamp bases: Print or buy a base; run the cord through a printed channel.
- LED strips: For lithophane and panel lamps, self-adhesive warm-white strips on a central column give the most even illumination.
- Diffuser inner sleeve: A simple frosted cylinder between LEDs and the outer shade eliminates hotspot banding.
Gift-Worthy Ideas
Printed lamps make phenomenal gifts — personal, impressive, and genuinely useful. Pair this guide with our best 3D printed gifts roundup for more ideas. A lithophane lamp with family photos, made for under AU$15 in filament, outshines most store-bought presents.
Weekend Project: Vase-Mode Pendant Shade
Let’s put it all together with a complete project you can finish in a weekend:
Friday Evening: Design (1 hour)
- In your CAD tool or a parametric generator, create a pendant profile: 180mm diameter at the base tapering to 120mm at the top, 220mm tall. Add a gentle wave or twist for visual interest.
- Design a top cap ring with a 40mm hole for the E27 socket and side vents for heat escape.
- Export both parts as STL.
Saturday: Print (8-10 hours, mostly unattended)
- Shade: White PLA, vase mode (spiralise outer contour), 0.2mm layers, 210°C, 60mm/s. No infill, no top layers.
- Cap ring: Same PLA, normal mode, 3 walls, 20% infill.
- Start the shade first thing in the morning; print the cap while it finishes.
Sunday: Assemble (1 hour)
- Test-fit the cap ring on the shade top. Sand lightly if tight.
- Thread the E27 pendant cord set through the cap (AU$15-25 from Bunnings).
- Fit a warm white LED globe (8W max).
- Hang, step back, and admire the glow.
Total cost: ~AU$8 in filament + AU$20 cord set + AU$8 LED globe = under AU$40 for a designer-look pendant light. Try buying that at Beacon Lighting.
Wiring Basics for Printed Lamps
You don’t need to be an electrician for basic lamp assembly in Australia, but you do need to respect the rules:
- Use certified components: Buy pre-wired pendant cord sets and lamp holders with Australian certification (RCM mark). Don’t wire mains connections yourself unless you’re licensed.
- LED strips: 12V LED strips are low-voltage and safe for DIY. Power them with a certified 12V plug pack. Warm white (2700-3000K) looks best with PLA diffusion.
- Strain relief: Ensure cords can’t pull out of printed parts — design cable channels with gentle bends, not sharp edges that chafe insulation.
- Keep mains and printed parts separated: The printed shade should never be the electrical enclosure. All 240V connections live inside the certified socket/holder.
- When in doubt, buy the electrical bit: A AU$20 certified pendant set is cheaper than the consequences of DIY mains wiring gone wrong.
Troubleshooting Common Lampshade Problems
- Bright/dark banding: Usually inconsistent extrusion. Calibrate flow rate, check for a partial clog, and slow down. On vase-mode prints, also check that your Z-axis moves smoothly — micro-stuttering shows as horizontal bands in the light.
- Visible Z-seam line: A bright or dark vertical line where layers start. Align the seam to the back of the shade, or try scarf seams if your slicer supports them.
- Hotspots: Bright spots where the bulb sits too close to the wall. Add a diffuser sleeve, increase bulb distance, or switch to a lower-lumen bulb.
- Warping on large shades: Big vase-mode prints can lift at the base. Use a brim, ensure bed adhesion, and avoid drafts.
- Blotchy lithophanes: Almost always speed-related — slow down. Also verify 100% infill is actually 100% (some slicers leave micro-gaps at high speeds).
- Shade too dim: Walls too thick, or filament too opaque. Try natural PLA instead of white, or reduce wall thickness. Check that your bulb is actually the wattage you think.
- Shade too bright/harsh: Add wall thickness, switch to a more opaque white, or add an inner diffuser layer.
Design Resources and Inspiration
Stuck for ideas? Search Printables and MakerWorld for “lampshade,” “pendant light,” “Voronoi lamp,” and “lithophane” — thousands of proven designs with photos of the lit result. Pay attention to makes with comments about light quality, not just the renders. And once you’ve made a few, try designing your own in OpenSCAD or Blender — parametric lamp design is a fantastic way to learn CAD because the feedback (light!) is immediate and beautiful.
Beyond the Basics: Advanced Lampshade Ideas
- Multi-material shades: With an AMS or MMU, combine white diffusing sections with coloured accent bands. The colour transitions glow beautifully.
- Parametric customiser shades: Build an OpenSCAD customiser where recipients enter their name or a date — personalised gifts at zero extra design cost.
- Seasonal shades: Swap-able shade covers for the same base — Halloween, Christmas, birthdays. The base stays; the shade changes.
- Architectural pendants: Cluster 3-5 small vase-mode pendants at varying heights over a dining table. Individually simple prints; collectively stunning.
- Smart shades: Integrate addressable LED strips (WS2812B) with a cheap ESP32 controller for colour-changing effects. The diffuser hides the electronics completely.
Each of these builds on the same fundamentals — diffusion, safety, clean extrusion. Master the basics in this guide and the advanced projects follow naturally.
Pro tip: Photograph your finished shade both lit and unlit. The unlit shot shows the design; the lit shot sells the magic. These pairs perform exceptionally well on maker communities and social media — some of the most-shared 3D printing posts of all time are lampshades.
Frequently Asked Questions
What filament is best for 3D printed lampshades?
White or natural PLA for the best light diffusion. White PETG if heat resistance matters. Avoid silk and metallic filaments — they scatter light unevenly.
Are 3D printed lampshades a fire risk?
They can be if misused. Always use low-heat LED bulbs (never incandescent/halogen), ensure ventilation in the design, and verify the shade stays cool during extended use.
What is vase mode and why use it for lampshades?
Spiral vase mode prints a shade as one continuous single-wall extrusion — fast, watertight, and with beautifully even light transmission. Ideal for simple shade profiles.
How thick should lampshade walls be?
Start with a single 0.4-0.6mm wall for bright diffusion. Thicker walls (1-2mm) dim and soften the light. Test swatches with your filament and bulb before committing.
Can I make a lithophane lamp?
Absolutely — it’s one of the most rewarding prints. Use white PLA at 0.1-0.12mm layers, 100% infill, printed vertically, with a warm white LED strip inside.