Imagine printing a circuit the same way you print a phone stand — no soldering iron, no breadboard, just plastic that carries electricity. That’s the promise of conductive filament, and it’s one of the most interesting corners of the maker world. But conductive filament 3D printing projects come with a catch that surprises most people: this stuff conducts electricity the way a muddy track conducts a car — technically yes, but don’t expect a highway.
This guide explains what conductive filament actually is, the resistance realities nobody puts on the spool label, project ideas that genuinely work, and the printing techniques that make the difference between a circuit that works and a pretty piece of plastic that doesn’t.
What Conductive Filament Actually Is
Conductive filaments are standard 3D printing plastics — usually PLA — loaded with conductive particles, most commonly carbon black. The plastic gives you printability; the carbon gives you a continuous (if reluctant) path for electrons. The result is a filament that prints much like normal PLA but leaves behind traces you can measure with a multimeter.
The best-known name is Proto-pasta Conductive PLA, the product that defined the category. Others include Recreus’s conductive offerings and various carbon-loaded PLAs from smaller makers. There’s also a completely different tier — copper-filled filaments like Electrifi — that conduct dramatically better but cost dramatically more (think hundreds of dollars per spool) and need special handling. This guide focuses on the affordable carbon-based filaments, because that’s what most makers will actually buy.
One important distinction: conductive filament is not a replacement for copper wire or PCB traces. It’s a different tool for different jobs. Understanding exactly where it sits on the conductivity spectrum is the key to using it well — which brings us to the part the marketing skips.
The Resistance Reality Check
Here’s the honest physics. A typical carbon-loaded conductive PLA has a volume resistivity in the tens of ohm-centimetres — Proto-pasta rates theirs around 15 ohm-cm through the layers, higher across them. In practical terms, a printed trace a few centimetres long and a couple of millimetres wide will measure somewhere in the hundreds of ohms to a few kilohms.
What does that mean for your projects?
| Application | Needs | Conductive PLA suitable? |
|---|---|---|
| Capacitive touch sensing | Any conductive path | Yes — ideal use case |
| LED with coin cell (low current) | Hundreds of ohms OK | Yes, with design care |
| Sensor signal lines (high impedance) | Kilohms acceptable | Yes |
| Powering motors or heaters | Milliohms needed | No — use wire |
| USB / data signals | Controlled impedance | No |
| EMI shielding enclosures | Continuous conductive shell | Yes, surprisingly good |
The rule of thumb: conductive PLA is great for signals and sensing, marginal for small LEDs and low-current power, and useless for anything that needs real current. A trace carrying 20 mA to an LED will drop noticeable voltage along its length — you design around it with short, fat traces. A trace asked to carry an amp to a motor will just get warm and sad.
Resistance is also anisotropic — it conducts better along the layer lines than across them, because the carbon particles align with the extrusion direction. Traces printed flat conduct better than traces printed upright. And resistance drifts with temperature and flexing, so don’t use it where precision matters. Think of it as “conductive enough”, not “a wire”.
Conductive Filament 3D Printing Projects That Actually Work
Capacitive touch buttons and sliders
The single best application. A printed pad of conductive PLA connected to a microcontroller’s touch-sensing pin (most Arduino, ESP32, and Raspberry Pi Pico boards support this) makes a touch button with zero extra components. Print the pad as part of your enclosure — a lamp with a touch-sensitive base, a game controller with printed buttons, a custom keyboard macro pad. The high resistance doesn’t matter at all for capacitive sensing; the pin just needs to see a conductive surface. Most successful conductive filament 3D printing projects start with a touch interface like this — it’s the one use case where the filament’s resistance is a non-issue.
LED circuits and light-up models
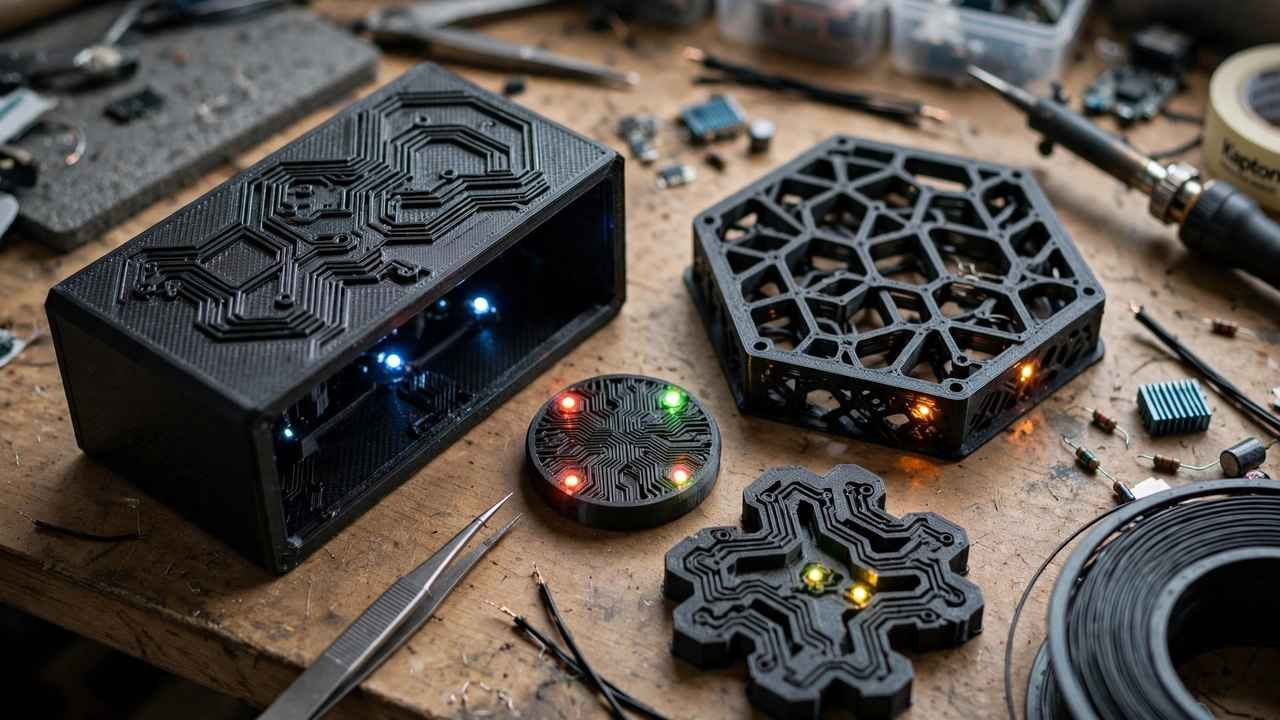
Print traces from a coin-cell holder to an LED inside a model — a lighthouse with a working lamp, a spaceship with engine glow, a Halloween decoration with lit eyes. Keep traces short and chunky, and do the maths: a 500-ohm trace in series with your LED just becomes part of the current-limiting resistance. Size your resistor accordingly (or omit it if the trace resistance alone limits current safely — but verify with a multimeter, don’t assume). Simple lighting is another forgiving starting point for conductive filament 3D printing projects, because short, chunky traces keep resistance low enough to work.
Sensor housings with built-in wiring
Print an enclosure where the conductive traces are part of the walls — a weather station with the sensor contacts printed in, a soil moisture probe where the sensing electrodes are the print itself. Dual-extrusion or filament-swap printing lets you combine structural PLA with conductive traces in one part. This is where 3D printing genuinely beats traditional electronics construction.
EMI/RFI shielding boxes
A lesser-known trick: a fully enclosed box printed in conductive PLA acts as a Faraday-ish shield for sensitive electronics. It won’t match a metal enclosure, but for knocking down interference around a noisy microcontroller project, a conductive shell with a grounded connection helps measurably. Print it solid — 100% infill, thick walls — since gaps are gaps in the shield.
Custom flex sensors and pressure pads
Conductive PLA’s resistance changes when it’s flexed or compressed. Print a thin strip, and you’ve got a crude bend sensor; print a pad, and you’ve got a pressure-sensitive button. They’re not precision instruments, but for “did the drawer open” or “how hard is this being squeezed” detection in interactive projects, they’re cheap and fun.
What to skip
Don’t try to print power distribution, motor wiring, or anything mains-connected. Don’t print antenna elements and expect tuned performance. And don’t embed traces in a structural part that will flex repeatedly under load — the resistance will drift and eventually the trace cracks. Conductive filament is a sensing-and-signals material; respect its limits and it’s delightful.
Conductive Filament 3D Printing Projects: Tips for Working Circuits
Conductive PLA prints like normal PLA with a few important differences:
- Use a larger nozzle. 0.6 mm is the sweet spot. Conductive filament is slightly more abrasive than plain PLA (all that carbon), and wider extrusion lines mean lower resistance per trace. A 0.4 mm nozzle works but wears faster and gives you thinner, higher-resistance traces.
- Print traces flat and fat. Resistance drops with cross-sectional area, so make traces wide (3–5 mm) and print them in the XY plane where conduction along layer lines is best. Tall skinny vertical traces are the worst case — avoid them.
- 100% infill for conductive sections. Air gaps don’t conduct. Any part of the print that’s meant to carry current should be solid. You can use modifier meshes in the slicer to make only the trace regions solid while the rest prints at normal infill.
- Slow down. 30–40 mm/s for conductive sections gives better layer bonding, and better bonding means better particle contact means lower resistance. This isn’t a race.
- Mind the temperature. Print at the manufacturer’s recommended temperature — usually in the normal PLA range, sometimes slightly hotter. Too cold and layer adhesion suffers (raising resistance); too hot and you get stringing between traces, which can short adjacent lines.
- Keep traces separated. Stringing and elephant’s foot can bridge closely-spaced traces. Leave generous spacing (2 mm+) between conductors, and check continuity and isolation with a multimeter before connecting power.
- Hardened nozzle recommended. Carbon loading is mildly abrasive. A brass nozzle will wear over a spool or two; hardened steel lasts indefinitely. It’s a $10–$15 upgrade that pays for itself.
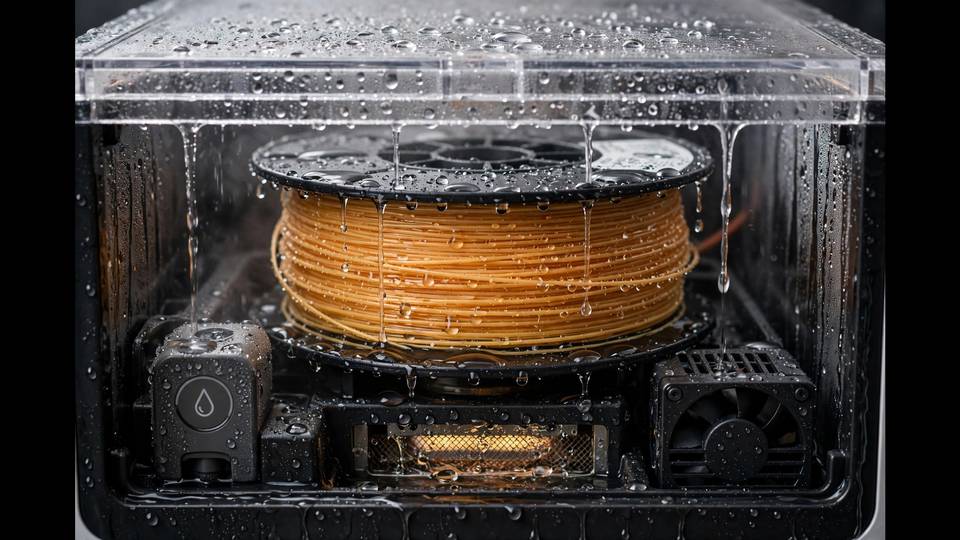
- Dry the filament. Conductive PLA seems particularly sensitive to moisture — wet spools print rough, and rough layers mean poor particle contact. Store it sealed with desiccant; in humid Australian conditions, that means a dry box, not a shelf.
Designing the Circuit: Practical Rules
A few design habits separate working printed circuits from frustrating ones:
- Short and fat beats long and thin. Every millimetre of trace adds resistance. Route directly, widen traces, and put the battery close to the load.
- Measure, don’t assume. Print a test trace of known dimensions, measure it, and calculate your ohms-per-millimetre. Design the real circuit from measured numbers, not the datasheet.
- Plan your connections. The weak point of printed electronics is where the print meets the real world. Design in pockets for coin cells, slots for pin headers, or pads where you can attach wires with conductive epoxy or simply mechanical pressure. A dab of solder doesn’t wet to PLA — don’t try.
- Prototype the electronics first. Build the circuit on a breadboard with resistors standing in for your estimated trace resistance. If it works on the breadboard, it’ll work printed. Debugging a circuit and a print simultaneously is miserable.
- Consider hybrid builds. The most reliable approach is often printed structure + real wire or copper tape for the actual current paths, with conductive filament handling touch surfaces and sensor electrodes. There’s no prize for purity — use each material for what it’s good at.
If you’re new to the electronics side, Core Electronics (Newcastle, NSW) and Jaycar both stock the microcontrollers, coin cells, and LEDs these projects need, with tutorials pitched at beginners. For the printing fundamentals behind all of this, our filament guide covers how PLA variants behave.
Cost and Where to Buy in Australia
Conductive PLA is a specialty filament, so expect to pay $45–$80 AUD for a 500 g to 1 kg spool — roughly double the price of plain PLA. Proto-pasta is available through Australian resellers and direct with international shipping; check local stock before ordering from overseas, since a spool that spends six weeks in a shipping container often arrives needing a good drying session. Given that most projects use tens of grams per circuit, a single spool lasts a long time.
Is it worth it? For touch interfaces and sensor projects, absolutely — there’s no cheaper way to get printed conductivity. For LED novelties, it’s a fun luxury. Buy it for a specific project, not on speculation; it has a shelf life like any PLA, and an unopened spool bought “for someday” is just an expensive paperweight.
Proto-pasta’s own documentation is the authoritative reference for their material’s specs and handling — their conductive PLA page lists resistivity figures and printing guidance straight from the manufacturer.
FAQs
Is conductive filament as good as wire?
No — not even close, and that’s fine. A printed conductive PLA trace measures in the hundreds of ohms to kilohms, versus milliohms for copper wire. It’s suitable for touch sensing, sensor signals, and low-current LEDs, but it can’t carry real power. Use it for signals and sensing, wire for power.
What can I actually make with conductive filament?
Capacitive touch buttons built into printed enclosures, LED circuits in models and decorations, sensor housings with printed-in contacts, EMI shielding boxes, and bend or pressure sensors. Anything involving sensing or tiny currents is fair game; motors, heaters, and data buses are not.
Do I need a special printer for conductive filament?
No. Any FDM printer that handles PLA can print conductive PLA. A 0.6 mm hardened-steel nozzle is recommended — the carbon loading is mildly abrasive and wider traces have lower resistance — but a stock 0.4 mm brass nozzle will work for small projects.
Why is my conductive print not conducting?
Check four things: moisture (dry the spool), underextrusion (calibrate flow — gaps between lines break the conductive path), trace geometry (thin vertical traces have very high resistance; print traces flat and wide), and layer adhesion (print slower and hot enough for good bonding). Then verify with a multimeter on a simple test trace.
Can I solder to conductive filament?
No. Solder won’t wet to PLA and the heat melts the plastic. Make connections mechanically instead: design pockets for components, use pin headers press-fit into printed holes, or join wires with conductive epoxy. Plan your connection strategy before you print, not after.
How long does conductive filament last?
The printed parts are as durable as any PLA print — years indoors. The filament itself absorbs moisture like all PLA, so store it sealed with desiccant; in humid Australian conditions an open spool degrades noticeably within weeks. Resistance of printed parts can drift slightly with temperature and repeated flexing.