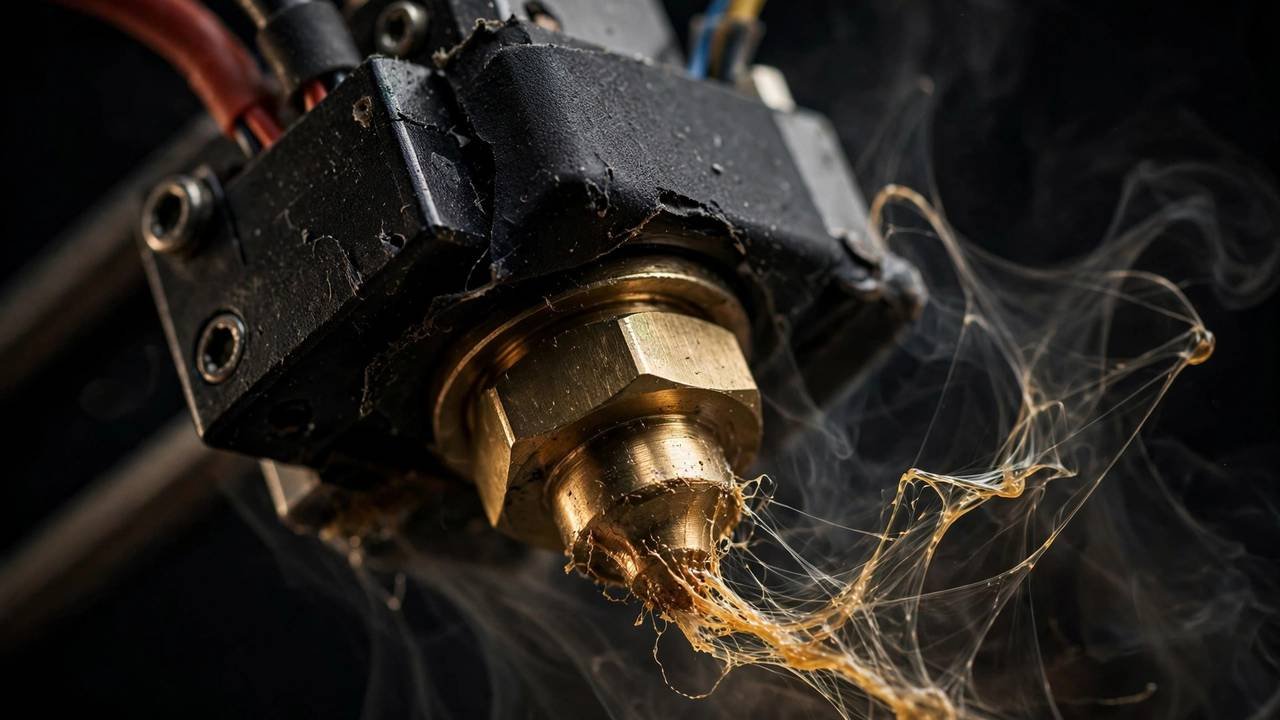
Nothing kills a print quite like a clogged hotend. One minute your printer is laying down perfect layers, the next the extruder is clicking, the filament has stopped moving, and you’re staring at a half-finished model wondering what went wrong. If you want to fix heat creep 3D printer problems for good, you need to understand what’s actually happening inside that little metal block — because heat creep clogs have a specific cause, and the fix is different from other kinds of jams. Everything below is the method that actually works to fix heat creep 3D printer hotends for good.
This guide covers what heat creep is, how to tell it apart from other clogs, the proven fixes, and step-by-step clog removal from gentle to nuclear. Everything here applies to the common hotend designs on Creality, Anycubic, Elegoo, Prusa, and Bambu machines.
What Heat Creep Actually Is
Your hotend has two temperature zones, and keeping them separate is the whole game. The heater block at the bottom melts filament at 200 °C or more. The heatbreak — the thin metal throat above it — is supposed to keep that heat from travelling upward. Above the heatbreak sits the heatsink, which should stay cool enough that filament remains solid until it’s pushed down into the melt zone.
Heat creep is what happens when that separation fails. Heat migrates up past the heatbreak into the heatsink and filament path. Filament softens too early, swells, and grips the tube or throat instead of sliding through. Pressure builds, and eventually nothing moves. That’s your clog.
Here’s the cruel part: heat creep is a time problem. Short prints survive because heat hasn’t had time to migrate — it’s the four-hour print that dies at hour three. A printer that handled 40-minute parts fine yesterday can still be a heat creep victim today.
Symptoms: Is It Heat Creep or Something Else?
Not every clog is heat creep, and the fixes differ. Check the symptoms before pulling things apart: If you’re learning to fix heat creep 3D printer problems properly, diagnosis comes before any wrench work — the fix for heat creep won’t help a wet-filament jam.
| Symptom | Likely cause |
|---|---|
| Print fails partway through, extruder clicking, filament won’t push by hand when hot | Heat creep — softened filament swollen in the heatbreak |
| Clog right at the start, first layer never extrudes | Cold nozzle, wrong Z offset, or debris — not heat creep |
| Filament ground to dust at the extruder gears | Extruder tension or a jam downstream; check the hotend too |
| Stringy, blobby extrusion that gradually worsens over hours | Heat creep developing — catch it early |
| Clog after switching from high-temp to low-temp filament | Residue in the nozzle — needs a cold pull, not cooling fixes |
| PLA clogs but PETG prints fine on the same machine | Classic heat creep — PLA softens at lower temperatures |
The dead giveaway: pull the filament out while hot and look at the tip. A swollen, mushroomed tip wider than the filament a few millimetres up means heat travelled too far — that’s heat creep. A clean tapered tip points elsewhere. This five-second test is the fastest way to confirm you need to fix heat creep 3D printer clogs rather than chasing slicer settings.
Why Heat Creep Happens: The Usual Suspects
Heat creep always comes down to one equation: more heat travelling up than the cooling can carry away. The common causes, roughly in order of frequency:
- Weak or failing heatsink fan. The fan on the heatsink is the single most important anti-heat-creep part. If it’s dusty, dying, or installed backwards, heat wins. It should run full speed whenever the hotend is above about 50 °C.
- Printing PLA too hot, too slow. PLA softens around 60 °C — barely warm. Long, slow, retraction-heavy prints give heat maximum time to migrate. Running 215 °C when 200 °C would do makes everything worse.
- Excessive retraction. Every retraction drags warm filament up into the cold zone and rams it back down. Too much distance, or too many retractions in a small area, pumps heat upward. A big one on direct-drive machines with aggressive default profiles.
- High ambient temperature. A printer in a 35 °C Australian garage in January — or in a closed enclosure printing PLA — gives the heatsink fan warm air to work with. Cooling with warm air is barely cooling at all.
- Poor thermal contact in the heatbreak. A heatbreak that’s loose, or assembled without thermal paste where the design expects it, can’t pass heat into the heatsink efficiently. Heat then takes the path of least resistance — up through the filament.
- PTFE-lined hotends run hot. In the classic Ender 3 style design, the Bowden tube runs right down to the nozzle. If the tube end degrades or isn’t seated hard against it, a gap forms where filament pools, cooks, and jams — the dreaded gap clog.
Fix 1: Check and Upgrade Your Cooling
Start here — it costs nothing. With the hotend heated, hold your hand near the heatsink fan exhaust. You should feel a strong, steady stream of air. Weak, pulsing, or silent means you’ve found your problem.
Clean the fan and heatsink fins with a soft brush and compressed air — dust is a shockingly effective insulator. Check the fan blows onto the heatsink; fans reinstalled backwards after maintenance are a classic self-inflicted wound. If it’s a year or two old and sounds rough, replace it. A quality 4010 or 4020 fan costs a few dollars from Core Electronics or Jaycar — the cheapest reliability upgrade in 3D printing.
Also check the part-cooling fan isn’t blasting the heater block, and that the heatsink fan’s air actually reaches the fins. Shrouds and ducts get knocked out of alignment more often than people admit.
Fix 2: Tune Retraction and Temperature
If cooling is fine, the slicer is next. These changes fix a remarkable number of heat creep cases:
- Drop the nozzle temperature. Print a temperature tower and use the lowest temperature with good layer adhesion — usually 195–205 °C for PLA. Every 5 degrees you drop is 5 degrees less heat creeping upward.
- Reduce retraction. On direct drive, 0.5–1.0 mm is usually plenty; Bowden needs more like 3–5 mm, but 8 mm+ is asking for trouble. Also limit retractions per small area — it stops the extruder chewing the same bit of filament until it softens.
- Speed up, counterintuitively. Faster printing means less time with the nozzle parked over warm plastic and less time for filament in the hot zone. On slow, detailed PLA prints, bumping speed 20% can genuinely help.
- Mind the enclosure. Printing PLA in a closed enclosure on a hot day is a heat creep factory. Open the door or point a desk fan at the printer. Save the sealed enclosure for ABS and ASA.
Fix Heat Creep 3D Printer Clogs Permanently: The Heatbreak Upgrade
If cooling and slicer settings are sorted and heat creep still haunts you — especially with PLA — the heatbreak is the bottleneck. Stock heatbreaks on budget printers are mediocre at stopping heat migration.
A bi-metal heatbreak (copper alloy base, titanium or stainless throat) is the single best upgrade for chronic heat creep. Copper dumps heat into the heatsink fast while the titanium throat barely conducts upward. It’s a $15–$30 part that drops into most common hotends (Ender-style, V6-style) and transforms PLA reliability — the fix that ends the problem rather than managing it.
While you’re in there, check the assembly. The nozzle must seat hard against the heatbreak (not against the heater block) with no gap, tightened while hot. A dab of quality thermal paste on the heatbreak threads where they meet the heatsink improves heat transfer into the cooling fins — use paste rated for high temperatures, and keep it off the filament path. If you’re comparing hotend materials and designs, our filament guide also covers which materials stress a hotend the most.
On PTFE-lined hotends, make sure the Bowden tube end is cut square and pushed firmly against the nozzle. Better yet, the bi-metal upgrade eliminates the tube-in-hot-zone design entirely — and with it the PTFE degradation concern at higher temperatures.
How to Clear a Clog: From Gentle to Nuclear
So the printer is jammed right now. Work through these in order — start gentle, escalate only if needed.
Method 1: The hot push
Heat the nozzle 10–20 °C above normal printing temperature. Once fully hot, push filament through by hand (release the extruder tensioner first). Often the clog just needs a firm shove — if filament flows, extrude 50–100 mm to flush the gunk.
Method 2: The cold pull (atomic pull)
The cold pull drags debris out from the inside. Heat to printing temperature, push filament in until it flows, then cool to about 90 °C for PLA (140 °C for PETG) and yank the filament out firmly. The semi-solid plug comes out shaped like your nozzle’s interior, often with the offending particle in the tip. Repeat until the pulled tip comes out clean — nylon cleaning filament works even better than PLA.
Method 3: The needle
For a blockage right at the nozzle tip — often carbonised residue — heat up and carefully work a fine acupuncture needle (0.3–0.4 mm) up through the tip. Every printer owner should keep a pack; they’re nearly free. Don’t force it sideways — brass nozzles oval out easily.
Method 4: Full disassembly
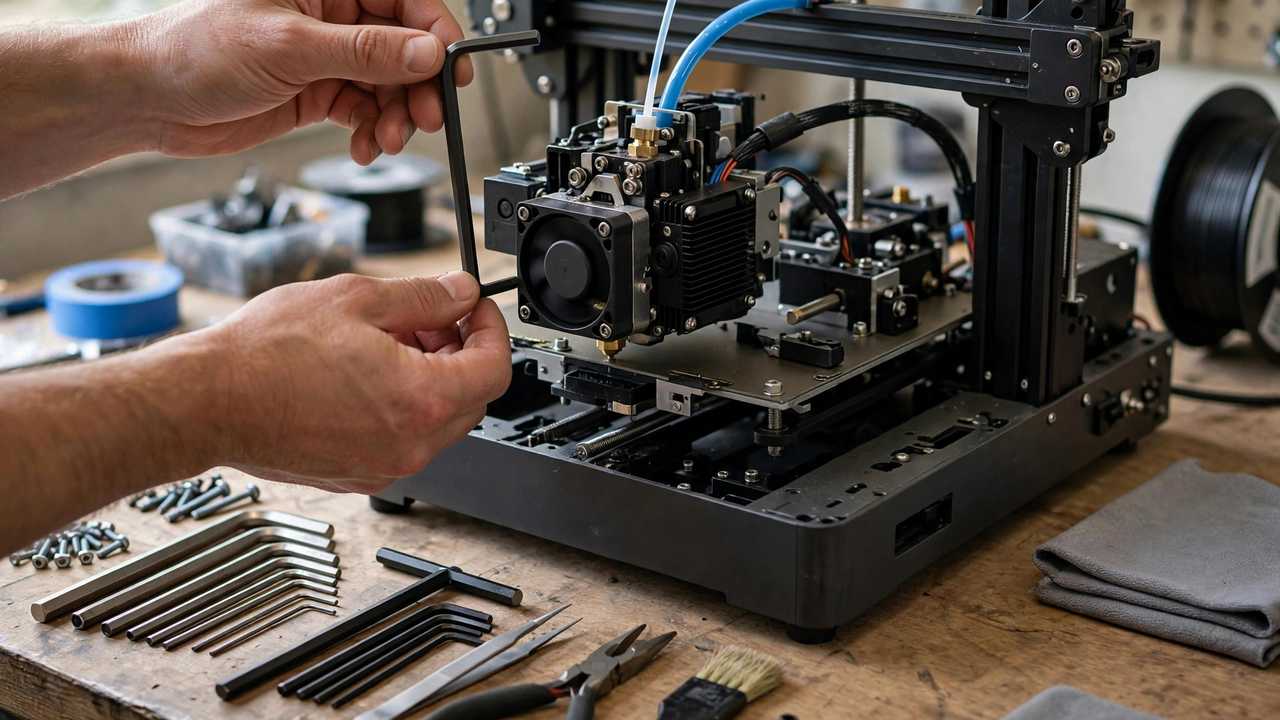
If nothing else works, it’s teardown time. Heat the hotend, remove the nozzle with a proper wrench (hold the heater block with a second wrench — twisting it snaps wires), then remove the heatbreak and inspect. Burnt residue inside means the clog cooked in place; clean it or just replace the nozzle and heatbreak — at a few dollars each, your time is worth more than a heroic cleaning. Reassemble hot, nozzle seated against the heatbreak.
Safety note: you’re working around a 200 °C+ heater with high-current wiring nearby. Let things cool before fingers go near, keep heater wires unstressed, and never leave a disassembled hotend heating unattended.
Preventing the Next Clog: Fix Heat Creep 3D Printer Issues for Good
Clearing a clog feels great; not getting another one feels better:
- Keep the heatsink fan clean and replace it at the first sign of bearing noise.
- Print PLA at the low end of its temperature range, and keep retraction modest.
- Don’t cook filament: purge thoroughly when switching from high-temp materials down to PLA, so no residue is left to carbonise.
- Store filament dry. Wet filament leaves charred crud in the nozzle — a $30 dryer box saves more clogs than any other purchase, and it matters a lot in humid Australia.
- Replace nozzles on schedule. After a few kilos — faster with glow, carbon-fibre, or wood-fill — brass is worn even if it still “works”. Nozzles are cheap; swap them.
- Do an occasional cold pull as maintenance, not just as rescue. One every few spools keeps the melt zone clean.
When It’s Not Worth Fixing
Sometimes the economical answer is replacement. If a stock PTFE-lined hotend keeps giving gap clogs, a complete all-metal upgrade ($30–$60 AUD) buys you out of the whole failure class. If heater or thermistor wiring looks damaged, replace the assembly — intermittent heater faults are a fire risk, not a maintenance item.
For the authoritative word on hotend design, E3D’s technical blog — the company behind the V6 hotend half the industry uses — is the best free reference going.
FAQs
What is heat creep in 3D printing?
Heat creep is heat migrating up past the heatbreak into the heatsink and filament path, softening filament too early so it swells and jams. It typically strikes long prints — the heat needs time to travel — which is why a printer can handle short parts fine and still clog three hours into a big one.
How can I tell heat creep apart from a normal clog?
Pull the filament while hot and inspect the tip. A swollen, mushroomed tip wider than the filament a few millimetres up means heat softened it too high in the hotend — that’s heat creep. A clean tapered tip, or a clog that appears immediately at print start, points to a nozzle blockage, wrong temperature, or bed-level issue instead.
What’s the best permanent fix for heat creep?
A bi-metal heatbreak upgrade, combined with a healthy heatsink fan and sensible retraction settings. The bi-metal design moves heat into the heatsink far more efficiently than stock PTFE-lined or plain steel throats, and it’s a $15–$30 part that ends chronic heat creep rather than just managing it.
Why does my printer only clog with PLA and not PETG?
PLA softens at around 60 °C — much lower than PETG’s ~80 °C — so it’s far more vulnerable to heat migrating up the hotend. PLA-only clogging on long prints is the textbook heat creep signature. Dropping print temperature, reducing retraction, and improving heatsink cooling usually resolves it.
Can I prevent clogs by printing hotter?
Usually the opposite. Printing hotter puts more heat into the system for heat to creep upward, and it carbonises residue faster. Print at the lowest temperature that gives good layer adhesion — verified with a temperature tower — and you’ll get fewer clogs, not more.
How often should I replace my nozzle?
For plain PLA and PETG through a brass nozzle, every few kilos of filament is a reasonable interval — nozzles are $2–$5 consumables. Abrasive filaments (glow, carbon fibre, wood-fill, metallic) wear brass visibly within a single spool; switch to hardened steel for those and accept slightly higher print temperatures.