There’s a moment every maker knows: you pull a print off the bed, hold it up, and think this would look incredible in chrome. Learning to chrome plate 3D prints at home bridges the gap between plastic prototype and metal masterpiece — and it’s far more achievable than most people assume. With patience, basic chemistry safety, and about AU$150-250 in supplies, you can electroplate real metal onto your prints in a home workshop. The process below shows exactly how to chrome plate 3D prints at home, step by step.
This guide walks through the complete process: which prints plate well, the critical surface preparation most beginners skip, the copper-nickel-chrome layer stack, bath setup, and the safety rules you must not ignore. We’ll also cover the easier alternatives for when full electroplating is overkill.
How Electroplating a 3D Print Actually Works
Plastic doesn’t conduct electricity, and electroplating needs a conductive surface to draw metal ions out of solution. So the process has two phases:
- Make it conductive: The print is sanded glass-smooth, then coated with conductive paint (usually copper-loaded).
- Build the metal stack: The conductive part goes into plating baths as the cathode. Metal deposits layer by layer: copper first (10-25 microns, for thickness and levelling), then nickel (hardness and corrosion barrier), then chrome (the mirror finish).
What you end up with is a thin skin of real metal over a printed core — not paint imitating metal. Real plated metal reflects light the way metal does: sharp highlights, deep reflections, correct behaviour as a camera moves around it. That’s why plated props read as cast metal on camera while metallic spray paint doesn’t hold up under production lighting.
Prusa’s own workshop tested electroplating 3D prints and confirmed the process is very doable at home with the right preparation — their write-up is an excellent companion to this guide.
Which Prints Plate Best?
- SLA resin prints: The gold standard for plating. Resin captures fine detail and sands to a flawless surface more easily than FDM layer lines.
- FDM prints: Absolutely plateable, but surface prep is more work. Every layer line will telegraph through the plating if you don’t eliminate it.
- Best geometries: Smooth, continuous surfaces. Deep recesses and sharp internal corners plate unevenly because current density varies.
- Size: Start small — a badge, a knob, a cosplay emblem. Your bath, power supply, and patience all scale with part size.
- Avoid: Highly porous prints, very thin walls (they can warp in baths), and anything with trapped volumes that’ll hold chemistry.
If your print needs smoothing first, our guide to smoothing PLA prints covers the sanding progression in detail. For cosplayers, plated armour pieces are a showstopper — see our 3D printing cosplay guide for prop-specific tips.
Surface Preparation: Where Plating Succeeds or Fails
Here’s the uncomfortable truth: 90% of plating quality is surface prep. The metal layer is only microns thick — it reproduces your surface exactly, flaws and all. There are no shortcuts here.
- Sand progressively: Start at 220 grit to knock down layer lines, work through 400, 600, 800, and finish at 1000 grit. The surface should feel like glass.
- Fill if needed: Spot putty or filler primer for stubborn layer lines. Sand again after filling.
- Degrease thoroughly: Fingerprints and sanding dust cause plating voids. Wipe down with isopropyl alcohol, or for a deeper clean, a brief dip in MEK (methyl ethyl ketone) — with proper ventilation and gloves.
- Apply conductive paint: Copper-loaded conductive paint, sprayed or brushed in thin, even coats. Coverage must be complete — one bare spot stays bare, as platers say. Two thin coats beat one thick coat.
- Check continuity: A multimeter across the surface should show low resistance everywhere. Touch up any dead spots.
The Plating Stack: Copper, Nickel, Chrome
Step 1: Copper Plate (the Foundation)
Copper goes first because it has the best adhesion to the conductive paint and builds thickness fast. Plate at roughly 1-3 A/dm² current density — too low and deposition crawls; too high and it burns at edges and holes. Aim for 10-25 microns. After copper, polish lightly and degrease again.
Step 2: Nickel Plate (the Barrier)
Nickel over copper provides hardness and corrosion resistance — and critically, it acts as a separation layer. Chrome doesn’t bond well directly to copper, and some metal combinations cause galvanic corrosion. Never skip the nickel.
Step 3: Chrome Plate (the Mirror)
The final bath deposits the chrome layer that gives the mirror finish. True hexavalent chrome baths are industrial chemistry — not suitable for home use. Home platers use trivalent chrome baths (safer, slightly less brilliant) or “chrome-look” nickel finishes. Be honest with yourself about which you’re doing; trivalent results still look fantastic.
How to Chrome Plate 3D Prints: Setting Up a Home Plating Station
- Power supply: A variable DC bench supply (0-5A) with current limiting. Plating is current-controlled, not voltage-controlled.
- Baths: Food-grade plastic containers, one per chemistry. Never use metal containers.
- Anodes: Copper anodes for the copper bath, nickel anodes for nickel. Larger anode surface = smoother, more even deposition.
- Racking: How you hang the part matters enormously. The part gets current through its contact point(s) — use multiple contacts, keep them off cosmetic faces, and rotate the part between sessions for even coverage.
- Agitation: Gentle bath agitation (aquarium pump) improves uniformity.
- Rinse stations: Clean water rinses between every bath. Drag-out contamination ruins baths.
Safety: Non-Negotiable Rules
Electroplating involves acids, metal salts, and electricity in combination. Respect it:
- Ventilation: Work outdoors or under a fume extractor. Some baths release hydrogen gas and acid mist.
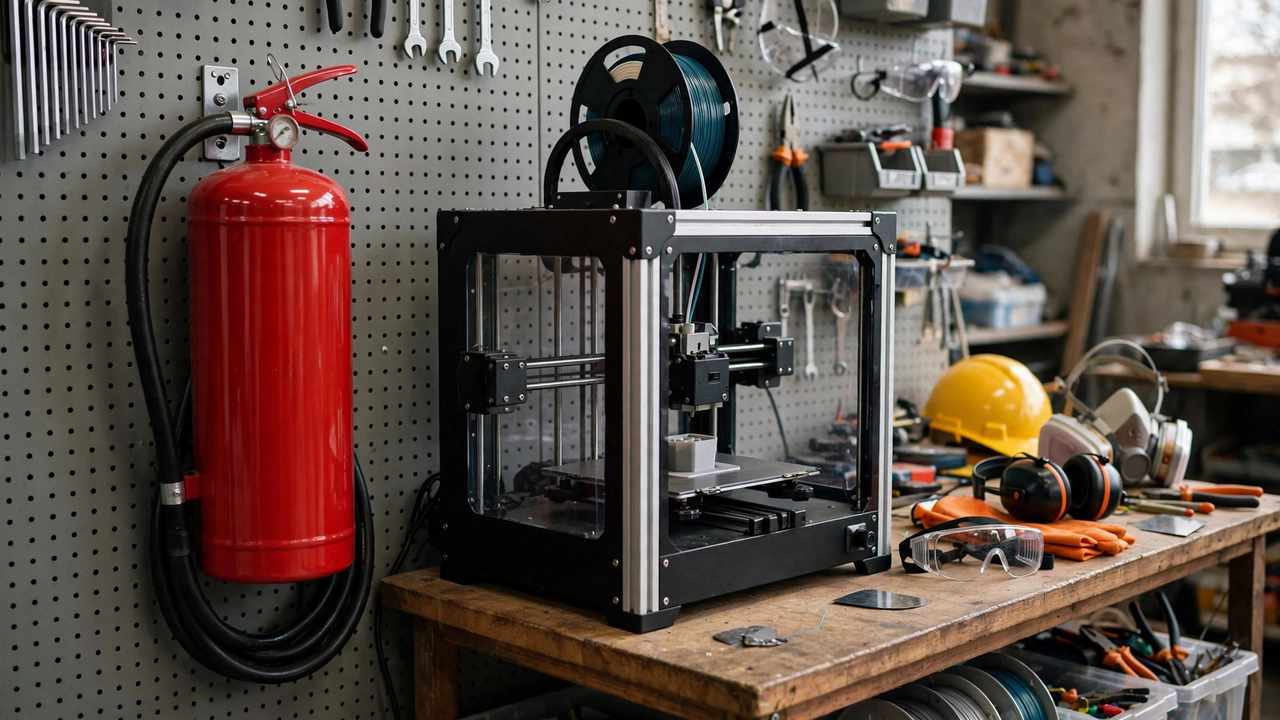
- PPE: Chemical-resistant gloves, safety glasses, and an apron. Every session, no exceptions.
- No hexavalent chrome at home: It’s a known carcinogen with strict industrial controls. Trivalent chrome only.
- MEK and solvents: Highly flammable, use away from ignition sources with ventilation.
- Electrical: Low voltage but meaningful current. Keep connections dry, never leave a live bath unattended.
- Disposal: Spent plating baths are hazardous waste. In Australia, take them to your council’s chemical clean-out collection — never pour down the drain.
- Keep away from children and pets, and store all chemistry locked away.
Easier Alternatives Worth Knowing
Full electroplating is a commitment. Depending on your goal, consider:
- Conductive paint alone: Copper conductive paint, polished, looks surprisingly metallic for display pieces with zero chemistry.
- Metallic spray paints: Modern “chrome” sprays (over a gloss black base) look decent at arm’s length. Add 2-3 days, not 2-3 weeks.
- Cold casting: Mix metal powder into resin and cast — genuine metal surface, no electricity.
- Professional plating services: Send your print to a plating shop. More expensive per part, zero chemical handling.
- Vacuum metallising: Some sign shops offer it; stunning chrome look on plastics.
Complete Shopping List for Home Plating
Here’s what you actually need to buy, with Australian sourcing notes:
- Variable DC bench power supply (0-30V, 0-5A): ~AU$60-90 from Jaycar or Altronics. Current limiting is essential — don’t use a fixed supply.
- Copper conductive paint: ~AU$25-40 for a spray can (MG Chemicals Super Shield or similar) from element14 or Amazon AU. One can does many small parts.
- Copper plating bath chemicals: Copper sulphate + sulphuric acid based kits, ~AU$40-60. Look for jewellery-plating starter kits from Australian suppliers.
- Nickel plating solution: ~AU$40-50 for a small bath kit.
- Trivalent chrome bath: ~AU$50-80. Confirm it’s trivalent, not hexavalent.
- Copper and nickel anodes: ~AU$20-30. Size them generously relative to your parts.
- Plastic containers: Food-grade HDPE tubs from Bunnings, ~AU$5-10 each. One per bath plus rinse stations.
- PPE: Chemical gloves (nitrile, box of 100, ~AU$25), safety glasses (~AU$10), apron (~AU$15).
- Multimeter: For continuity checks — you probably own one; if not, ~AU$25.
- Aquarium air pump: ~AU$15 for bath agitation.
- Sandpaper assortment to 1000+ grit, filler primer, degreaser: ~AU$30 from Supercheap Auto.
Total: roughly AU$350-450 for a complete starter setup. The chemicals last for dozens of small parts, so per-part cost drops fast. Split the investment with a maker friend and it becomes very reasonable.
Troubleshooting When You Chrome Plate 3D Prints
- Bare spots: Incomplete conductive paint coverage. Strip back, recoat, and verify continuity with a multimeter before replating.
- Rough/burnt deposits at edges: Current density too high. Reduce current, increase anode-to-part distance, or add “robbers” (sacrificial conductive shapes near edges that steal excess current).
- Dull or hazy finish: Contaminated bath, wrong temperature, or inadequate surface prep. Check bath chemistry and re-polish the substrate.
- Peeling/flaking: Poor adhesion — almost always inadequate degreasing or conductive paint applied over dust. Strip and start the prep over; there’s no shortcut.
- Pitting: Hydrogen bubbles clinging to the surface. Increase agitation and check bath chemistry.
- Uneven thickness: Poor racking or part orientation. Rotate the part between sessions, add contact points, keep contacts off cosmetic faces.
- Staining after drying: Trapped bath chemistry weeping from hollow sections. Extend rinse cycles, blow out cavities with compressed air, and dry slowly.
The golden rule of plating troubleshooting: when in doubt, it’s the prep. Ninety percent of defects trace back to surface preparation, not bath chemistry.
Gold, Nickel, and Other Finishes
Chrome isn’t the only option once you’ve mastered the conductive-paint-to-copper foundation:
- Gold plating: Gold over the nickel barrier layer. Use a galvanic brush (plating pen) with gold electrolyte for small areas — full-bath gold is expensive. Remember: gold must never go directly on copper; the nickel separation layer is mandatory to prevent galvanic corrosion.
- Bright nickel: Stop at the nickel stage for a pewter-grey finish that’s attractive in its own right and simpler than chrome.
- Copper: Stop after copper plating and seal with lacquer for a warm, industrial look. Copper continues to patina if unsealed — sometimes desirable.
- Antique bronze: Copper plate, then apply patina chemicals for an aged bronze effect. Popular for props and decorative pieces.
- Two-tone: Mask areas between plating steps for gold-over-copper or chrome-over-brass effects.
Each metal has its own bath chemistry and current requirements, but the surface prep discipline is identical. Master chrome and the others follow naturally.
Professional Plating Services in Australia
If home chemistry isn’t for you, several Australian electroplating shops accept 3D printed parts — search for “plastic electroplating” plus your city. Expect AU$80-200+ per part depending on size and finish, with 2-3 week turnarounds. For one-off hero pieces (wedding cake toppers, awards, display models), professional plating is often the smart choice.
How Long Does Plating Last?
Once you chrome plate 3D prints with proper surface prep, the results are genuinely durable. A well-plated part with proper prep lasts years under normal handling — the metal skin is real metal, after all. But understand the limits:
- Normal handling and display: Indefinite. Trophy and prop platers report pieces looking new after 5+ years on shelves.
- Light abrasion: Fine — the nickel layer provides genuine hardness.
- Heavy impact or scratching: The plating will scratch or dent, revealing plastic underneath. It’s a skin, not solid metal.
- Outdoor exposure: Chrome and nickel handle weather well; copper needs lacquer sealing or it patinas (which some people want).
- Flexing: Don’t plate parts that flex — the metal skin cracks. Rigid parts only.
For functional parts that take abuse, consider the plating cosmetic and design the plastic core to carry the loads. The metal makes it beautiful; the plastic makes it work.
Frequently Asked Questions
Can you chrome plate PLA?
Yes. The plastic type matters less than the surface finish — sand it to 1000 grit, make it conductive, and PLA plates as well as anything. Resin is easier to get smooth, but PLA works fine with thorough prep.
How thick is the plating?
Typically 50-200 microns total across the copper/nickel/chrome stack. Enough for a genuine metal feel and years of normal handling, but it will scratch under heavy abuse since the plastic underneath is soft.
Is home chrome plating safe?
Trivalent chrome home setups are manageable with proper ventilation, PPE, and chemical hygiene. Hexavalent chrome is absolutely not for home use. Always dispose of spent baths as hazardous waste.
How long does it take?
Surface prep dominates — expect several evenings of sanding for a show-quality part. The plating baths themselves run hours per layer. A professional shop quotes around two weeks including prep.
What’s the cheapest way to get a chrome look?
Gloss black base coat plus a quality “chrome” spray paint. It won’t fool anyone up close like real plating, but for costume pieces viewed at distance, it’s remarkably effective for under AU$30.