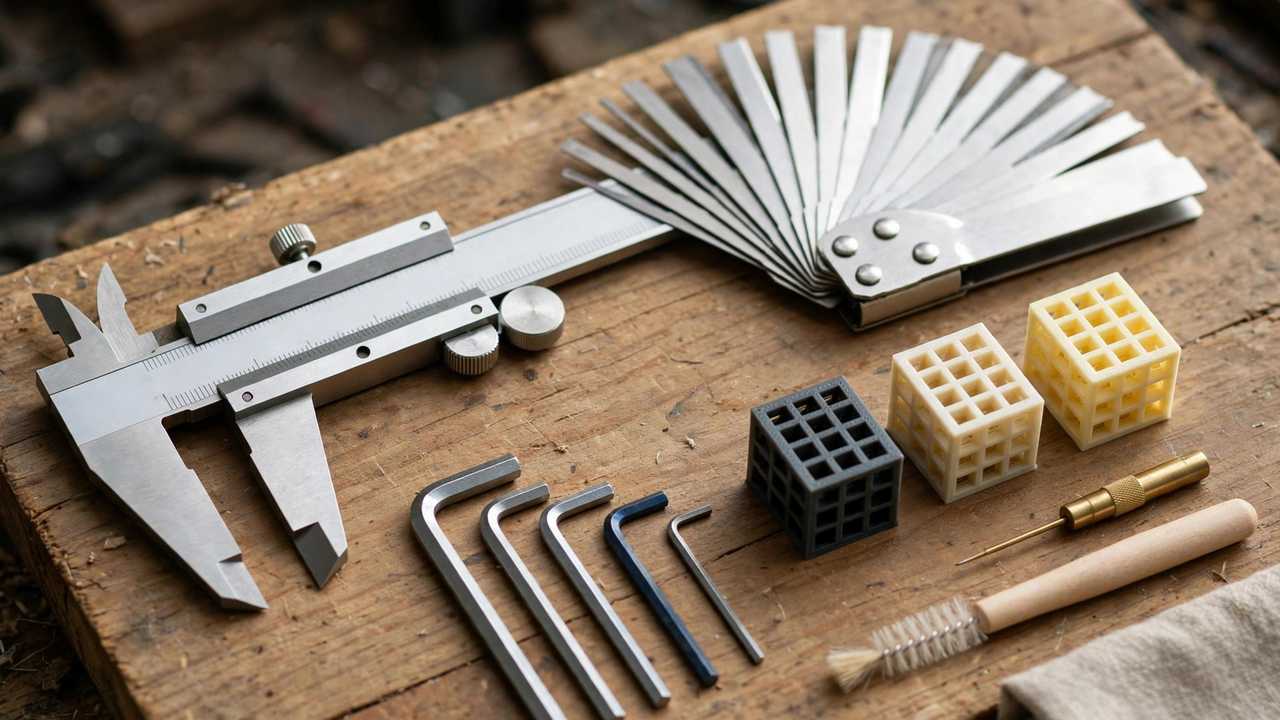
Here is an uncomfortable truth: most print quality problems are not filament problems, slicer problems, or printer problems — they are calibration problems. A fully calibrated budget printer outperforms an uncalibrated premium machine every time. This complete 3D printer calibration guide walks through every calibration that matters, in the right order, with the methods that actually work in 2026 — including modern techniques like input shaping that older guides miss.
3D printer calibration sounds tedious. In practice, the full process takes an afternoon, and the improvement is dramatic: dimensions that actually measure correctly, surfaces that look clean, and the end of mysterious recurring defects. Do it once properly, revisit key steps when you change materials or hardware, and your printer becomes a reliable tool instead of a source of frustration.
3D Printer Calibration: Before You Start
Calibration builds on a mechanically sound printer. Before touching software settings, check the hardware: frame bolts tight, belts properly tensioned (twang like a low guitar string, not floppy, not banjo-tight), eccentric nuts adjusted so carriages move smoothly without wobble, lead screw clean and lightly lubricated, and nozzle clean and undamaged. Calibrating a printer with a loose frame or a partially clogged nozzle is like tuning a piano with broken strings — fix the hardware first.
You will need: digital callipers (non-negotiable — $20 well spent), a permanent marker, a ruler, and test filament in a known-good material (plain PLA from a reputable brand). Do all calibration with the same material where possible; switching materials mid-process invalidates temperature-dependent results.
Step 1: PID Autotune (Temperature Stability)
Your hotend and bed use PID control loops to hold temperature. Factory PID values are generic; autotuning measures your specific hardware and sets optimal values. The payoff is temperature stability — instead of swinging ±5°C (which visibly bands prints and affects materials like wood filament), a tuned printer holds within ±1°C.
On Marlin firmware, run M303 E0 S210 C8 for the hotend (adjust S to your typical printing temperature) and M303 E-1 S60 C8 for the bed, then save with M500. On Klipper, use PID_CALIBRATE HEATER=extruder TARGET=210 and the equivalent for the bed, then SAVE_CONFIG. Do this first — every subsequent calibration assumes stable temperatures.
Step 2: E-Steps (Extruder Calibration)
E-steps define how many stepper motor steps produce one millimetre of filament. If this is wrong, everything downstream is wrong. The classic method: mark 120 mm on your filament above the extruder, command 100 mm of extrusion (hotend at temperature), measure how much actually fed, and calculate: new E-steps = old E-steps × (100 / actual extruded).
Example: your printer’s E-steps are 93, you command 100 mm, and 96 mm actually extrudes. New value: 93 × (100/96) = 96.9. Set it, save to EEPROM (M500), and repeat to verify — the second run should measure exactly 100 mm. This five-minute procedure fixes a shocking number of “under-extrusion” complaints that are really just wrong E-steps.
Step 3: First Layer and Z-Offset
The first layer determines whether prints stick and how clean the base looks. Print a large single-layer square (or five small squares at the bed corners and centre) and examine: lines should be slightly squished together with no gaps, but not translucent or ridged. Adjust Z-offset (or bed knobs on manual machines) until the texture is right.
Signs to read: gaps between lines = too far; translucent, rough texture = too close; perfect = smooth, even, lines just merged. This is also where elephant’s foot originates — a first layer squished too aggressively flares the base. Get this right and half your print problems disappear.
Step 4: Flow Rate (Extrusion Multiplier)
With E-steps correct, fine-tune how much plastic the slicer requests. Print a hollow 20 mm cube with a single wall (vase mode / spiralise off — one perimeter, no top, no infill), then measure the wall thickness with callipers. If your slicer aimed for 0.45 mm walls and you measure 0.48 mm, reduce flow to 94% (0.45/0.48). Repeat until measured matches intended within 0.02 mm.
Do this per material — PLA, PETG, and ABS all want slightly different flow values on the same printer. Most slicers let you save per-filament profiles, so calibrate once per spool type and never think about it again.
Step 5: Temperature Tower
Every filament has an ideal temperature, and it varies by brand, colour, and even batch. A temperature tower — a single model printed with temperature changing every section — reveals the sweet spot visually: cleanest overhangs, least stringing, best surface finish. Print one for every new spool, or at least every new brand.
Read the tower for: stringing between the tower’s prongs (less is better), overhang quality on the angled sections, bridging on the horizontal spans, and surface gloss. The best-looking section wins. Note that the “best” temperature for appearance may differ slightly from the best for strength — for functional parts, favour the warmer end of the good-looking range.
Step 6: Retraction Tuning
Retraction prevents stringing and oozing during travel moves. Print a retraction test (two small towers with a gap between them) and adjust distance in 0.5 mm steps: Bowden setups typically land at 4–6 mm, direct drive at 0.5–1.5 mm. Too little = strings; too much = jams and gaps at layer starts (particularly with all-metal hotends).
Also tune retraction speed (25–45 mm/s typical) and consider z-hop: a tiny vertical lift during travels that prevents the nozzle dragging across the print. Z-hop adds stringing slightly, so use the minimum that prevents collisions (0.2–0.4 mm).
Step 7: Pressure Advance / Linear Advance
This is the calibration that separates good prints from great ones. Pressure advance (Klipper) / linear advance (Marlin) compensates for the lag between extruder pressure changes and actual plastic flow — eliminating the bulging at corners and gaps at line starts that plague uncalibrated printers. The visual difference on text, sharp corners, and fine details is striking.
On Klipper, print the pressure advance test pattern and pick the cleanest corner; typical values range 0.02–0.08 for direct drive, higher for Bowden. On Marlin, enable linear advance in firmware and run the K-factor test pattern. This single calibration does more for surface quality than any hardware upgrade under $100.
Step 8: Input Shaping (Kill Ghosting)
Ghosting (ringing) — those rippled echoes near sharp features — comes from frame vibration. Input shaping cancels it in firmware by pre-compensating for the printer’s resonant frequencies. On Klipper, run the resonance test with an accelerometer (ADXL345, ~$15) for automatic calibration, or use the manual ringing tower method. The result: dramatically cleaner surfaces at higher speeds.
Input shaping is the reason modern printers achieve both speed and quality — it is arguably the most impactful firmware feature of the last five years. If your printer runs Klipper (or a recent Marlin with input shaping support), this calibration is mandatory, not optional. Pair it with the manufacturer guidance in Klipper’s official documentation for your specific setup.
Step 9: Bed Levelling and Mesh
Even “level” beds are not flat. A bed mesh (manual or automatic) maps the surface so the printer compensates in real time. With a probe (BLTouch, inductive, or eddy-current), run the mesh calibration and verify with a bed-level test print — five squares should all show identical first-layer texture. Without a probe, manual mesh levelling (available in Marlin) achieves the same thing with patience.
Re-run the mesh when: you change build surfaces, adjust bed knobs, move the printer, or notice first-layer inconsistency returning. A stale mesh is worse than no mesh — it confidently compensates for a bed that no longer exists.
Step 10: Dimensional Accuracy Check
The final exam: print a 20 mm calibration cube and a larger test (100 mm if your printer allows) and measure everything. X, Y, and Z should all measure within 0.1 mm of intended for the 20 mm cube. If one axis is consistently off, check belt tension and steps-per-mm for that axis. If holes print undersized (common — slicers and shrinkage conspire), note the offset and compensate in design or with horizontal expansion settings.
For functional work, also print a tolerance test — pins and holes from 0.1 to 0.5 mm clearance — to learn what your printer actually achieves. Design around measured reality, not theoretical precision.
Material-Specific Calibration Notes
Calibration is not one-size-fits-all — each material has quirks that deserve attention. PLA is the most forgiving: standard calibrations transfer well between brands, and it tolerates minor errors gracefully. It is the ideal material for doing your initial full calibration, since results are consistent and easy to read.
PETG demands re-tuning of temperature, retraction, and cooling — the values that worked for PLA will produce stringy, blobby PETG. Run a fresh temperature tower and retraction test for every PETG brand you buy; the differences between brands are larger than with PLA. Flow rate often needs a 2–5% reduction versus PLA because PETG’s behaviour under pressure differs.
TPU is a different animal: print slowly (25–40 mm/s), minimise retraction (1–2 mm, slow speed), and disable settings that fight flexible filament like aggressive coasting. Direct-drive extruders handle TPU far better than Bowden setups — if your Bowden printer struggles, the extruder path (not your calibration) is usually the culprit. ABS/ASA need the enclosure and ventilation basics right before calibration even matters; then treat like PETG with higher temperatures and zero part cooling for strength.
The practical workflow: fully calibrate with PLA, then for each new material run just the temperature tower, flow check, and retraction test. That targeted trio takes under an hour and captures 90% of material-specific differences. Save the results in per-filament slicer profiles so switching materials becomes a dropdown choice, not a recalibration session.
Quick-Reference Troubleshooting Map
When a print fails, match the symptom to the calibration step before changing random settings:
- First layer will not stick: Step 3 (Z-offset, bed cleanliness, bed temperature)
- Dimensions wrong: Step 2 (E-steps), then Step 4 (flow), then Step 10
- Stringing and oozing: Step 6 (retraction), Step 5 (temperature — try cooler), dry filament
- Ghosting/ringing on surfaces: Step 8 (input shaping), check belt tension
- Blobs at corners, gaps at line starts: Step 7 (pressure/linear advance)
- Rough, inconsistent extrusion: Step 2 (E-steps), check for partial clog, dry filament
- Layer shifts: mechanical first (belts, pulleys, stepper current), then speed/acceleration limits
- Warping and curling: bed adhesion and temperature management, not a calibration issue per se
Notice how many “mysterious” problems map to specific steps. 3D printer calibration is not busywork — it is the diagnostic framework that turns random failure into solvable problems. The makers who calibrate systematically spend their time printing; those who do not spend it troubleshooting.
3D Printer Calibration Maintenance Schedule
- Every material change: temperature tower, flow check
- Monthly (regular use): first-layer check, bed mesh refresh
- After hardware changes: full recalibration from step 1
- When problems appear: diagnose first (see our recommended troubleshooting books), then recalibrate the relevant step only
- PID: once, unless you change hotend, heater, or part-cooling setup
- E-steps: once, unless you change extruder hardware
Keep a calibration log — a notebook or spreadsheet with dates, materials, and winning values. When something drifts months later, the log tells you what changed. Professional print farms do this religiously; hobbyists who adopt the habit spend far less time troubleshooting.
Frequently Asked Questions
How often should I calibrate my 3D printer?
Full calibration once, then spot-checks: temperature tower and flow for each new material, first-layer check monthly, full recalibration after hardware changes.
What is the most important calibration?
E-steps and first-layer/Z-offset. These two fix the majority of print quality complaints. Pressure advance is the biggest “advanced” win.
Do I need an accelerometer for input shaping?
It is the fastest and most accurate method on Klipper (~$15 ADXL345), but manual ringing-tower tuning works without one. Either beats no input shaping.
Why are my prints the wrong size?
Usually E-steps, flow rate, or steps-per-mm. Calibrate in that order. Note that holes typically print 0.1–0.3 mm undersized even on calibrated printers — compensate in design.
Can calibration fix stringing?
Partially — retraction tuning and temperature towers address it. But wet filament strings regardless of calibration, so dry your spools too.