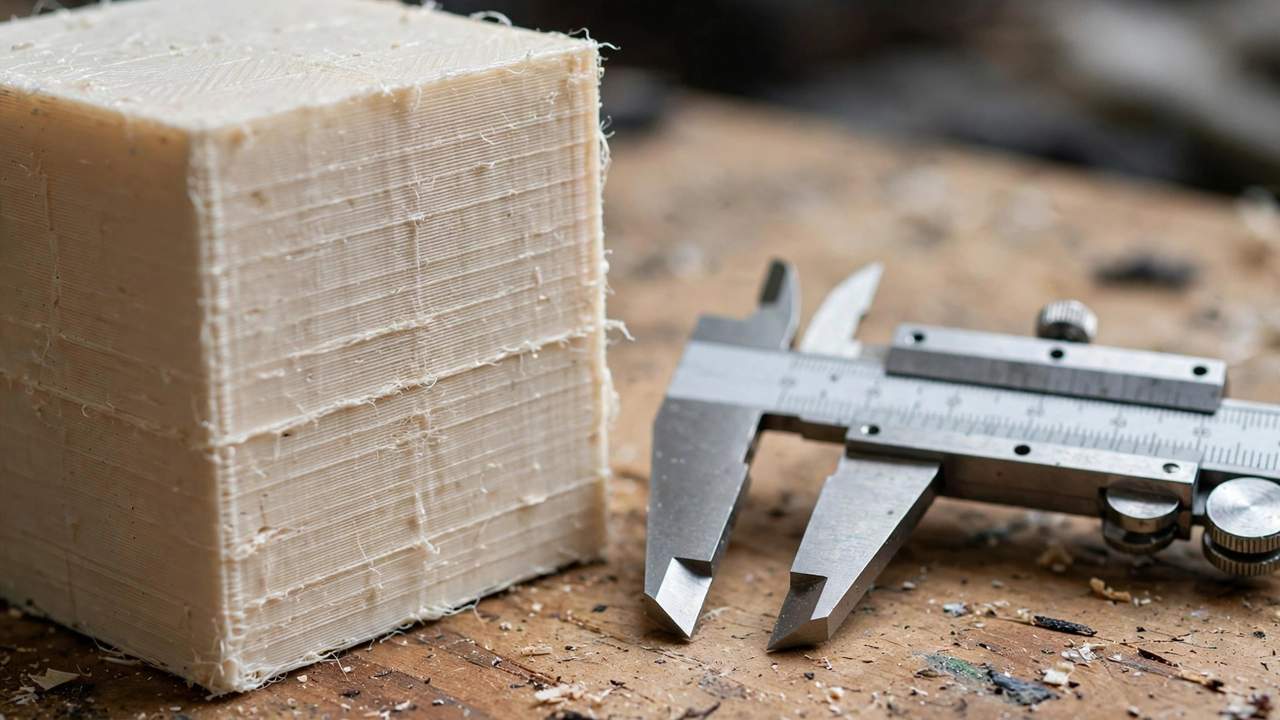
Nothing is more frustrating than pulling a 12-hour print off the bed only to find it covered in repeating horizontal ridges. If you’re trying to fix Z-banding in your 3D prints, you’re dealing with one of the most common — and most misunderstood — print defects in FDM printing. The good news: Z-banding is almost always a mechanical problem with a mechanical solution, which means it’s genuinely fixable once you identify the culprit. Follow the steps below to fix Z-banding 3D prints methodically — and keep the banding from coming back.
In this guide, we’ll walk through exactly what Z-banding is, how to tell it apart from look-alike defects, and seven proven fixes ordered from easiest to most involved. Most cases resolve with nothing more than a clean cloth, some lubricant, and ten minutes of your time. Let’s get those walls smooth again.
What Is Z-Banding (and What It Isn’t)
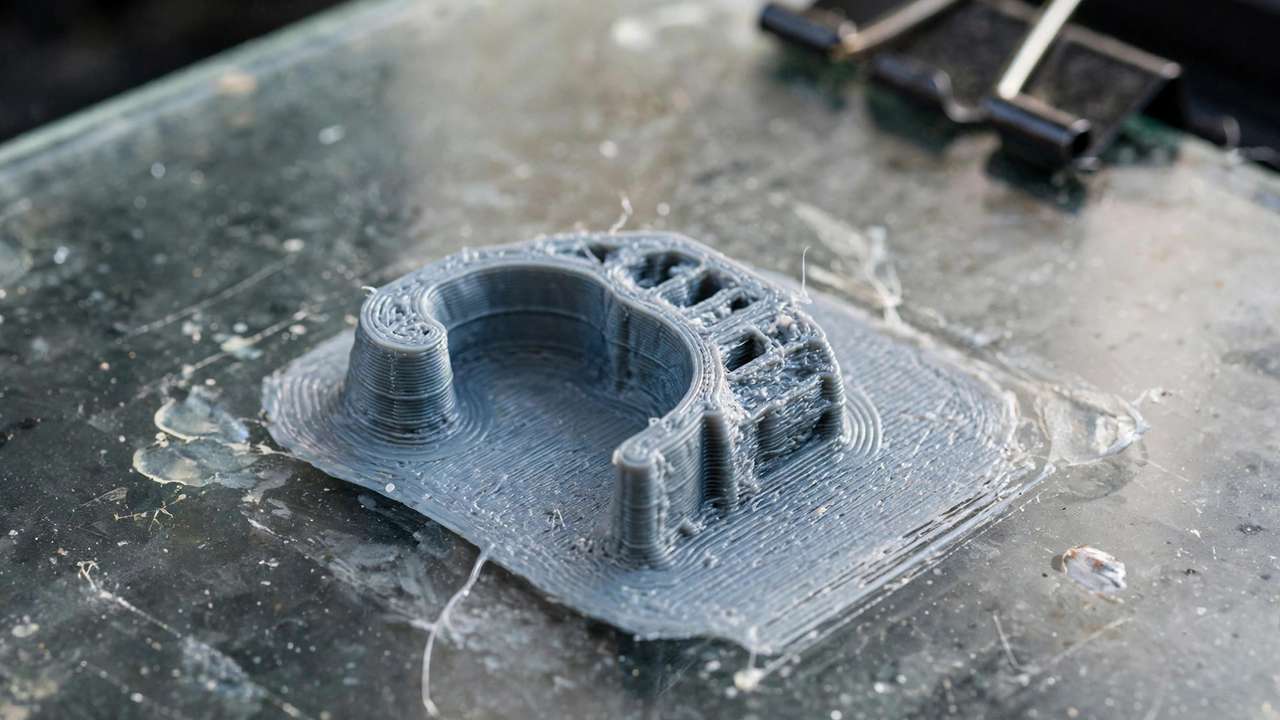
Z-banding shows up as repeating horizontal lines or ridges running up the sides of a print at a consistent, regular pitch. Run your finger down the wall and you’ll feel them as well as see them. The key word is repeating — the pattern repeats at a fixed interval, which is what distinguishes it from other defects.
Here’s how to tell Z-banding apart from its cousins:
- Z-banding: Regular, repeating ridges at a fixed pitch (often every 8mm, matching the lead screw pitch). Caused by mechanical Z-axis issues.
- Z-wobble: Wavy or zigzag lines rather than straight ridges. Also Z-axis mechanical, but specifically from a bent or eccentric lead screw shifting the gantry side to side.
- Layer shifting: A sudden, one-off step or offset in the print — not repeating. Usually a belt, motor current, or obstruction issue. (See our layer shifting fix guide if that’s your problem instead.)
- Inconsistent extrusion: Random unevenness rather than a regular pattern. Points to temperature fluctuation, a partial clog, or filament issues.
A quick diagnostic trick: rotate the model 90 degrees in your slicer and reprint a small test. If the banding stays in the same physical location on the printer (rather than rotating with the model), it’s mechanical — your Z-axis. If it moves with the model, suspect the slicer or the model itself.
What Causes Z-Banding? The Usual Suspects
Z-banding almost always traces back to the Z-axis motion system. As the lead screw rotates to raise the gantry, any imperfection in that rotation translates directly into tiny variations in layer height — visible as bands. The main causes, in order of likelihood:
- Dirty or dry lead screw — dust and old lubricant create friction spots
- Over-tightened coupler or Z-nut — constrains the screw instead of letting it self-align
- Bent lead screw — even a slight bend traces a circle as it rotates
- Rigid coupler transmitting motor wobble — no flex to absorb misalignment
- Lead screw clamped at both ends — fights the screw’s natural movement
- Worn brass Z-nut — play in the nut causes inconsistent movement
- X-gantry too tight or sagging — binding as it travels up the Z-axis
Fix 1: Clean and Lubricate the Lead Screw
If you only do one thing to fix Z-banding 3D prints, make it this. This fixes more Z-banding cases than everything else combined, and it takes ten minutes. Over time, dust mixes with old lubricant on the lead screw to form a gritty paste. As the brass nut travels over these contaminated spots, it sticks and releases — creating exactly the periodic resistance that shows up as banding.
How to do it:
- Home the printer, then manually raise the gantry to mid-travel and power off (or disable steppers).
- Wipe the full length of the lead screw with a clean, lint-free cloth to remove old grease and dust.
- For stubborn buildup, use a cloth lightly dampened with isopropyl alcohol — then let it dry fully.
- Apply a thin, even coat of fresh lubricant: white lithium grease or a PTFE/silicone-based grease works well. Avoid WD-40 as a lubricant (it’s a solvent, not a lasting lubricant).
- Run the gantry up and down the full travel a few times to distribute the grease, then wipe off the excess.
Add this to your regular routine — our 3D printer maintenance schedule recommends a lead screw clean every few months depending on how dusty your environment is.
Fix 2: Loosen the Coupler and Z-Nut Screws Slightly
This one feels wrong the first time you do it, but it’s one of the most effective Z-banding fixes in existence. The coupler connecting the stepper motor to the lead screw, and the brass nut attaching the screw to the gantry, should have a small amount of deliberate play. When these are cranked down hard, they force the lead screw to transmit every tiny wobble from the motor directly into the print.
Back the coupler grub screws off a quarter turn — just enough that the screw can self-centre without slopping around. Same for the brass nut mounting screws: snug, not gorilla-tight. The lead screw should be able to find its own happy alignment as it rotates.
Fix 3: Let the Top of the Lead Screw Float
Many printers have a bearing or bracket capturing the top of the lead screw. If that top mount is tight and slightly misaligned with the motor below, the screw is being bent between two fixed points on every rotation — a guaranteed banding generator.
The fix: loosen or remove the top constraint so the screw can float. On printers like the Ender 3, many experienced owners remove the top Z bearing entirely; the screw is fully supported by the motor and nut, and the top just needs to not be forced off-axis. If your printer’s design requires the top mount, make sure it’s aligned and not pinching.
Fix 4: Check for a Bent Lead Screw
If cleaning and loosening didn’t help, check whether the screw itself is bent. Remove it from the printer (mark the orientation first) and roll it on a known-flat surface like a glass table or granite countertop. Watch for wobble or a visible gap opening and closing as it rolls. Even a bend you can barely see will print visible bands.
A slightly bent screw can sometimes be straightened with careful hand pressure and re-checking, but honestly, replacement lead screws are cheap — usually under AU$20 — and a new straight screw eliminates the question entirely. While you’re at it, check the stepper motor shaft too: a bent motor shaft is rarer but causes identical symptoms and needs a motor replacement.
Fix 5: Upgrade to a Flexible or Spider Coupler
The stock rigid aluminium coupler on many budget printers transmits every vibration from the motor straight into the lead screw. A flexible jaw (spider) coupler or a spring-style flexible coupler absorbs small angular and parallel misalignments between the motor shaft and the screw.
This is a AU$10-15 upgrade that takes five minutes to install: loosen the old coupler, slide it off, slide the new one on, and tighten the grub screws onto the flats of the shafts. It’s one of the highest value-per-dollar upgrades for banding-prone machines.
Fix 6: Address X-Gantry Binding and Sag
On single-lead-screw printers (the classic Ender 3 layout), the X-gantry can bind or sag, and that binding shows up as banding:
- Gantry too tight: If the eccentric nuts on the gantry wheels are over-tightened, the gantry can’t glide smoothly up the Z-axis. Loosen them until the gantry moves with light finger pressure but no wobble.
- Gantry sag: With only one lead screw, the far side of the gantry can droop slightly. Check with a ruler or caliper that both sides sit at equal height. A dual-Z upgrade kit (second lead screw and motor) permanently solves this and is one of the best upgrades for single-Z machines.
- Test by hand: With steppers disabled, slowly move the gantry up and down the full travel. It should glide smoothly with consistent resistance. Any tight spots or grinding point to the problem area.
Fix 7: Rule Out Extrusion and Temperature Issues
If you’ve been through fixes 1-6 and the banding persists, look beyond the Z-axis. Fluctuating extrusion can mimic banding:
- Temperature swings: Watch your hotend temperature graph during a print. Swings of more than a couple of degrees suggest a PID tune is needed. Run a PID autotune — it takes five minutes.
- Partial nozzle clog: Do a cold pull to clear any debris. A partially obstructed nozzle extrudes inconsistently.
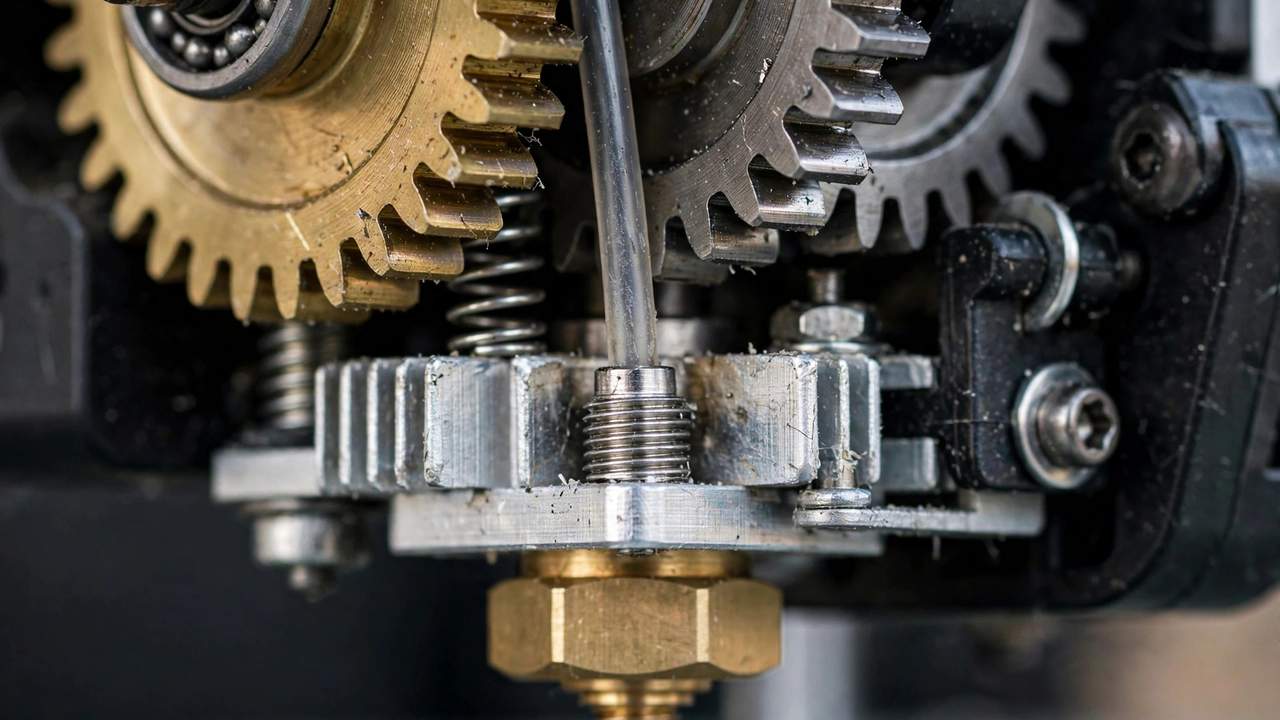
- Filament feed issues: Check that the spool unwinds freely without snagging, and that the extruder gears are clean and properly tensioned.
- Wet filament: Moisture causes popping and uneven extrusion that can look like banding. Dry the spool if you hear crackling.
A proper printer calibration pass — E-steps, flow rate, PID, then a test print — will confirm whether the issue is mechanical or extrusion-related.
Before You Fix Z-Banding 3D Prints: Measure to Confirm the Diagnosis
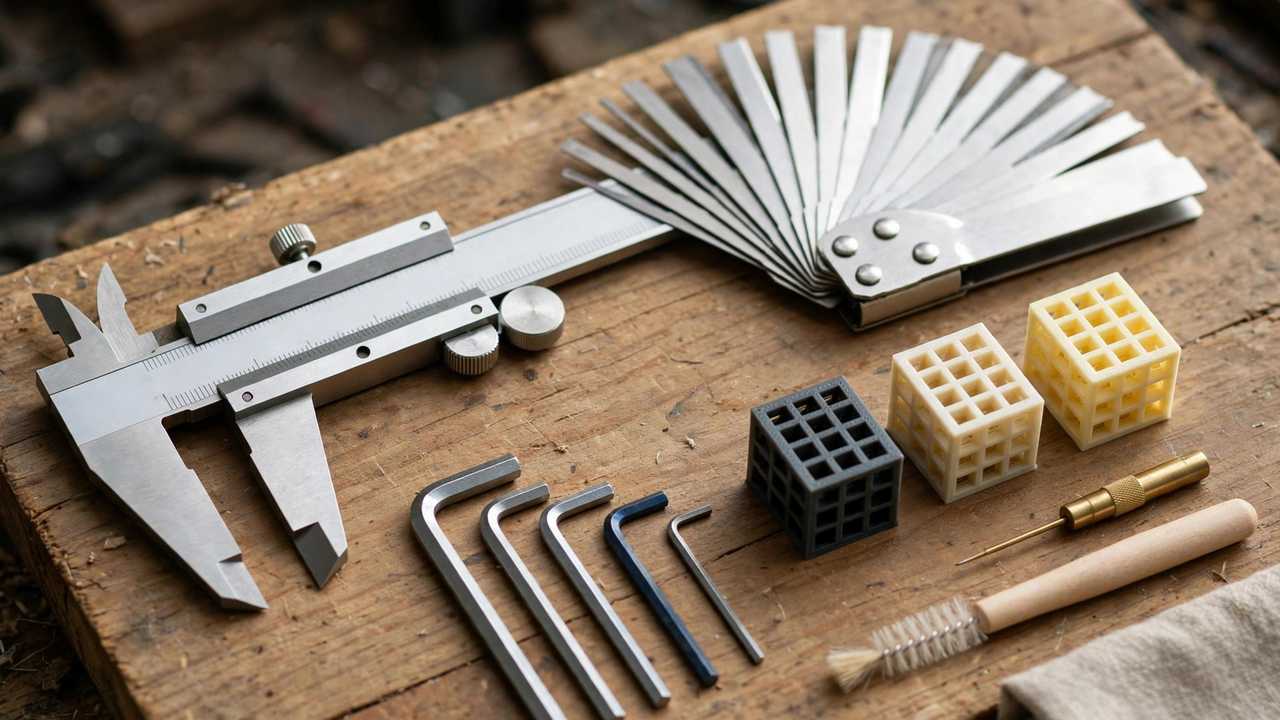
Want to be scientific about it? Measure the distance between ridges with calipers. If the pitch matches your lead screw’s lead — typically 8mm for the standard 2mm-pitch, 4-start screws used on most printers — you’ve confirmed a Z-axis mechanical cause. If the pitch matches your layer height instead, the issue is more likely extrusion or temperature related. This single measurement can save you hours of chasing the wrong fix.
After You Fix Z-Banding 3D Prints: Long-Term Prevention
- Clean and re-lubricate the lead screw every 2-3 months (more often in dusty workshops)
- Keep coupler and nut screws at “snug with slight play,” not maximum tightness
- Store the printer where it won’t get knocked — a bent screw often comes from a bump during a move
- Use a filament dry box — wet filament causes extrusion issues that mask as mechanical banding
- After any maintenance involving the Z-axis, re-check gantry movement by hand before printing
Brand-Specific Z-Banding Notes
While the fixes above are universal, certain popular printers have known quirks worth knowing:
- Ender 3 / Ender 3 V2 / V3 series: The classic single-Z design. Check the X-gantry eccentric nuts first — they’re the number one banding source on these machines. The stock rigid coupler is a prime upgrade candidate, and many owners remove the top Z-motor bearing entirely.
- Elegoo Neptune series: Dual-Z models are less prone to gantry sag, but the lead screws ship with minimal lubrication. A clean and re-grease during initial setup prevents banding from appearing months later.
- Prusa MK3/MK4: Generally excellent Z-axis design, so persistent banding here usually points to a bent screw from shipping damage or a loose X-axis assembly. Check the trapezoidal nut preload.
- Anycubic Kobra series: Similar single-Z architecture to the Ender 3 — same checks apply, with particular attention to the coupler area.
- CoreXY machines (Voron, Bambu, K1): Z-banding is rarer since the bed only moves in Z slowly, but it still happens — usually from a contaminated or dry Z screw, or from the bed mounting springs/bearings binding.
When Replacement Beats Repair
Sometimes the economical fix is a new part rather than hours of troubleshooting. Here’s the maths:
- New lead screw: AU$15-25. If the roll test shows a bend, just replace it — straightening is fiddly and rarely perfect.
- Flexible coupler: AU$10-15. Worth doing proactively on any printer still running a rigid stock coupler.
- Brass Z-nut: AU$8-12. If there’s visible play or the nut looks worn, replacement is cheap insurance.
- Dual-Z upgrade kit: AU$40-70 for Ender 3 style machines. Justified if gantry sag is confirmed and you print tall objects regularly.
Total for a full Z-axis refresh: under AU$100 and an afternoon. Compare that to the filament cost of repeated failed 12-hour prints, and it’s clearly money well spent. If you’ve spent more than two evenings chasing banding, stop troubleshooting and refresh the hardware.
Frequently Asked Questions
What is the difference between Z-banding and Z-wobble?
Z-banding produces straight, repeating horizontal ridges at a fixed pitch. Once you can tell the two apart, you can fix Z-banding 3D prints with the right mechanical adjustment instead of chasing the wrong problem. Z-wobble produces wavy or zigzag lines, caused specifically by a bent or eccentric lead screw shifting the gantry side to side. Both are Z-axis mechanical issues with overlapping fixes.
Can slicer settings cause Z-banding?
Rarely, but it’s worth ruling out. Inconsistent layer heights from adaptive layer settings or a corrupted model can mimic banding. The rotation test — rotate the model 90 degrees and see if the bands move with it — distinguishes slicer issues from mechanical ones.
How tight should the Z coupler be?
Snug with slight play. The grub screws should grip the shafts firmly, but the assembly shouldn’t be so rigid that it can’t self-align. A quarter-turn back from maximum tightness is a good starting point.
Will a dual Z-axis upgrade fix banding?
It fixes banding caused by gantry sag and binding on single-screw printers, which is a common contributor. It won’t fix a bent lead screw or dirty screw — address those first, then upgrade if sag persists.
How often should I lubricate the lead screw?
Every 2-3 months for regular use, or whenever you notice the gantry movement feeling gritty. Use white lithium or PTFE-based grease, applied thinly — more is not better.
For a detailed mechanical walkthrough with photos, Anycubic’s official guide to fixing Z-banding and wobble covers the same fixes from the manufacturer’s perspective.