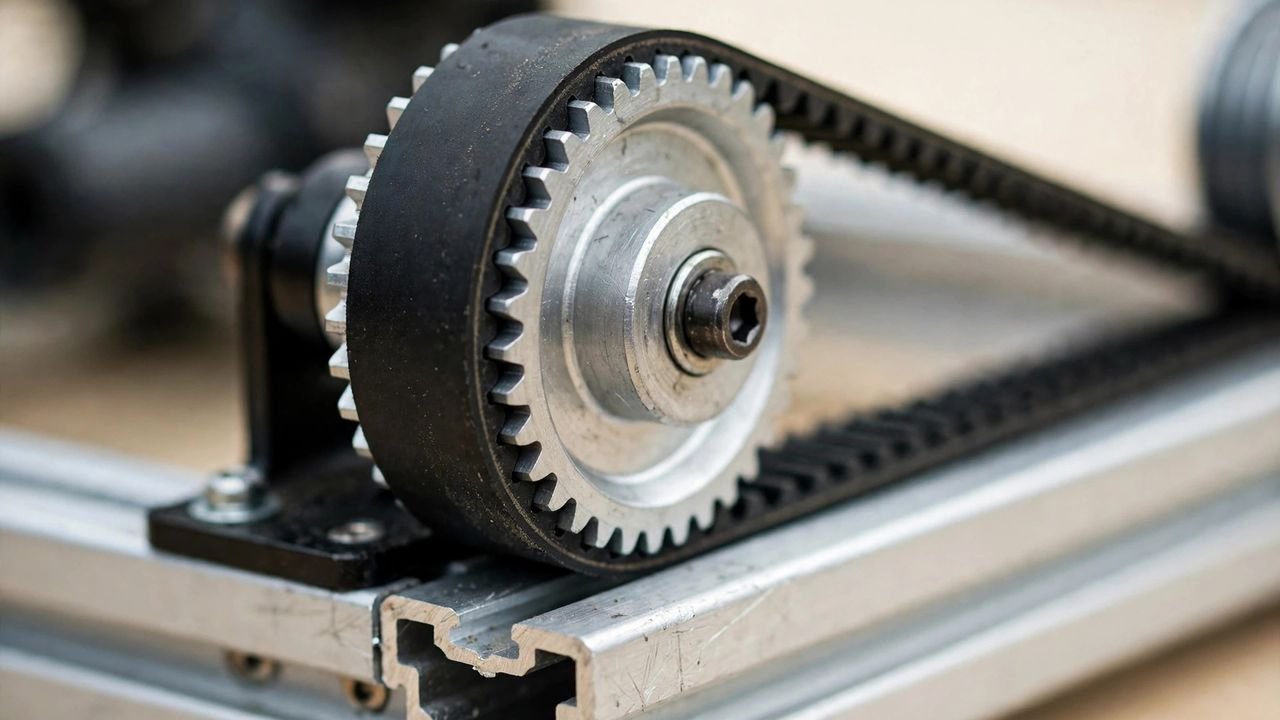
Ask a maker what they’ve calibrated on their printer and you’ll hear about bed levelling, E-steps, flow rate, temperature towers and pressure advance. Almost nobody mentions 3D printer belt tension calibration — yet the humble GT2 belt is what actually positions your toolhead, and getting its tension wrong produces a whole family of print defects that people routinely misdiagnose as something else.
Ringing blamed on “too much speed” is often a loose belt. Layer shifts blamed on “the stepper skipping” are often a belt slipping on its pulley. Weird dimensional inaccuracy blamed on the slicer is often a belt that’s too tight and binding. This guide covers why belt tension matters, how to recognise the symptoms in both directions, how to measure tension properly, and how to adjust it on the printers most Australians own.
Why 3D Printer Belt Tension Calibration Matters More Than You Think
Every CoreXY and Cartesian printer moves its toolhead or bed by pulling a toothed belt around a pulley on a stepper motor shaft. The belt is the mechanical link between “the motor turned this far” and “the nozzle moved this far.” Any slop, stretch or drag in that link shows up directly in your prints. That’s why 3D printer belt tension calibration deserves a place on every maintenance checklist, right next to bed levelling and E-steps.
A correctly tensioned belt is taut enough that the pulley teeth engage the belt teeth positively with no backlash, but loose enough that the belt doesn’t drag the motion system or overload the motor bearings. It’s a Goldilocks setting — and unlike bed levelling, there’s no probe or auto-calibration doing it for you on most machines. It drifts over time too: belts stretch slightly with use, tensioner screws vibrate loose, and a printer that’s been running for a year almost certainly has different belt tension than the day it was assembled. Skipping 3D printer belt tension calibration means chasing ghosts — dial the belt in first, then troubleshoot everything else.
The frustrating part is that belt issues masquerade as other problems. Makers have replaced stepper drivers, re-sliced models, rebuilt hotends and blamed filament — all for defects that a two-minute belt adjustment would have fixed. If you’ve ever chased a print quality problem in circles, check the belts before you change anything else.
Symptoms of a Loose Belt
A loose belt is the more common problem, especially on printers that have been running for months. Here’s what it looks like:
- Ringing/ghosting: ripples or echoes of sharp features (text, corners, holes) trailing across flat surfaces. The belt’s slack lets the toolhead oscillate after direction changes. This is the single most misattributed belt symptom — people slow their prints down or fiddle with acceleration when the belt is the cause.
- Layer shifting: whole layers offset sideways mid-print. A loose belt can jump teeth on the pulley during fast travel moves, especially on direction reversals. If shifts happen randomly rather than at consistent heights, suspect the belt before the electronics.
- Rounded or blobby corners: the toolhead overshoots slightly at corners because the slack belt can’t reverse it crisply. Parts come out with soft, undefined edges.
- Inconsistent dimensions: holes print oversized or undersized unpredictably, and mating parts fit differently from one print to the next. Backlash in a loose belt means the nozzle isn’t quite where the firmware thinks it is.
- Audible slapping: on fast moves you can sometimes hear a loose belt slapping or buzzing against the extrusion. If your printer has developed a new rattling soundtrack, check the belts.
Symptoms of a Belt That’s Too Tight
Over-tightening is the less common but more damaging mistake — usually made by someone who read that belts should be “tight” and went at it with enthusiasm. An over-tight belt causes its own set of problems:
- Binding and uneven motion: with the printer off, moving the axis by hand feels notchy or gritty instead of smooth. The excess tension side-loads the idler bearings and the motor shaft.
- Missed steps and stalled motors: paradoxically, a belt that’s too tight can cause the same layer shifts as a loose one — the motor has to fight the tension and can stall on fast moves.
- Premature wear: over-tensioned belts wear faster, stretch unevenly, and put constant radial load on motor bearings and idler pulleys. You’re shortening the life of multiple components at once.
- Z-banding-like artefacts: on some machines, excessive X or Y belt tension couples vibration into the frame and shows up as fine horizontal banding that looks like a Z-axis problem.
- Whining or groaning motors: steppers working against excessive belt tension run hotter and louder. If your motors are too hot to touch comfortably after a print, tension is worth checking.
The takeaway: “tighter is better” is wrong. You’re aiming for a specific window, not maximum tightness.
How to Measure Belt Tension: Four Methods
1. The finger test (quick check)
Press the middle of the longest open belt span with your finger. A correctly tensioned GT2 belt deflects about 1 mm for every 60–70 mm of span length, with firm resistance — think of pressing a guitar string, not a rubber band. If it dips easily with no resistance, it’s too loose. If you can barely move it, it’s too tight. This takes five seconds and catches gross problems; it’s how you check belts as part of routine maintenance.
2. The twang test (by ear)
Pluck the longest open section of belt like a guitar string and listen. A properly tensioned belt gives a low, clear bass note. A dull thud means too loose; a high-pitched ping means too tight. This sounds primitive, but experienced makers calibrate by ear surprisingly well — and there’s a more scientific version of the same idea below.
3. The phone app method (surprisingly accurate)
Your phone can measure belt tension properly. Apps like a guitar tuner or a spectrum analyser (Spectroid on Android is popular) pick up the belt’s resonant frequency when you pluck it. For the 6 mm GT2 belts used on most desktop printers, correct tension typically reads between 60 and 90 Hz on the longest span — though the exact target varies with belt length, so treat this as a ballpark and aim for consistency between matching axes rather than a magic number.
Technique matters: measure in a quiet room, hold the phone’s microphone close to (but not touching) the belt, and pluck gently — an aggressive pluck excites harmonics that confuse the reading. Ignore the first instant of readings showing multiples of the target frequency; those are harmonics dying away, and the sustained tone underneath is the fundamental you want. This method is free, repeatable, and more precise than most people expect.
4. Printed tension gauges and firmware tools
Prusa publishes a printable GT2 tension gauge calibrated for their machines — if you own a Prusa, use it, but note it’s calibrated for Prusament PETG specifically; printing it in another brand’s PETG shifts the readings. Prusa firmware also includes a belt test (LCD menu → Support → Belt status) with a target range around 240–300, where lower numbers mean tighter belts.
Klipper-based printers (including many modern machines running Klipper firmware) can measure belt resonance directly as part of input shaper calibration — the resonance graphs double as a belt health check. Dedicated mechanical tension meters exist too, though they’re overkill for most hobbyists.
For a thorough walkthrough with diagrams from a manufacturer, Creality’s official belt tension guide covers the deflection and pluck tests on their machines specifically.
3D Printer Belt Tension Calibration: How to Adjust on Common Printers
The mechanism varies, but the principle is identical everywhere: loosen the tensioner, set the tension, tighten it back down, re-check. Always adjust with the printer powered off, and always re-check tension after tightening — the act of locking the tensioner down often changes the tension slightly.
Creality Ender 3 series (V3 SE, V3, older V2)
Enders use a simple tensioner knob or sliding plate at the end of the X and Y extrusions. On the V3 SE, turn the X-axis tensioner knob clockwise to tighten; the Y-axis tensioner sits at the front of the base. Adjust in small increments — a quarter turn at a time — plucking the belt between adjustments. The older V2-style machines use a tensioner plate held by two screws: loosen both, pull the plate to tension the belt, and tighten while holding the tension. This two-handed operation is fiddly; a small spring clamp or a helper makes it much easier.
Bambu Lab A1 / P1 / X1 series
Bambu machines have factory-set belt tensioners that rarely need attention, and the official guidance is essentially “don’t touch them unless you have a specific reason.” The printers run automatic vibration calibration that compensates for minor variations. If you genuinely suspect a belt issue (persistent ringing that calibration doesn’t fix, or a belt that visibly sags), Bambu’s wiki covers the tensioning procedure per model — but for most owners, this is a check-not-adjust item. Don’t go looking for a problem that isn’t there.
Elegoo Neptune series
The Neptune 3 and 4 use knob-style tensioners on X and Y similar in spirit to the Enders. Same procedure: small adjustments, pluck-test between turns, and check both axes — people often tension X and forget Y, then wonder why prints still show artefacts in one direction only.
Anycubic Kobra series
Kobra machines use tensioner knobs on the gantry ends. The process is the same quarter-turn-and-check routine. On the Kobra 2 series, the Y belt runs under the bed — you’ll need to tip or lift the printer slightly to access it comfortably. Do this with the printer off and cool, obviously.
Prusa MK3/MK4 and MINI
Prusas use screw-adjusted tensioners on X and Y with excellent official documentation. Use Prusa’s printed tension gauge or the firmware belt test described above, and follow their help articles for your specific model — the target values differ between the MK3S+, MK4 and MINI, so don’t apply one model’s numbers to another.
When to Check Your Belts
Belt tension isn’t a set-and-forget item, but it doesn’t need weekly attention either. Sensible intervals:
- New printer: check after the first 20–30 hours of printing. New belts bed in and stretch slightly; the factory setting is rarely still perfect after the break-in period.
- Routine maintenance: check every 3–6 months, or whenever you do other maintenance like lubricating rods or replacing a nozzle.
- After any crash or jam: a nozzle crash into the bed or a violent layer shift can knock tension out. Check before the next print.
- When symptoms appear: new ringing, new layer shifts, new rattles — belts are the first thing to check, before you touch slicer settings or hardware.
- After replacing a belt: new belts stretch most in their first hours. Tension a fresh belt, print for a day, then re-tension.
Belts Wear Out: Know When to Replace
Tension adjustment has limits. Replace the belt when you see cracked or frayed edges, missing or damaged teeth, a shiny glazed surface on the tooth side (the rubber has hardened), or when the belt won’t hold tension anymore — you tighten it, and a week later it’s slack again. GT2 belts are cheap (a few dollars per metre from Australian suppliers like Core Electronics) and replacing one takes 15–30 minutes. Running a worn belt while chasing “mystery” print defects is false economy.
When replacing, buy genuine Gates or quality branded GT2 belt in 6 mm width — the no-name belts that ship with the cheapest printers stretch faster and wear sooner. While you’re in there, check the idler pulleys spin freely; a seized idler eats belts and mimics tension problems.
Frequently Asked Questions
How tight should 3D printer belts be?
Tight enough to deflect about 1 mm per 60–70 mm of span with firm finger pressure, and to produce a low, clear tone when plucked — typically 60–90 Hz on a phone tuner app for standard 6 mm GT2 belts. They should never be slack enough to slap, nor so tight you can barely deflect them. When in doubt, slightly snug beats very tight.
Can loose belts cause layer shifting?
Yes — it’s one of the most common causes. A loose belt can jump teeth on the motor pulley during fast travel moves or direction reversals, offsetting everything above that layer. If layer shifts happen at random heights rather than consistently, check belt tension before suspecting stepper drivers or electronics.
How often should I check belt tension?
Check new printers after the first 20–30 hours (belts stretch as they bed in), then every 3–6 months as routine maintenance. Also check after any nozzle crash, after replacing a belt, and immediately whenever ringing, ghosting or layer shifts appear.
Do Bambu Lab printers need belt tension adjustment?
Rarely. Bambu machines ship with factory-set tensioners and run automatic vibration calibration that compensates for minor variation. Only investigate belt tension if you have persistent ringing that calibration doesn’t fix or a visibly sagging belt — otherwise leave them alone.
Should I replace my belts or just tighten them?
Tighten first; replace when tightening stops working. If a belt won’t hold tension for more than a week or two, shows cracked edges, missing teeth, or a glazed shiny tooth surface, it’s worn out. Replacement GT2 belt costs only a few dollars per metre and takes under half an hour to fit.