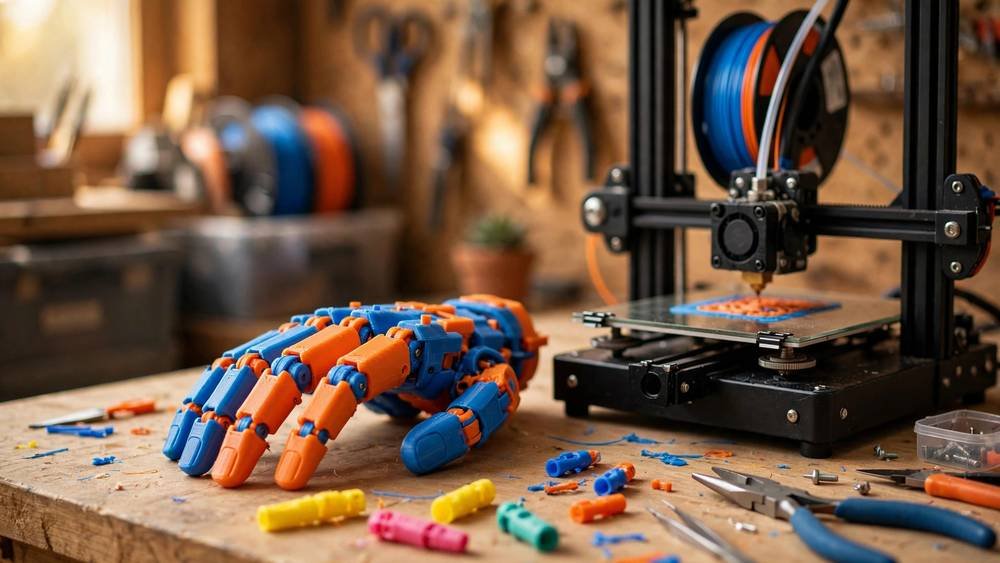
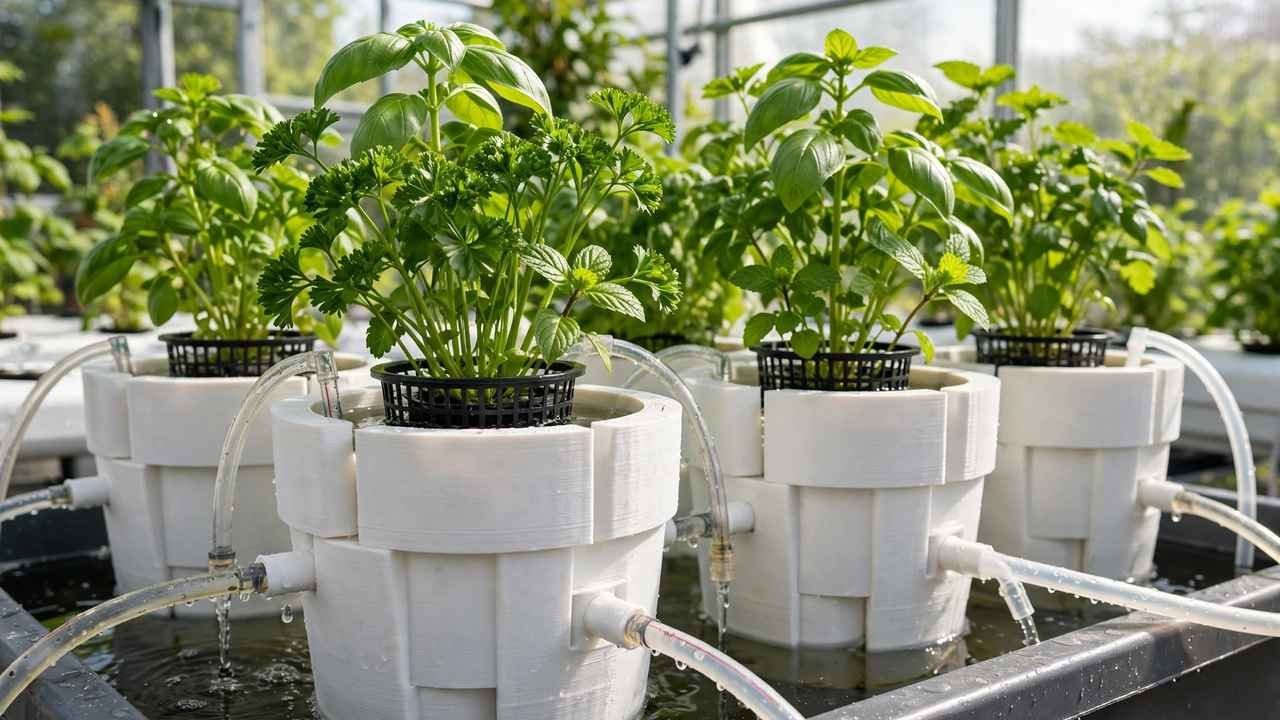
Hydroponics and 3D printing are a natural pairing. Hydroponic systems are full of small, specific, oddly-shaped plastic parts — net pots, pipe fittings, channel covers, pump mounts, light hangers — that cost a surprising amount to buy and never quite fit the way you want. 3D printed hydroponics parts let you make exactly the fitting you need, in the size you need, for the cost of a few grams of filament.
This guide covers which parts are worth printing, which materials to use (and which to avoid), the food-safety question honestly, and real project examples from simple net pots to full NFT channels. Whether you’re running a couple of kratky jars on a balcony in Brisbane or a serious indoor setup, there’s something here for you.
Why 3D Printed Hydroponics Parts Beat Store-Bought
Walk into any hydroponics shop and price out the small plastic bits for a modest system: net pots, grommets, elbows, end caps, channel covers, reservoir lids. Individually they’re a few dollars each; across a whole system they add up to real money. Worse, they’re made to standard sizes that may not match your buckets, pipes or tent.
Printing your own changes the economics completely. A 50 mm net pot uses about 15–20 grams of filament — at typical Australian PETG prices of $30–$40 per kilo, that’s under a dollar in material. More importantly, you can design around what you actually have: a net pot sized for your specific bucket lid, a drain fitting that matches your exact pipe, a light hanger that fits your tent’s frame poles.
The other advantage is iteration. Hydroponics is experimental by nature — you try a spacing, it doesn’t work, you adjust. When each iteration costs cents and prints overnight, you optimise fearlessly. When each one costs $8 plus shipping, you live with “close enough.”
Which Materials to Use for 3D Printed Hydroponics Parts
Material choice is the most important decision in this guide. Hydroponic parts live in water, nutrients, light and sometimes heat — a harsh combination that exposes every weakness in a filament.
| Filament | Verdict | Why |
|---|---|---|
| PETG | Best all-rounder | Water-resistant, UV-tolerant, tough, prints easily; the default choice |
| ASA | Best for outdoor/sun | Excellent UV resistance; ideal for greenhouse and balcony systems (needs ventilation while printing) |
| PLA | Avoid for wet/sunny use | Degrades in sustained moisture and softens in Australian sun; fine for dry indoor brackets only |
| ABS | Usable with caveats | Decent water resistance but poor UV stability; needs an enclosure to print well |
| Nylon | Overkill for most | Strong but absorbs water, which changes its dimensions — bad for precision fittings |
| TPU | Great for seals | Flexible grommets, gaskets and vibration-damping pump mounts |
PETG is the workhorse. It doesn’t absorb water the way nylon does, it handles the mild warmth of a grow tent, it resists the weak acids in nutrient solutions, and it stands up to UV far better than PLA. For 90% of hydroponic parts — net pots, fittings, covers, brackets — PETG is the right answer. Print it with 3–4 walls and decent infill; parts that hold water or bear weight deserve to be solid-ish.
PLA’s weakness is real and worth respecting. PLA is biodegradable, which sounds eco-friendly until your net pots start going soft and brittle after a few months in a sunny, wet system. Indoors, away from direct sun and constant submersion, PLA parts last longer — a PLA light hanger above the reservoir is fine; a PLA net pot sitting in nutrient solution on a Brisbane balcony is not. When in doubt, use PETG.
ASA is the upgrade for outdoor systems. If your setup lives in full Australian sun, ASA’s UV resistance is genuinely valuable — it’s the filament car parts are made from, and it shrugs off sunlight that would chalk and crack other plastics. The trade-off is that ASA needs an enclosed printer and good ventilation (it releases styrene while printing), so it’s a step up in equipment requirements.
The Food Safety Question, Answered Honestly
You’re growing food in contact with these plastics, so let’s deal with this directly. No common 3D printing filament is certified food-safe as a printed part — certification applies to the raw material in specific manufactured forms, not to something extruded through a brass nozzle in your garage. Anyone telling you their printed part is “food safe” is oversimplifying.
That said, the practical risk picture is more nuanced:
- PETG is widely considered the safest practical choice. The base polymer is used in food and beverage containers, it doesn’t contain BPA or phthalates, and it’s chemically stable in water. Most makers comfortable with printed hydroponic parts choose PETG.
- Layer lines are the bigger concern than the plastic itself. The microscopic grooves between layers can harbour biofilm and algae that are hard to clean. Designing parts with smooth surfaces, or sealing them, matters more than agonising over polymer chemistry.
- Additives are the unknown. Filament contains colourants and processing additives that aren’t disclosed. Natural (uncoloured) filament minimises this variable — another reason to print functional hydro parts in natural PETG.
- Sealing helps. A food-safe epoxy coating or polyurethane sealant over a printed part creates a smooth, cleanable barrier between the plastic and your nutrient solution. This is the approach cautious growers take for parts in constant water contact.
- PLA gets a cautious no for food contact. Beyond its durability problems, PLA can harbour bacteria in its layer lines as it degrades, and some PLA contains additives you don’t want near food.
The pragmatic consensus among experienced growers: natural PETG parts, replaced periodically, with sealed surfaces for anything submerged long-term, is a reasonable approach for home hydroponics. If you’re growing commercially or selling produce, consult Food Standards Australia New Zealand (foodstandards.gov.au) guidance and consider commercially manufactured food-grade components for anything touching the nutrient stream directly.
Parts Worth Printing: Real Project Ideas
Net pots and grow cups
The classic first print. Net pots are simple, fast, and endlessly customisable — print them in whatever diameter your system needs instead of accepting the three sizes the shop stocks. Design them with thicker rims than commercial ones; printed pots are a bit more brittle than injection-moulded ones, and a chunky rim survives handling. A 50 mm net pot prints in about an hour and costs well under a dollar in PETG.
NFT channel covers and end caps
Nutrient Film Technique channels need light-proof covers to stop algae, and end caps to manage flow. Commercial channels come in fixed widths; printed covers can be made for any channel, with cutouts positioned exactly where your net pots sit. End caps with integrated drain barbs — sized for your exact tubing — eliminate the leaky silicone-and-hope joints that plague DIY NFT builds.
Custom fittings and adapters
This is where a printer earns its keep. The step-down adapter from your pump’s odd-sized outlet to standard irrigation tubing. The manifold that splits one feed line into six drippers. The bulkhead fitting for a bucket the shop doesn’t make one for. Measure, model, print, test-fit, adjust — the iteration loop that makes DIY hydroponics actually work.
Reservoir lids and light shields
Algae grows wherever light hits nutrient solution. A custom lid for your reservoir — with cutouts for the pump cord, air lines and return pipe — keeps the system dark and clean. Printed light shields around net pot openings do the same job at the plant sites. These are big, simple prints where dimensional accuracy matters more than strength.
Pump mounts and vibration dampers
Submersible pumps vibrate, and vibration transmits through rigid pipe as an annoying hum. A TPU isolation mount between the pump and its bracket kills most of it. Printed pump brackets also let you position pumps exactly where you want them in odd-shaped reservoirs instead of letting them rattle around loose.
Training, trellis and support structures
Clips that hold stems to trellis netting, adjustable plant yoyos, SCROG net frames sized to your tent — all printable, all customisable. These dry-use parts are the one place PLA is genuinely fine, since they’re not in constant water contact. Print a bag of assorted clips in an afternoon and you’ll use them for years.
Dosing and monitoring mounts
pH and EC probes need to sit at the right depth without drifting into pump intakes. Printed probe holders, float switches and sensor brackets keep your monitoring gear positioned correctly. If you’re running automation — and plenty of makers are — printed enclosures for Arduino or ESP32 controllers, sized for your exact boards and cable glands, beat generic project boxes.
Design Tips for Wet Environments
Printing for hydroponics isn’t the same as printing decorative models. A few design habits make parts last:
- More walls, more top/bottom layers. Water seeps through thin shells via capillary action between layers. Use at least 4 walls and 5–6 top and bottom layers for anything that holds or channels water.
- Higher infill for structural parts. Net pots can be 15–20% infill; a manifold under pump pressure wants 40%+ or it’s a leak waiting to happen.
- Design drainage into everything. Flat printed surfaces pool water and grow biofilm. Slight slopes, drain holes and rounded internal corners keep parts cleaner.
- Allow for creep. Plastics under constant load slowly deform. Don’t design snap-fits that need to hold tension for months; use screws, bolts or gravity instead.
- Print spares. Replacements cost cents — print two of everything critical and keep the spares dry. When a fitting cracks at 10 pm, you’ll be glad you did.
What Not to Print
A printer doesn’t replace everything. Don’t print pressure vessels — a printed container holding significant water pressure can fail suddenly and flood your grow space. Don’t print anything inside a pump’s impeller chamber or handling heated nutrient solution. And don’t print electrical enclosures for mains-voltage gear — low-voltage controller boxes are fine; 240 V relay boxes need proper rated enclosures.
Also, be realistic about watertightness. FDM prints are not inherently watertight — water seeps between layers over time. For parts that must hold water (small reservoirs, drip trays), seal the inside with epoxy or silicone, or design them as liners inside a solid container rather than as the container itself.
Getting Started: Your First Hydroponics Prints
If you’re new to both hydroponics and printing for it, start simple. Print a set of net pots in natural PETG for a kratky setup — passive, no pumps, just a bucket, nutrient solution and a plant. It’s the lowest-stakes way to learn what works. Our filament comparison guide covers PETG’s properties in more depth if you want the full picture before committing to a material.
From there, the natural progression is custom fittings for whatever system you’re running, then channel components, then the more ambitious stuff like automated dosing mounts. Each step teaches you something about designing for water, and each successful part makes the next system cheaper to build.
For design files, Printables and Thingiverse host thousands of hydroponics models — net pots in every size, NFT components, probe holders — free to download and adapt. Start from a proven design, modify it to fit your setup, and share your remixes back. That’s how the community library grows, and it’s how your $30 roll of PETG turns into a hydroponics shop’s worth of parts.
Frequently Asked Questions
What is the best filament for 3D printed hydroponics parts?
PETG is the best all-round choice — water-resistant, UV-tolerant, tough and easy to print. Use ASA for parts in full outdoor sun, TPU for flexible seals and gaskets, and avoid PLA for anything in constant water contact or direct sunlight, as it degrades in both.
Are 3D printed hydroponics parts food safe?
No printed part is certified food-safe, but natural (uncoloured) PETG is widely considered the safest practical option — the base polymer is BPA-free and chemically stable in water. For extra caution, seal submerged parts with a food-safe epoxy coating, which also smooths layer lines where biofilm can grow.
Can I print net pots for hydroponics?
Absolutely — net pots are one of the best beginner hydroponics prints. A 50 mm net pot uses 15–20 grams of filament (under a dollar in PETG) and prints in about an hour. Print them in PETG with thick rims for durability, and size them to your exact system rather than accepting standard shop sizes.
Why shouldn’t I use PLA for hydroponics?
PLA absorbs moisture and biodegrades over time, going soft and brittle in sustained wet conditions. It also softens in heat — an Australian summer sun will warp PLA parts. It’s fine for dry, shaded accessories like trellis clips, but not for net pots, fittings or anything submerged.
How do I make 3D printed parts watertight?
Print with 4+ walls and 5–6 top/bottom layers to minimise seepage, and seal the part with epoxy resin or silicone for anything that must hold water. Design parts as liners inside solid containers where possible rather than relying on the print alone as a vessel — FDM layer lines will always seep eventually without sealing.