3D printing architectural scale models has quietly revolutionised how architects, students, and developers communicate design. Where a hand-built balsa model once took weeks and cost thousands, a desktop 3D printer can now produce a crisp massing model overnight — and iterate it the next day when the client changes their mind. Again.
But architectural models are a deceptively demanding print category. Tiny windows, thin walls, sprawling site plans, and the eternal tension between detail and printability all conspire against you. This guide covers everything: choosing the right scale, preparing CAD files for printing, the best materials and settings, splitting large models, post-processing for presentation quality, and the mistakes that ruin architectural prints.
Choosing the Right Scale
Scale is the first and most consequential decision. It determines what detail is visible, how long the print takes, and whether the model survives handling.
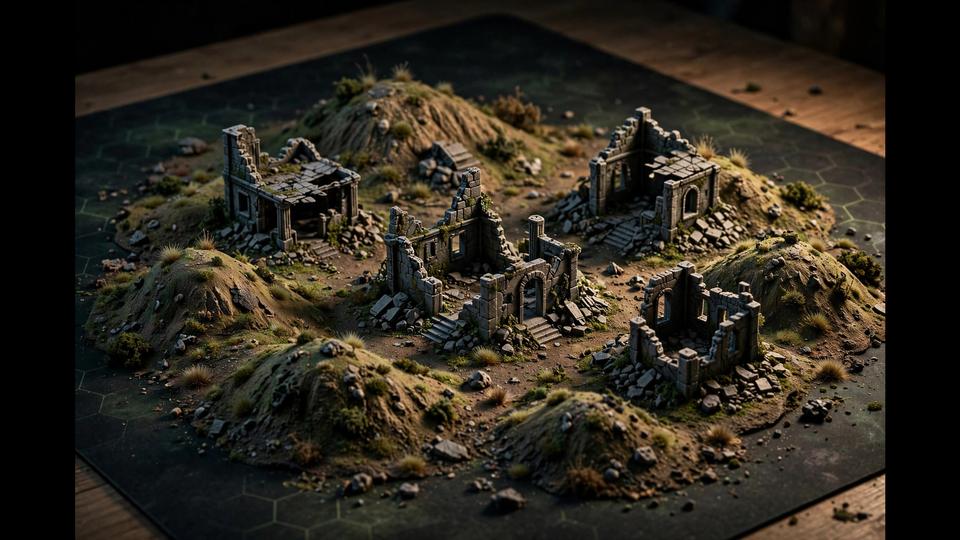
- 1:500 / 1:1000 (urban/site models): Entire precincts and city blocks. Buildings become simple masses — detail is limited to rooflines and major volumes. Fast to print, great for context.
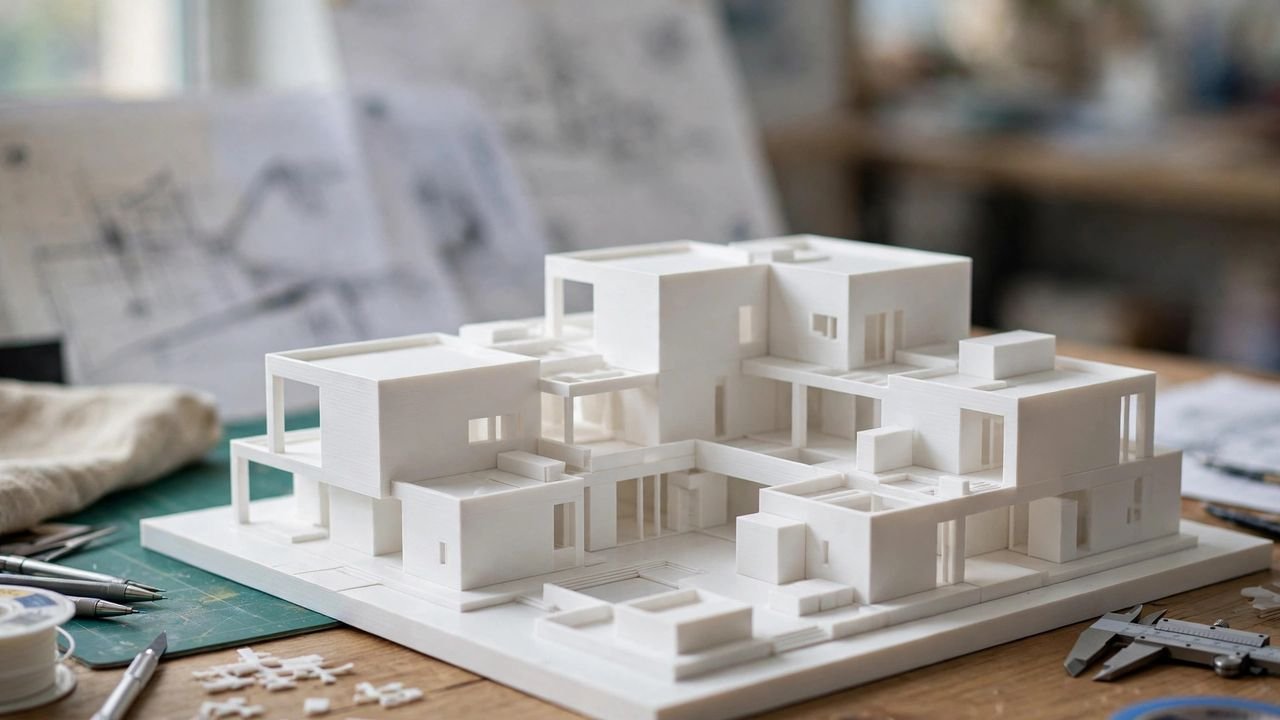
- 1:200 (concept/massing models): The workhorse scale for design development. Individual buildings read clearly; window detail is suggestive rather than literal. A good balance of presence and printability.
- 1:100 (detailed presentation models): Facade articulation, window mullions, and entrances become visible. Demanding to print — thin features approach the limits of FDM resolution.
- 1:50 (interior/detail models): Room layouts, furniture, staircases. Usually printed in sections; consider resin for the finest detail.
A useful rule from the model-railway world: your printer’s resolution must be smaller than the smallest feature you want to read. With a 0.4mm nozzle, don’t expect crisp detail below about 1mm at the printed scale. If your 1:200 facade has 200mm mullions (1mm printed), they’ll barely survive. Either go up a scale or simplify the detail. As one experienced modeller put it on the McNeel forum’s architectural printing thread, comparing your smallest features against your printer’s resolution before committing to a scale saves enormous frustration.
Preparing CAD Files for Printing
Architectural CAD files are designed for documentation, not manufacturing. They need surgery before they print:
Clean Up the Geometry
- Remove 2D linework: Floor plans full of 2D lines, hatching, and annotations will confuse the slicer. Keep only 3D solids.
- Close all meshes: Every solid must be watertight (manifold). Use your CAD tool’s mesh repair or a tool like Meshmixer to find and fix holes.
- Merge coplanar faces: Reduces triangle count and slicing errors.
- Delete interiors: Nobody sees inside a massing model. Hollow out or remove interior geometry to save material and time.
Design for the Process
- Thicken thin walls: Anything under 0.8mm (two 0.4mm perimeters) is fragile. Bump curtain walls and fins to at least 1-1.2mm at print scale.
- Simplify glazing: Individual window panes rarely print well at small scales. Model glazing as recessed dark panels instead — paint does the rest.
- Add bases: A 3-5mm base plate grounds the model visually and gives the print a large, stable footprint.
- Consider splitting: Tall towers print better in stacked sections with alignment pins. Facades can print flat and attach to a core.
If you’re still choosing modelling software, our best CAD software for beginners guide covers options from Tinkercad to Fusion.
Best Materials for Architectural Models
- White/natural PLA: The classic choice. Clean, neutral, takes paint beautifully, and photographs well. Matte PLA hides layer lines better than glossy.
- PLA Matte (various brands): Specifically formulated for a flat, non-reflective finish — ideal for presentation models where you don’t want shiny layer lines catching the light.
- Grey PLA: Shows detail and shadow well; a favourite for massing models.
- Resin (SLA): For 1:100 and smaller detail work — window frames, ornament, entrances. Stunning detail, but build volumes are small and resin is brittle.
- Avoid: Silk, glitter, or wood-filled filaments — they look gimmicky on architectural models and their inconsistent extrusion hurts fine detail.
Print Settings for Crisp Models
- Layer height: 0.12-0.16mm for presentation models; 0.2mm is fine for massing studies.
- Nozzle: 0.4mm standard; 0.25mm for fine facade detail (slower, but worth it at 1:100).
- Walls: 3-4 perimeters for handling strength.
- Infill: 10-15% is plenty — these are display models, not structural parts. Lightning infill in Cura saves significant time.
- Supports: Minimise through orientation. When unavoidable, use tree supports — they touch the model at fewer points and scar less.
- Speed: Slow down for detail. 40-60mm/s for presentation work beats 200mm/s every time on visible surfaces.
Splitting Large Models
Site models bigger than your build plate need splitting. For large-format options, see our large format 3D printers guide. When splitting:
- Split along natural breaks: Between buildings, at streets, along podium/tower junctions.
- Add alignment features: Design in 5mm dowel holes and print matching pins, or use dovetail joints. Glue alone shifts; pins register.
- Label everything: A 20-piece site model without labels is a jigsaw puzzle from hell. Emboss part numbers on hidden faces.
- Test-fit digitally first: Assemble the split in CAD before printing to catch interferences.
Post-Processing for Presentation Quality
Raw prints rarely go straight to the client meeting. The standard pipeline:
- Remove supports and brims carefully — flush cutters, not ripping.
- Sand visible faces: 120 grit to knock down layer lines, then 220 for smoothness. You don’t need a mirror finish — just uniform.
- Prime with a filler primer (automotive primer from Supercheap Auto works brilliantly). Two light coats, sanding between.
- Paint: Matte white for the classic architectural look; add grey for roofs, and consider a subtle two-tone scheme to distinguish old from new in renovation projects.
- Base and landscape: Mount on foam board or MDF. Simple green felt or printed site plans underneath sell the context.
- Lighting: For hero shots, backlight with LEDs — even a simple strip under a massing model looks spectacular in photos.
Common Mistakes to Avoid
- Printing at too small a scale: Detail that can’t resolve just becomes mush. When in doubt, go bigger or simplify.
- Skipping test prints: When 3D printing architectural scale models against a client deadline, always run a small test section first — catching a wall-thickness problem early saves hours of reprinting.
- Forgetting wall thickness: CAD walls at “zero thickness” (surfaces, not solids) won’t slice. Give everything real thickness.
- Ignoring overhangs: Cantilevered canopies and deep reveals need support strategy decided before printing, not after a failed overnight run.
- One giant print instead of sections: A 30-hour monolithic print that fails at hour 28 is heartbreaking. Sections are faster to reprint and easier to handle.
- Skipping the test print: Print one representative building or facade bay first. Check detail, fit, and finish before committing to the full site.
3D Printing Architectural Scale Models: The Complete CAD-to-Client Workflow
Let’s walk through a realistic project — a 1:200 concept model of a small apartment building — from start to finish:
- Day 1 morning — CAD prep (2-3 hours): Take the Revit/SketchUp/Rhino model. Delete interiors, 2D linework, and entourage. Thicken walls under 1mm at print scale. Add a 4mm base plate. Export as STL, checking mesh integrity.
- Day 1 afternoon — Slicing and test (1-2 hours): Slice at 0.16mm layers, white matte PLA. Print one representative floor or facade bay as a test. Check detail resolution, wall integrity, and support scars.
- Day 1 evening — Full print starts: Split the building into 2-3 sections if needed. Start the longest section overnight (10-14 hours).
- Day 2 — Remaining sections: Print remaining parts during the day. Total print time for a 1:200 mid-rise: roughly 20-30 hours across sections.
- Day 2 evening — Assembly: Test-fit sections with alignment pins. Glue with CA (superglue) or epoxy. Fill seams with spot putty.
- Day 3 morning — Post-processing (3-4 hours): Sand, filler-prime, sand again, final prime.
- Day 3 afternoon — Paint and base: Matte white topcoat. Mount on foam board with a printed site plan underneath. Photograph in good light.
Total: about 3 days from CAD to client-ready, most of it unattended printing. Compare that to 2-3 weeks for a hand-built model, and the value proposition is obvious. When the client inevitably asks for “just one small change,” you reprint the affected section overnight instead of rebuilding from scratch.
Software-Specific Export Tips
- Revit: Export via 3D view to STL (use the STL Exporter add-in). Set view detail to Fine. Expect significant cleanup — Revit loves generating non-manifold geometry.
- SketchUp: Use the Solid Inspector extension to find and fix holes before export. Make every element a proper solid component, not just faces.
- Rhino: The Mesh command gives excellent control over polygon density. Use _ShowEdges with naked edges highlighted to find problems before exporting.
- ArchiCAD: Save 3D view as STL via the 3D window. Simplify complex library objects — that parametric window with 50,000 polygons will choke your slicer.
Universal tip: run every export through Windows 3D Builder, Meshmixer, or your slicer’s built-in repair before printing. Five minutes of mesh repair prevents five hours of failed prints.
Presenting Printed Models to Clients
A printed model is a communication tool, and 3D printing architectural scale models is the fastest way to get one in front of a client. Maximise its impact:
- Context sells: A building floating on a bare table looks unfinished. Even a simple grey base with the street grid printed or drawn on transforms perception.
- Two-tone schemes: Print the proposed building in white and the existing context in light grey. Clients instantly read “new vs old.”
- Lighting: A cheap LED strip under a massing model, or a desk lamp raking across facades, makes photography dramatically better.
- Bring the digital twin: Have the CAD model on a laptop next to the physical model. Clients love rotating the digital version while holding the physical one.
- Leave one unpainted: Some clients prefer the raw printed aesthetic — it reads as “work in progress” and invites feedback rather than final judgement.
Charging for 3D Printing Architectural Scale Models: A Mini Pricing Guide
If you’re a student or freelancer offering printed models, pricing is tricky. Some benchmarks from the Australian market:
- Material cost: Calculate honestly — a 1:200 building might use 300-500g of PLA (AU$10-18 in filament) plus primer and paint.
- Machine time: Value your printer’s time at AU$3-8/hour depending on the machine. A 25-hour print = AU$75-200 in machine time.
- Your labour: CAD prep, post-processing, and finishing are skilled work — AU$50-100/hour is reasonable for professional finishing.
- Typical project range: A simple 1:200 massing model might go for AU$300-600; a detailed painted presentation model for AU$1,500-4,000+.
Always quote with a revision policy — “one round of minor changes included” prevents the endless-tweak trap. And get a deposit: filament is cheap, but 30 hours of machine time isn’t.
Resin vs FDM for Architecture: When to Use Which
A common question: should architectural detail parts be resin printed? The answer is “sometimes”:
- Use FDM for: Massing models, site context, bases, large structural elements. Fast, cheap, tough.
- Use resin for: Facade detail panels at 1:100, ornamental elements, window frames, entrance canopies, and any feature under 1mm at print scale.
- Hybrid approach: FDM for the building core and mass, resin for clip-on detail panels. Best of both — the speed and size of FDM with resin’s crispness where the eye actually looks.
When hollowing resin parts, remember drainage — uncured resin trapped inside a facade panel will eventually crack it. Two 3mm drainage holes at the lowest points, and orient so they actually drain during the print.
Frequently Asked Questions
What scale is best for 3D printed architectural models?
1:200 is the sweet spot for most design work — buildings read clearly without demanding impossible detail. Use 1:500 for urban context and 1:100 for detailed presentations.
What filament is best for architecture models?
White or grey matte PLA. It’s neutral, photographs well, hides layer lines better than glossy filament, and takes primer and paint beautifully.
Can I print a whole building in one piece?
Sometimes, but splitting into sections with alignment pins is usually smarter — faster to reprint failures, easier to handle, and lets you orient each part for best surface quality.
How do I handle tiny window details?
Don’t model individual panes at small scales. Model glazing as recessed panels and let paint create the read. At 1:100 and below, consider resin printing for facade elements.
How long does an architectural model take to print?
A 1:200 massing model of a mid-rise building might take 8-15 hours. Full site models are multi-day projects — plan sections accordingly and print overnight.