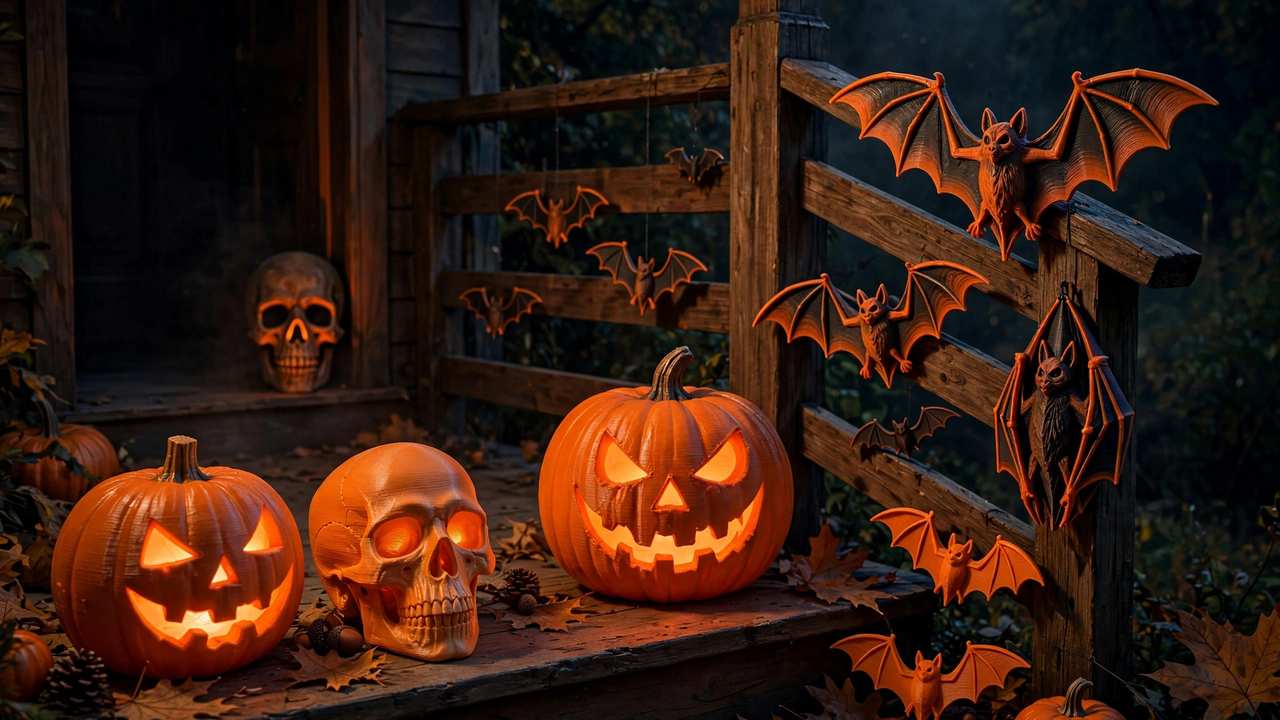
Halloween is the Super Bowl of 3D printing. No other holiday rewards the ability to make custom, weird, one-off objects quite like October 31st — and 3D printed Halloween decorations have a secret advantage over shop-bought ones: they’re unique. Nobody else on the street has your exact glowing skull planter or your articulated dragon costume piece, because you made them. Here’s how to plan a printing season that peaks right on Halloween night.
Timing matters more than anything else in this guide. Halloween projects have a hard deadline, and 3D printing has a talent for taking longer than expected. The rule: start 4–6 weeks out for big projects (costumes, large decorations), 2 weeks out for medium pieces, and keep the final week for quick prints and reprints of anything that failed. Starting October 28th and expecting a full costume is how you end up hot-gluing cardboard at midnight.
Planning Your Halloween Print Calendar
Work backwards from October 31st:
- 6 weeks out (late September): Choose your big projects. Slice everything, check filament stock, order anything you’re missing. Start the longest prints — full helmets, large decorations, multi-part costumes.
- 4 weeks out: Big projects should be printing. Start medium decorations — planters, lanterns, wall art.
- 2 weeks out: Quick decorations, costume accessories, finishing work (sanding, painting) on completed prints.
- Final week: Small filler prints, reprints of failures, assembly and painting. No new big projects.
- Halloween day: Assembly, costume fitting, placing decorations. Nothing should still be on the printer.
The single biggest Halloween printing mistake is underestimating post-processing time. A helmet that prints in 30 hours needs another 6–10 hours of sanding, filling, priming, and painting before it looks like anything. Budget finishing time at roughly a third of print time for anything you’ll wear or display prominently.
3D Printed Halloween Decorations: From Subtle to Full Haunted House
3D printed Halloween decorations have one more advantage over shop-bought: scale. One bat is a decoration; twenty bats swooping across a ceiling is a scene — and at a few dollars of filament, you can afford the scene.
Quick Wins (Under 4 Hours Each)
Articulated skeletons and creatures. Print-in-place articulated models are Halloween gold — poseable skeletons, spiders with jointed legs, slithering snakes. They print without supports, need no assembly, and kids go feral for them as trick-or-treat handouts. Print a dozen small ones in black or glow-in-the-dark filament and you’ve got the best lolly alternative on the street.
Lithophane lanterns. Take the lithophane technique (photos as 3D reliefs) and go spooky: haunted house scenes, creepy portraits, or “ghost” photos that reveal when backlit. A curved lithophane panel in a printed lantern base with an LED tea light inside makes genuinely atmospheric decorations. White PLA, 100% infill, and they look like magic in a dark hallway.
Skull planters and vases. The classic. A skull-shaped planter with a cheap succulent from Bunnings is the perfect Halloween-meets-home-decor piece — spooky enough for October, stylish enough to keep year-round. Print in bone-white or marble-fill PLA for maximum effect.
Hanging bats and ghosts. Flat-ish models that print fast and hang from fishing line look incredible in numbers. Twenty bats swooping across a ceiling, backlit by orange string lights, transforms a room for about $2 of filament. Scale is the trick — one bat is meh, twenty is a scene.
Showpieces (8–30 Hours)
Life-size skull or bust. A large skull (150–200% scale) printed in bone or marble filament is a genuinely striking centrepiece. These are multi-day prints — start early, and consider splitting into parts if your bed is small. The layer lines actually work in your favour here; a light sanding leaves a texture that reads as “aged bone.”
Dragon or gargoyle. The big articulated dragons that take 20+ hours are Halloween royalty. Print in black or dark red silk PLA, perch it on a bookshelf or above a doorway, and watch visitors do a double-take. Our cosplay guide covers the large-format techniques these need.
Animated decorations. This is where 3D printing gets unfair: print a screaming ghost or a rising skeleton, add a $5 servo and an Arduino (or a cheap animatronic kit), and you’ve got motion-activated decorations that cost a tenth of the shop equivalent. The 3D printed parts are the easy bit — the electronics are simpler than they look, and there are complete tutorials for “print + servo + PIR sensor” builds.
Costumes: What Actually Works in 3D Print
Let’s be honest about the physics: a full 3D printed costume is heavy, hot, and fragile compared to foam or fabric. The smart approach is hybrid — print the hero pieces (helmet, mask, armour details, props) and build the rest from conventional costume materials.
Helmets and Masks
The most popular 3D printed costume pieces, and the most demanding. A full helmet is typically 25–40 hours of printing across multiple parts, plus significant finishing.
- Sizing is everything. Measure your head (circumference at brow level, top-to-chin, ear-to-ear) and scale the model before printing. A helmet that’s 5% too small is unwearable; 5% too big looks ridiculous. Print a cheap test ring at your head circumference first.
- Ventilation matters. Wearing a sealed plastic bucket on your head for hours is miserable. Design or add ventilation holes, and consider a small USB fan inside for long events.
- Visibility. Tinted visor inserts (thin PETG or acrylic) look better and are safer than mesh eye holes you can’t see through. Test visibility before Halloween night.
- Comfort. Line the inside with foam padding (adhesive craft foam works). Your forehead will thank you after hour two.
Armour and Props
Printed armour pieces — pauldrons, bracers, chest details — work brilliantly as accents over a fabric base. Print in PLA, finish with filler primer and metallic spray paint, and attach with straps or magnets. The key insight: printed armour looks best at “detail” scale, not “structural” scale. A printed chest plate needs to be thick and heavy to not crack; printed trim on a fabric tabard looks identical from three metres away and weighs nothing.
Props (swords, staffs, wands, blasters) are the sweet spot of costume printing. They’re rigid, they don’t need to flex with your body, and a well-finished printed prop looks genuinely professional. Print in parts with alignment pins, glue with CA (superglue) or epoxy, fill seams, prime, paint. A printed sword with a proper metallic paint job fools everyone.
For wearable pieces that need to flex — bracers, greaves, anything strapped to a moving limb — consider TPU. Our TPU guide covers the flexible settings you’ll need.
Filaments for Halloween: What to Use When
- Standard PLA — the default for almost everything decorative. Cheap, easy, plenty strong for static decorations.
- Silk PLA — for anything that should look premium: dragons, skulls, ornamental pieces. The glossy finish hides layer lines beautifully.
- Glow-in-the-dark PLA — the Halloween cheat code. Charge it under light, then watch it glow in the dark. Note: it’s abrasive, so use a hardened nozzle or accept faster nozzle wear. And it must be “charged” — it won’t glow all night without light exposure.
- Black PLA/PETG — for silhouettes, bats, spiders. Matte black reads as “spooky” even in daylight.
- Marble or wood-fill PLA — for skulls, tombstones, and anything that should look like aged stone or bone.
- PETG — for anything outdoors or wearable. Australian October can still hit 30°C+, and PLA decorations in direct sun will soften and warp. PETG handles heat far better.
- TPU — for flexible costume elements: masks that need to conform, straps, anything that bends.
The outdoor rule is critical: never put PLA decorations in direct Australian sunlight. PLA’s glass transition temperature is around 55–60°C, and a black PLA decoration in October sun will sag within hours. PETG or ASA for anything outside — our filament comparison breaks down the trade-offs.
Finishing: From Plastic to Professional
Raw prints look like raw prints. Fifteen minutes to a few hours of finishing is what separates “I 3D printed this” from “where did you buy that?”
- Sanding: start at 120-grit for layer lines, work up to 220–400 for paint prep. Wet sanding reduces dust and gives a smoother finish.
- Filler primer: automotive filler primer (available at Supercheap Auto, Repco) fills minor layer lines in 2–3 coats. This is the single highest-ROI finishing step.
- Painting: acrylic spray paints for base coats, hand-painted acrylics for details. For metallic armour, a black base coat + dry-brushed silver is the classic technique that looks like real metal.
- Weathering: the Halloween secret weapon. A dark wash (thinned black/brown paint wiped off raised areas) makes everything look aged, haunted, and expensive. Practice on a test piece first.
- Sealing: clear matte or satin topcoat protects paint and kills the plastic shine. Essential for outdoor pieces.
Our smoothing guide goes deeper on surface finishing techniques.
Safety Notes (Don’t Skip These)
- Costume visibility: if a mask or helmet restricts vision, don’t wear it while walking near roads, stairs, or around small children. Bring a “walking around” alternative.
- Props that look like weapons: check your event’s rules. Many Halloween events and all public transport ban realistic weapon props. When in doubt, make it obviously fake — bright colours, oversized, clearly a toy.
- LEDs and electronics: use proper resistors and don’t overload coin cells. A tea light LED is fine; a 12V strip wired wrong is a fire risk.
- Ventilation for painting: spray paint and filler primer need outdoor or well-ventilated indoor use. The fumes are no joke.
- Glow filament dust: glow-in-the-dark filaments contain strontium aluminate — safe in the finished print, but wear a mask when sanding, as with any filament dust.
Halloween Print Selling: Turn Spooky Season Into Cash
Here’s what experienced makers know: Halloween is one of the best times of year to sell 3D prints. Articulated dragons, custom decorations, and personalised ornaments move fast at local markets, on Facebook Marketplace, and at school fetes. The economics are compelling — a print that costs $2 in filament and 4 hours of (unattended) printer time sells for $15–30.
If you’re tempted, start small: a market stall or online listing with 20–30 pieces across 5–6 designs. Price at 5–8x material cost to account for print time, failures, and finishing. And check local regulations — most Australian markets require nothing special for selling handmade goods, but food-contact items (cookie cutters) have specific requirements. Our 3D printing business guide covers the broader opportunity.
Storing Your 3D Printed Halloween Decorations for Next Year
Good 3D printed Halloween decorations are an investment — store them properly and they last for years:
- Clean before storing: dust and cobwebs (real ones, not decorative) come off easier now than after a year in a box.
- Avoid heat: don’t store PLA decorations in the roof space — Australian attics hit 60°C+ in summer, which will warp PLA. A cupboard or under-bed storage is safer.
- Pad fragile pieces: articulated models have thin joints. Wrap in tissue or bubble wrap; don’t just toss them in a tub.
- Label everything: “Halloween 2026 — 14 pieces” on the box saves you opening six tubs next October.
- Repair now, not later: if something broke this year, fix it before storing. Future-you won’t remember what was wrong.
Frequently Asked Questions
How long does it take to 3D print a Halloween costume?
A full helmet is 25–40 hours of printing plus 6–10 hours of finishing. Props like swords or staffs take 8–15 hours. Start 4–6 weeks before Halloween for anything wearable, and budget finishing time at roughly a third of print time.
What is the best filament for outdoor Halloween decorations in Australia?
PETG or ASA — PLA softens around 55–60°C and will warp in direct October sun. PETG handles heat far better and is nearly as easy to print as PLA. For the toughest outdoor pieces, ASA is the premium choice.
Can I 3D print a full Halloween costume?
A full rigid costume is heavy, hot, and fragile. The smart approach is hybrid: print hero pieces (helmet, mask, props, armour details) and build the rest from fabric or foam. Printed accents over conventional costume bases look professional without the weight penalty.
How do I make 3D prints glow in the dark?
Use glow-in-the-dark PLA filament (strontium aluminate based). It needs to be “charged” under bright light to glow — it won’t glow all night on its own. Note it’s abrasive, so expect faster nozzle wear or use a hardened steel nozzle.
Where can I find free Halloween 3D models?
Printables, MakerWorld, and Thingiverse all run Halloween collections and contests each October with thousands of free models — decorations, costumes, and props. Search early (September) for the best selection before the rush.
What are the easiest 3D printed Halloween decorations for beginners?
Start with flat or articulated models: hanging bats, print-in-place skeletons, and lithophane lanterns. They print fast, need no supports or assembly, and look impressive in numbers — twenty bats across a ceiling beats one showpiece.