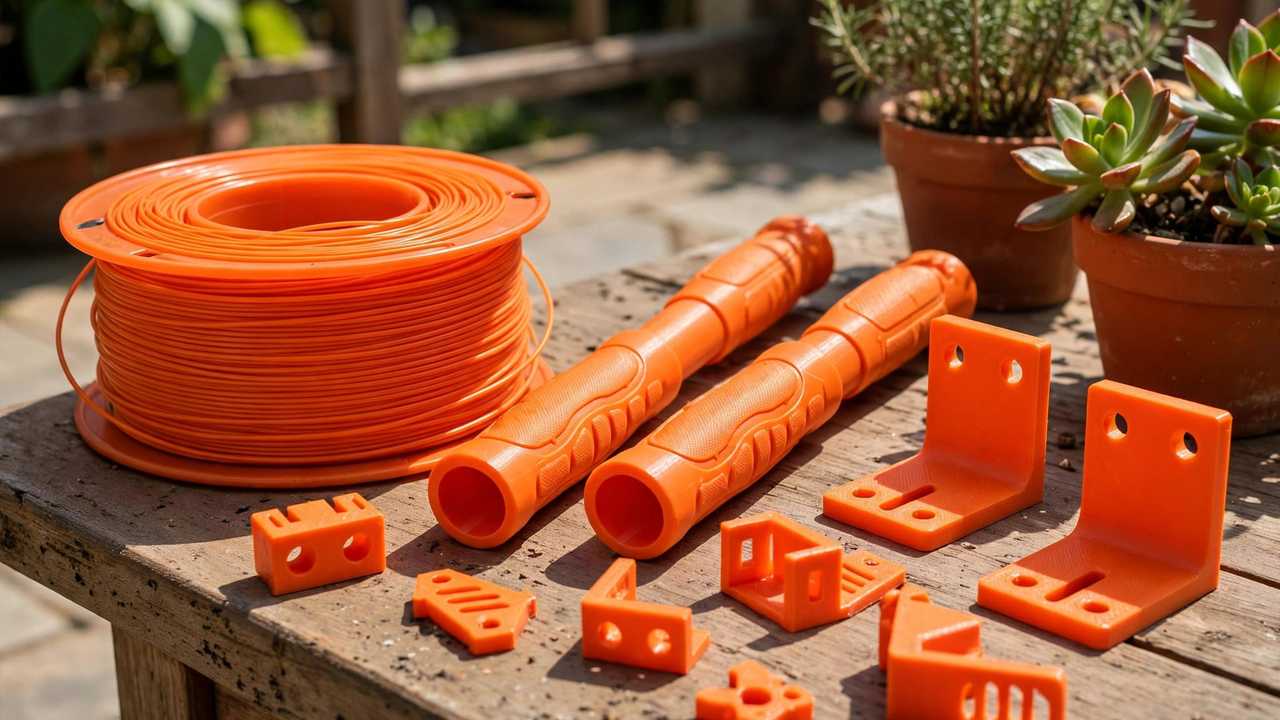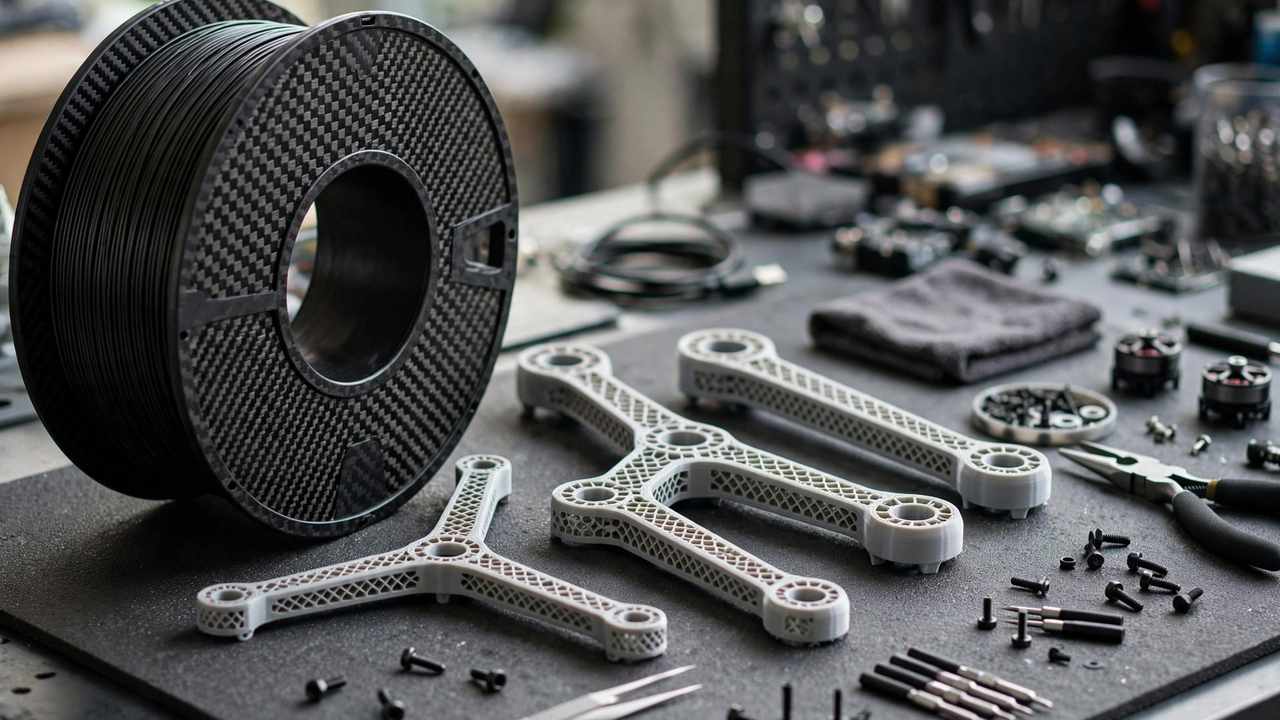
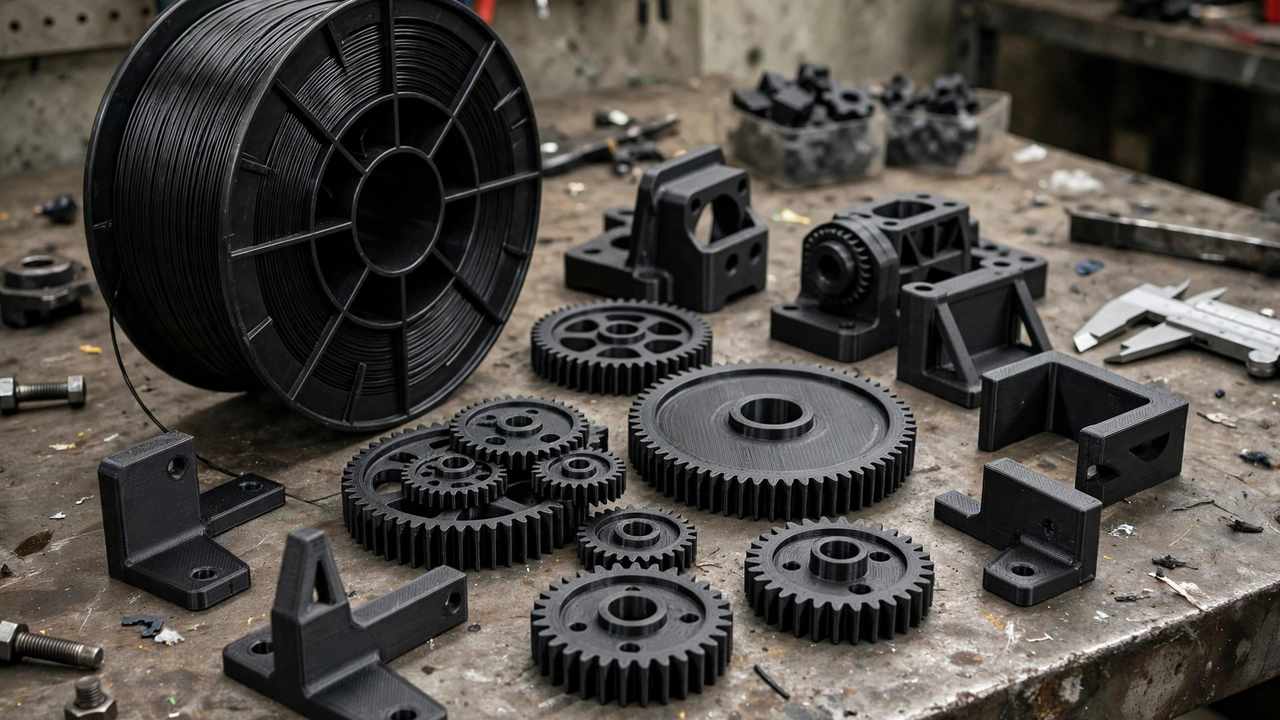
Nylon is the filament that separates casual printing from serious engineering. Properly printed nylon parts are astonishingly tough — they flex instead of snapping, resist abrasion, handle chemicals, and survive impacts that shatter PLA and crack ABS. Gears, hinges, drone frames, automotive clips, functional prototypes: if it needs to work rather than just look right, nylon is often the answer. But 3D printing with nylon is also one of the most demanding things you can do on a desktop printer. This guide tells you exactly what you’re signing up for — and how to succeed.
The honest summary up front: nylon needs dry filament (obsessively dry), an enclosure, a hot bed, patience, and usually some hardware upgrades. If that sounds like a lot, it is. But the parts you get are in a different league from anything PLA or PETG can produce, and for functional applications, nothing else in the desktop range quite compares.
Why Bother With Nylon? The Payoff
- Exceptional toughness: nylon absorbs impact energy instead of cracking. Drop a PLA bracket and it snaps; drop a nylon bracket and it bounces. This isn’t marginal — it’s transformative for functional parts.
- Flexibility without breaking: living hinges, snap-fits, and clips that flex thousands of cycles. Nylon’s fatigue resistance is outstanding.
- Abrasion resistance: gears, sliders, and wear surfaces last dramatically longer in nylon than in any other common filament.
- Chemical resistance: good resistance to many oils, greases, fuels, and solvents. Useful for automotive and workshop applications.
- Heat resistance: glass transition around 80–90°C for standard nylons (higher for filled variants) — survives environments that kill PLA.
The trade-off for all of this: nylon is hygroscopic to an extreme degree, warps aggressively, and demands careful process control. Every advantage listed above assumes properly printed, dry nylon. Wet or poorly printed nylon is weak, ugly, and frustrating.
The Types of Nylon Filament
“Nylon” covers a family of materials, and the differences matter:
- Nylon 6 / PA6: the most common 3D printing nylon. Good balance of strength, flexibility, and printability (relatively speaking). The default choice.
- Nylon 12 / PA12: lower moisture absorption than PA6, slightly easier to print, excellent chemical resistance. Popular in SLS printing; good in FDM too. Often the pragmatic choice for humid climates — like most of Australia.
- PA6-CF / PA12-CF (carbon fibre filled): chopped carbon fibre adds stiffness and reduces warping significantly. Stiffer, stronger, more dimensionally stable — but abrasive (hardened nozzle required) and more brittle than unfilled nylon. The premium engineering option.
- PA6-GF (glass fibre filled): similar benefits to CF at lower cost. Good stiffness, reduced warp, still needs hardened nozzle.
- Nylon copolymers (e.g., Taulman 910): engineered for printability — lower warp, better bed adhesion than pure nylons, while retaining excellent toughness. Worth the premium for nylon beginners.
For your first nylon: a copolymer like Taulman 910 or a PA12. They’re meaningfully more forgiving than raw PA6, and the extra $10–15/kg is cheap compared to failed prints. Our filament comparison puts nylon in context with the easier materials.
Moisture: Nylon’s Mortal Enemy
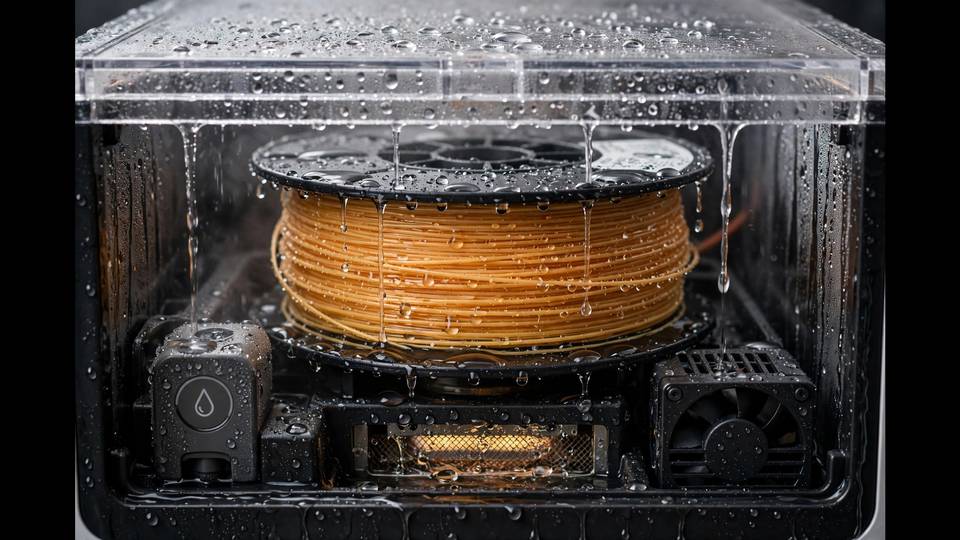
This cannot be overstated: nylon absorbs moisture from the air in hours, not days. A spool left out overnight in humid conditions is compromised — and moisture is the single biggest reason 3D printing with nylon fails for beginners. Wet nylon prints with:
- Audible popping and sizzling from the nozzle (steam explosions in the melt zone)
- Rough, foamy surface texture
- Dramatically reduced strength and layer adhesion
- Increased stringing and oozing
- In severe cases, complete print failure
The moisture protocol:
- Dry before every print. 65–70°C for 6–12 hours in a filament dryer or food dehydrator. Fresh out of the sealed bag isn’t dry enough — manufacturers’ “dry” and printing-dry are different things.
- Print from the dryer. Feed directly from a dry box or dryer while printing. A spool that was dry at 9am is wet by 3pm in humid conditions.
- Store sealed. Vacuum bags or sealed tubs with fresh desiccant between prints. Not optional.
- When in doubt, dry again. Drying can’t hurt; moisture always hurts.
In Australia’s humid coastal regions, this discipline is the difference between success and endless frustration. A filament dryer isn’t a luxury for nylon — it’s part of the process. Our filament drying guide covers the equipment.
Hardware for 3D Printing With Nylon
- Enclosure: mandatory. Nylon warps severely without a warm chamber (40°C+). Same requirement as ABS/ASA — see our enclosure guide.
- Hot bed: 80–100°C. PEI or Garolite (G10/FR4) surface — Garolite is the enthusiast favourite for nylon, offering superb adhesion.
- All-metal hotend: nylon prints at 240–270°C, beyond the safe range of PTFE-lined hotends (PTFE degrades above ~240°C, releasing harmful fumes). If your printer has a PTFE-lined hotend, upgrade before attempting nylon.
- Hardened nozzle: required for filled nylons (CF/GF), recommended for all nylon — it’s abrasive enough to wear brass noticeably.
- Ventilation: nylon releases caprolactam and other compounds. Less notorious than styrene (ABS/ASA), but ventilate or filter regardless.
- Bed adhesive: glue stick (PVA) on PEI, or print directly on Garolite. Magigoo’s PA formula is excellent if you want the engineered option.
Nylon Print Settings
Starting baselines (tune for your specific filament):
- Nozzle: 240–260°C (PA6/PA12); 260–280°C for filled variants. Start at 250°C.
- Bed: 80–100°C. Start at 90°C.
- Chamber: as warm as possible, 40°C minimum.
- Speed: 30–50mm/s. Slow. Nylon punishes haste with warping and poor layer bonding.
- Cooling fan: 0–20%. Minimal — same logic as ABS/ASA.
- First layer: slow (15–20mm/s), with a brim (10mm+) on anything with corners.
- Retraction: nylon is stringy — tune carefully. Start with your PETG retraction settings and adjust. Drying the filament reduces stringing more than any retraction tweak.
- Infill: for functional parts, 40–60% with 4+ walls. Nylon’s strength comes from solid-ish construction, not clever infill patterns.
Common Nylon Failures
- Warping/lifting: the classic. Enclosure too cool, bed too cool, no brim, or (very commonly) wet filament. Address in that order.
- Popping/sizzling: wet filament, full stop. Dry longer.
- Weak, brittle parts: wet filament or too-cool printing. Nylon printed cold doesn’t fuse properly between layers.
- Impossible bed adhesion: wrong surface, bed too cool, or contaminated surface. Garolite + 90°C bed + glue stick solves most cases.
- Elephant’s foot + warping simultaneously: bed too hot at the bottom, chamber too cool at the top. Lower bed 5°C, warm the chamber.
Post-Processing Nylon
Nylon doesn’t sand as cleanly as PLA — it’s tough and slightly waxy, so sandpaper loads up. Use sharp abrasives and light pressure. For professional finishes, vapour smoothing doesn’t work on nylon (unlike ABS/ASA), but a heat gun passed quickly over the surface can smooth minor imperfections.
Nylon can be dyed — Rit DyeMore (synthetic fabric dye) in hot water colours nylon prints beautifully, opening up aesthetic options beyond the natural off-white. It also takes paint reasonably with proper primer, though the flexibility can crack rigid paint on thin sections.
Annealing (90–100°C for 1–2 hours, slow cool) improves crystallinity, increasing stiffness and heat resistance. Worth doing for parts that’ll see load or heat.
Nylon in Industry: Why It Matters Beyond Hobbyists
Understanding where nylon sits professionally helps you appreciate what you’re working with. In industry, nylon (especially PA12) is one of the dominant SLS (powder-bed) 3D printing materials — the technology behind end-use production parts in aerospace, automotive, and medical devices. When you print nylon on your desktop FDM machine, you’re working with the same polymer family that produces flight-certified components.
The properties industry values — fatigue resistance, chemical compatibility, consistent mechanical behaviour — are exactly what make desktop nylon special. A nylon gear you print at home shares material DNA with gears in industrial equipment. That’s a remarkable thing for a $40 spool of filament.
Cost Analysis: Is Nylon Worth It?
Let’s be honest about the total cost of nylon printing:
- Filament: $40–70/kg for quality nylon (vs $25–35 for PLA). Copolymers and filled variants sit at the top of this range.
- Equipment: enclosure ($50–200 if you don’t have one), filament dryer ($70–150 — effectively mandatory), Garolite bed surface ($25–40), all-metal hotend upgrade ($40–80 if needed), hardened nozzle ($15–25).
- Time: slower print speeds (30–50mm/s vs 60–100 for PLA) plus 6–12 hours of drying per spool. Nylon prints take 1.5–2x longer than equivalent PLA prints.
- Failures: budget for a learning curve. Your first few nylon prints may fail while you dial in the process — that’s tuition, not waste.
Total entry cost if starting from a basic PLA setup: roughly $200–400 in upgrades and consumables. That’s real money — which is why the decision should be application-driven. If you have functional parts that need nylon’s properties, it’s cheap. If you’re just curious, it’s an expensive curiosity. Borrow someone’s setup first if you can, or start with a single spool of copolymer nylon to test the waters.
Drying Methods Compared
Since drying is half the nylon battle, here’s how the methods stack up:
- Filament dryer box: the standard. Set 65–70°C, 6–12 hours. Convenient, doubles as dry storage during printing. $70–150.
- Food dehydrator: the budget champion. Remove trays, set to 65–70°C, dry overnight. $40–70 from Kmart or similar. Less convenient (no feed-through) but dries just as well.
- Oven: works in a pinch — lowest setting (usually 70–80°C) for several hours. Risk: oven temperature inaccuracy can melt the spool. Use an oven thermometer, and never leave unattended. Not recommended as a routine method.
- Print-while-drying: for critical prints, feed from the dryer during printing. Nylon reabsorbs moisture fast enough in humid conditions that a 10-hour print from a “dry” spool can degrade mid-print.
The test for “dry enough”: extrude into air and listen. Silence = dry. Popping = wet. When in doubt, dry longer — you cannot over-dry nylon at reasonable temperatures.
3D Printing With Nylon: Your First Print Walkthrough
Ready to try? Here’s the sequence for a successful first nylon print:
- Dry the filament: 65–70°C for 8–12 hours. Start the night before. Don’t skip this.
- Prepare the printer: hardened nozzle installed, Garolite or PEI + glue stick on the bed, enclosure closed and preheating.
- Load and purge: load the dry nylon, extrude 50–100mm to clear any previous material. Listen for popping — if you hear it, dry longer.
- Print a test first: a small calibration cube or temperature tower in nylon before committing to the real part. Verify bed adhesion and layer bonding.
- Print the part: slow speeds, minimal fan, brim on. Don’t open the enclosure.
- Cool gradually: let the print cool in the closed enclosure. Rapid cooling invites warping even after a successful print.
- Test the part: flex it, stress it. Properly printed nylon should bend significantly before breaking — if it snaps like PLA, something was wrong (usually moisture or temperature).
Your first successful nylon part — one that flexes instead of snapping, that survives a drop test, that does something PLA couldn’t — is a genuine milestone. That milestone is the payoff of 3D printing with nylon done right: process discipline beats expensive gear every time. It means you’ve mastered the most demanding common filament, and everything else feels easy by comparison.
One more tip for the road: label your dried spools with the date and material. A piece of masking tape on the spool — “PA12, dried 12 Oct” — prevents the classic mistake of grabbing a spool you thought was dry. Organisation is part of the process.
Frequently Asked Questions
Is 3D printing with nylon hard?
Yes — it’s among the most demanding common filaments. It needs dry filament (dried before every print), an enclosure, a hot bed (80–100°C), an all-metal hotend, and patience. But the resulting parts are exceptionally tough, making it worth the effort for functional applications.
Can I print nylon without an enclosure?
Not reliably. Nylon warps severely without a warm chamber (40°C+). Small parts might survive, but anything functional-sized will lift and curl. An enclosure is effectively mandatory.
Why does my nylon filament pop and sizzle?
Moisture. Nylon absorbs water from the air in hours. The popping is steam exploding in the hotend. Dry the spool at 65–70°C for 6–12 hours, print from a dry box, and store sealed with desiccant.
What bed surface is best for nylon?
Garolite (G10/FR4) is the enthusiast favourite — superb adhesion when hot, easy release when cool. Textured PEI with glue stick also works well. Avoid bare glass; nylon’s warp will defeat it.
Is 3D printed nylon strong enough for functional parts?
Absolutely — properly printed dry nylon is among the strongest desktop-printable materials. Gears, hinges, brackets, and automotive clips are classic applications. The key is properly printed: dry filament, correct temperatures, and adequate wall thickness.