Here’s a truth the filament manufacturers won’t put on the label: most “dry” filament isn’t dry enough, and in Australia’s humidity, an opened spool starts degrading within days. The symptoms — stringing, popping, rough surfaces, weak layer bonds, clogged nozzles — get blamed on settings, slicers, and printers, when the real culprit is water. A filament dryer is the single most underrated upgrade in 3D printing, and in 2026 the options have never been better. This guide compares the best filament dryers you can actually buy, with Australian pricing and honest recommendations for different needs.
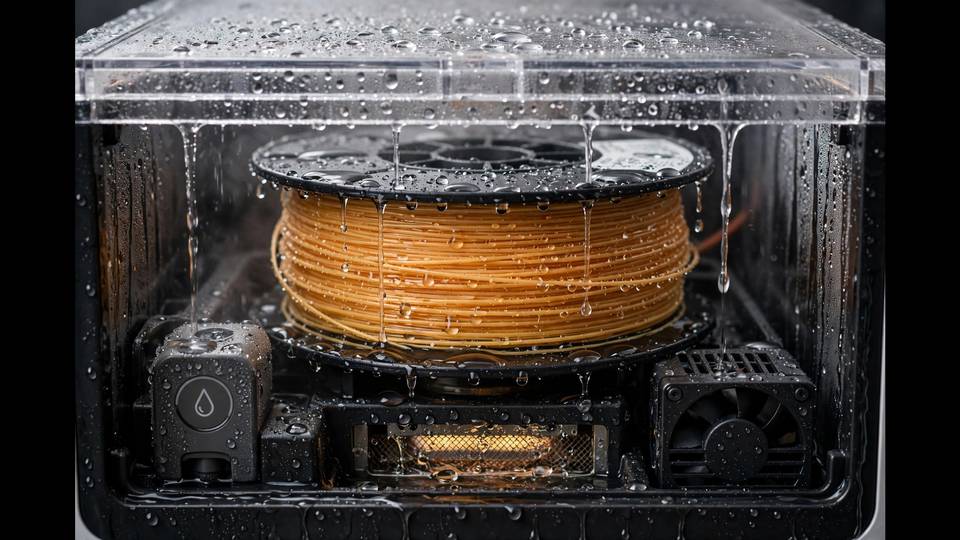
Quick primer if you’re new to this: most filaments (nylon worst, then PETG, TPU, ABS/ASA, even PLA) absorb atmospheric moisture. The water turns to steam in the 200°C+ hotend, creating bubbles, voids, and inconsistent extrusion. Drying — heating the spool to drive moisture out — restores the filament. A dryer does this in a controlled box, often while feeding the printer directly.
Do You Actually Need a Filament Dryer?
Short answer: if you print anything beyond basic PLA in Australia, yes. Longer answer, by situation:
- PLA only, air-conditioned home: you can probably get away with sealed storage + desiccant. A dryer is nice-to-have.
- PETG/TPU/ABS: a dryer moves from nice-to-have to strongly recommended. These materials show moisture symptoms quickly.
- Nylon or polycarbonate: non-negotiable. You’ll dry before every print, and print from the dryer. No dryer = no nylon.
- Humid climate (Brisbane, Darwin, coastal NSW/QLD): everything degrades faster. A dryer pays for itself in failed prints avoided.
- You hear popping: that’s steam in the nozzle. Your filament is wet right now. Dry it.
The economics: a dryer costs $70–350 AUD. A single failed 20-hour print wastes $10–20 in filament and a day of time. The dryer pays for itself within a few months for anyone printing regularly. Our filament drying guide covers the DIY alternatives if you’re not ready to buy.
What to Look For in the Best Filament Dryer
- Max temperature: 70°C handles PLA/PETG/TPU/ABS. Nylon and polycarbonate want 80°C+. Check the max temp matches your most demanding filament.
- Capacity: single-spool dryers are cheaper and fine for most users. Multi-spool (2–4) suits workshops or multi-material setups.
- Print-while-drying: PTFE tube ports that let filament feed directly to the printer. Essential for nylon; convenient for everything.
- Heating method: 360° surround heating (newer designs) dries more evenly than bottom-only heating. Fan circulation helps significantly.
- Humidity display: a readout showing internal humidity lets you verify drying is actually working. Without it, you’re guessing.
- Timer and presets: set-and-forget operation with material presets (PLA/PETG/ABS/Nylon) beats manual babysitting.
- Power: higher wattage = faster heating. 48W is fine for single spools; 300W+ for multi-spool or high-temp work.
Keep these criteria in mind and the best filament dryer for your setup becomes obvious — most beginners land on the SUNLU S2 reviewed below.
The Contenders: Best Filament Dryers for 2026
SUNLU FilaDryer S2 — The Default Choice (~$70–110 AUD)
The S2 is the dryer most makers buy first, and for good reason. 360° surround heating up to 70°C, a big touchscreen showing temperature and humidity, fan circulation, and PTFE feed ports for print-while-drying. It handles PLA, PETG, TPU, ABS, and (at its 70°C max) most nylons adequately.
At roughly $70–110 AUD depending on sales and seller, it’s the price-performance king. The 48W heating is modest — drying takes 4–6 hours for a damp spool — but it’s quiet, compact, and reliable. For a first dryer, it’s the best filament dryer value for money — the safe recommendation for most makers. Available from Australian sellers including Phaser FPV and various eBay/Amazon AU stockists.
SUNLU FilaDryer S4 — The Multi-Spool Upgrade (~$200–260 AUD)
Four spools at once, 300W+ heating, same good touchscreen interface. The S4 is for workshops, multi-material setups (it pairs naturally with AMS-style systems), or anyone who rotates through many filaments. Drying four spools simultaneously is genuinely useful if you print daily across materials.
The trade-offs: bigger, hungrier (power draw), and overkill if you print one material at a time. But if you’re running a small print farm or a busy hobby setup, the throughput justifies it.
Eibos Series — The Quiet Achievers (~$90–180 AUD)
Eibos dryers (the Polyphemus and Cyclopes models) have a loyal following for build quality and accurate temperature control. They tend to run slightly hotter and more evenly than the SUNLU equivalents, with good humidity sensing. Pricing sits between the S2 and S4. Worth considering if you find one on sale from an Australian stockist — the performance is excellent, though availability in AU can be patchier than SUNLU.
Creality Space Pi / Dry Box — The Ecosystem Pick (~$80–130 AUD)
If you’re in the Creality ecosystem, the Space Pi dryer integrates neatly and performs comparably to the SUNLU S2. No compelling reason to choose it over the S2 on merit alone, but ecosystem consistency (same app, same support channel) has value. Fine choice, not a standout.
PrintDry Pro / Food Dehydrator — The Budget DIY Route (~$40–80 AUD)
A modified food dehydrator remains the cheapest effective dryer. Remove trays, add a spool holder, and you’ve got a multi-spool dryer for the price of a kitchen appliance. Less convenient (no feed-through, no humidity display), but the drying performance is genuinely good — dehydrators are designed to remove moisture.
The honest assessment: if budget is tight, a $50 dehydrator from Kmart dries filament as well as a $100 purpose-built dryer. You’re paying for convenience and integration, not drying physics. Our humidity guide has the DIY details.
High-Temp Options (Eibos, SUNLU E2) — For Engineering Filaments (~$300–500 AUD)
Standard dryers top out at 70°C, which is marginal for polycarbonate and some nylons. High-temp dryers reaching 80–110°C handle the full engineering range. Unless you’re printing PC, PA-CF, or similar, you don’t need this — but if you are, a standard dryer won’t cut it. The SUNLU E2 (up to 110°C) is the accessible option in this class.
Dryer Settings Cheat Sheet
Temperature and time by material (for a moderately damp spool):
- PLA: 45–50°C, 4–6 hours. Don’t exceed 55°C — PLA softens and spools can deform.
- PETG: 60–65°C, 4–6 hours.
- TPU: 50–55°C, 4–6 hours. TPU is heat-sensitive; stay conservative.
- ABS/ASA: 60–65°C, 4–6 hours.
- Nylon (PA6/PA12): 65–75°C, 6–12 hours. Nylon needs the longest — when you think it’s done, give it two more hours.
- Polycarbonate: 80°C+, 6–12 hours. Needs a high-temp dryer.
These are starting points — a spool that’s been open for a month in Brisbane needs longer than one opened yesterday in air conditioning. The humidity display (if your dryer has one) is the truth-teller: dry until the reading stops dropping.
Dryer + Dry Box: The Complete System
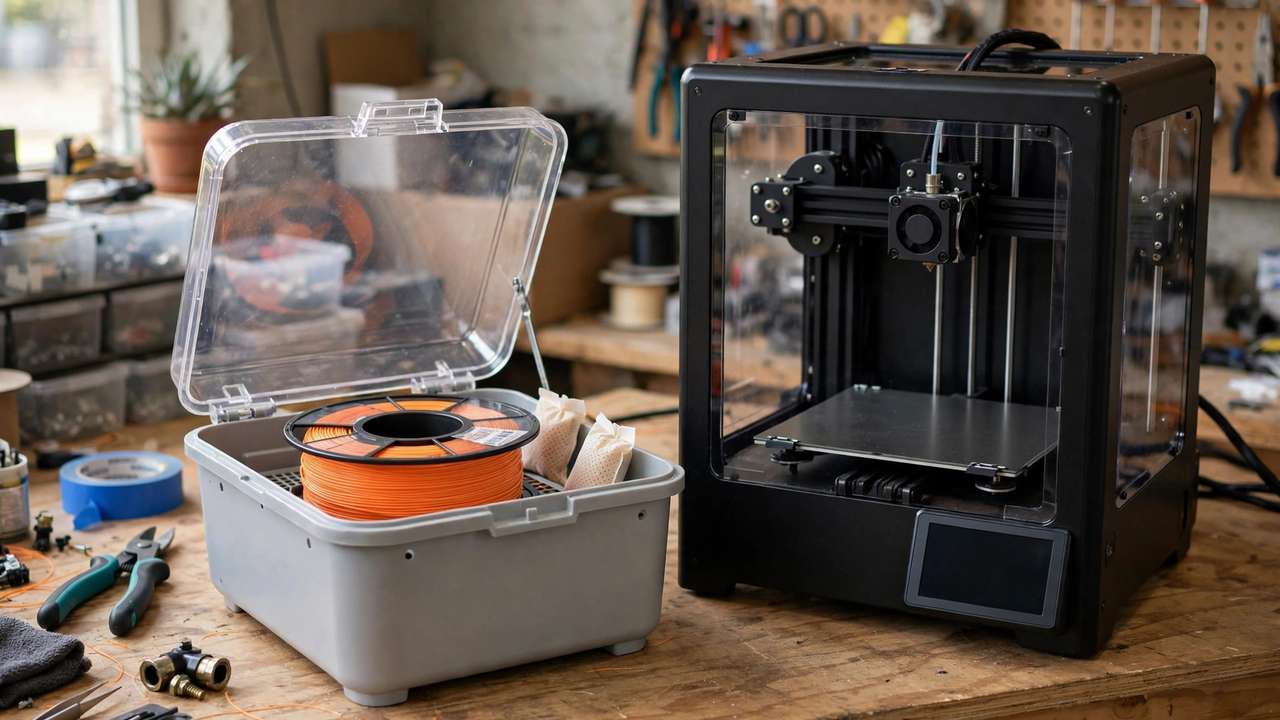
A dryer fixes wet filament; a dry box keeps it dry. The complete moisture system:
- Dryer: for active drying before/during prints.
- Sealed storage: airtight tubs or vacuum bags with rechargeable desiccant for between prints. A $15 tub from Bunnings + $10 of silica gel beats a $200 “dry box” for storage purposes.
- Print from dry: for moisture-critical filaments (nylon especially), feed directly from the dryer or a dry box during printing. Drying then leaving the spool in open air for a 10-hour print defeats the purpose.
- Desiccant maintenance: recharge silica gel in the oven (120°C for a few hours) when the indicator crystals change colour. Desiccant is reusable indefinitely.
Total system cost: dryer ($70–110) + tubs and desiccant ($25–40) = under $150 for a setup that eliminates moisture as a variable. Compare that to the cost of mysteriously failed prints, and it’s one of the highest-ROI investments in the hobby.
Build a DIY Dry Box (Step by Step)
If you’re not ready to buy a dryer, a dry box keeps filament dry between prints for under $30:
- Get an airtight tub — the 20–30L clip-lock tubs from Bunnings or Kmart ($12–18). Bigger fits more spools; make sure the lid seals properly.
- Add desiccant — 500g–1kg of rechargeable silica gel beads ($10–15 online). The colour-changing kind (orange-to-green or blue-to-pink) tells you when to recharge.
- Optional: add a hygrometer — a $8 digital humidity sensor inside lets you verify it’s working. Aim for under 20% RH.
- Optional: feed-through ports — drill holes, add PTFE couplers, and you can print directly from the box. This turns a storage box into a poor-man’s dryer setup.
- Maintain it — when the desiccant changes colour, recharge in the oven (120°C for 2–3 hours). A 1kg bag lasts months between recharges in a well-sealed tub.
A dry box doesn’t dry wet filament — it keeps dry filament dry. Dry your spools first (dryer, dehydrator, or oven), then store in the box. This distinction matters: putting a wet spool in a dry box just gives you a humid box.
Humidity Across Australia: Know Your Enemy
How urgently you need drying depends heavily on where you live:
- Darwin / Far North QLD: extreme humidity year-round. Dryer essential, dry boxes mandatory, nylon is genuinely challenging. Average RH 70–80%+.
- Brisbane / Coastal QLD/NSW: high humidity, especially summer. Dryer strongly recommended. Average RH 60–75%.
- Sydney / Melbourne: moderate, seasonal. Dryer recommended for PETG and above; PLA manageable with good storage. Average RH 55–70%.
- Perth: dry summers help enormously, but winter humidity still affects filament. Dryer useful, less urgent. Average RH 50–65%.
- Adelaide / Inland: the easiest conditions in the country for filament. Good storage often suffices for PLA/PETG. Average RH 45–60%.
- Canberra / Hobart: cool and variable. Winter indoor heating actually helps (warm air holds less relative moisture). Moderate need.
But averages lie — a rainy week in Adelaide is worse than a dry week in Brisbane. Watch your prints, not the climate statistics. Popping, stringing, and rough surfaces mean wet filament regardless of your postcode.
Dryer Maintenance (Keep It Working)
- Clean the fan intake periodically — dust buildup reduces airflow and drying efficiency.
- Check the seal — the lid gasket wears over time. If drying takes noticeably longer than it used to, the seal is the first suspect.
- Calibrate temperature occasionally with an independent thermometer. Cheap dryers can drift 5–10°C from the displayed temperature.
- Don’t overload — cramming two spools in a single-spool dryer blocks airflow and dries neither properly. One spool per cycle, done right.
Signs Your Filament Needs Drying (The Checklist)
Before buying anything, confirm moisture is actually your problem:
- Audible popping or hissing from the nozzle during printing — steam escaping. Definitive.
- Rough, bubbly surface texture on prints that used to come out smooth with the same settings.
- Increased stringing that retraction tuning doesn’t fix. Wet filament strings no matter the settings.
- Brittle filament that snaps when bent — especially PLA, which should flex slightly. If your PLA snaps like dry spaghetti, it’s wet.
- Weak layer adhesion — parts that delaminate or break along layer lines with less force than expected.
- Inconsistent extrusion — the extruder gear clicking, under-extrusion patches, variable line width.
If you’re seeing two or more of these, drying isn’t optional — it’s the fix. Don’t spend a week tuning slicer settings for a moisture problem.
Frequently Asked Questions
How long does it take to dry filament?
4–6 hours for PLA/PETG/ABS at the recommended temperatures; 6–12 hours for nylon. A spool open for weeks in humidity needs the longer end. The dryer’s humidity display (if equipped) tells you when it’s done — dry until the reading stabilises.
Can I use a food dehydrator as a filament dryer?
Yes — it’s one of the most cost-effective options. Remove the trays, add a spool holder, and set to the appropriate temperature. Drying performance is excellent; you just miss out on feed-through ports and humidity displays.
What temperature should I dry PLA at?
45–50°C for 4–6 hours. Don’t exceed 55°C — PLA’s glass transition is around 60°C, and overheating can soften and deform the spool. When in doubt, go cooler and longer.
Do I need to dry brand new filament?
Often, yes. “Factory sealed” doesn’t mean “printing dry” — many spools benefit from a few hours in the dryer even fresh out of the bag, especially in humid climates. If a new spool prints poorly, drying is the first thing to try.
Can I print directly from a filament dryer?
Yes — most purpose-built dryers have PTFE tube ports for feeding filament to the printer while drying. This is essential for nylon (which reabsorbs moisture during long prints) and convenient for everything else.
What is the best filament dryer for beginners?
The SUNLU FilaDryer S2 (~$70–110 AUD) — 70°C max handles PLA through nylon adequately, with a humidity display and print-while-drying feed ports. It’s the price-performance default unless you need multi-spool capacity or 80°C+ for polycarbonate.